 by
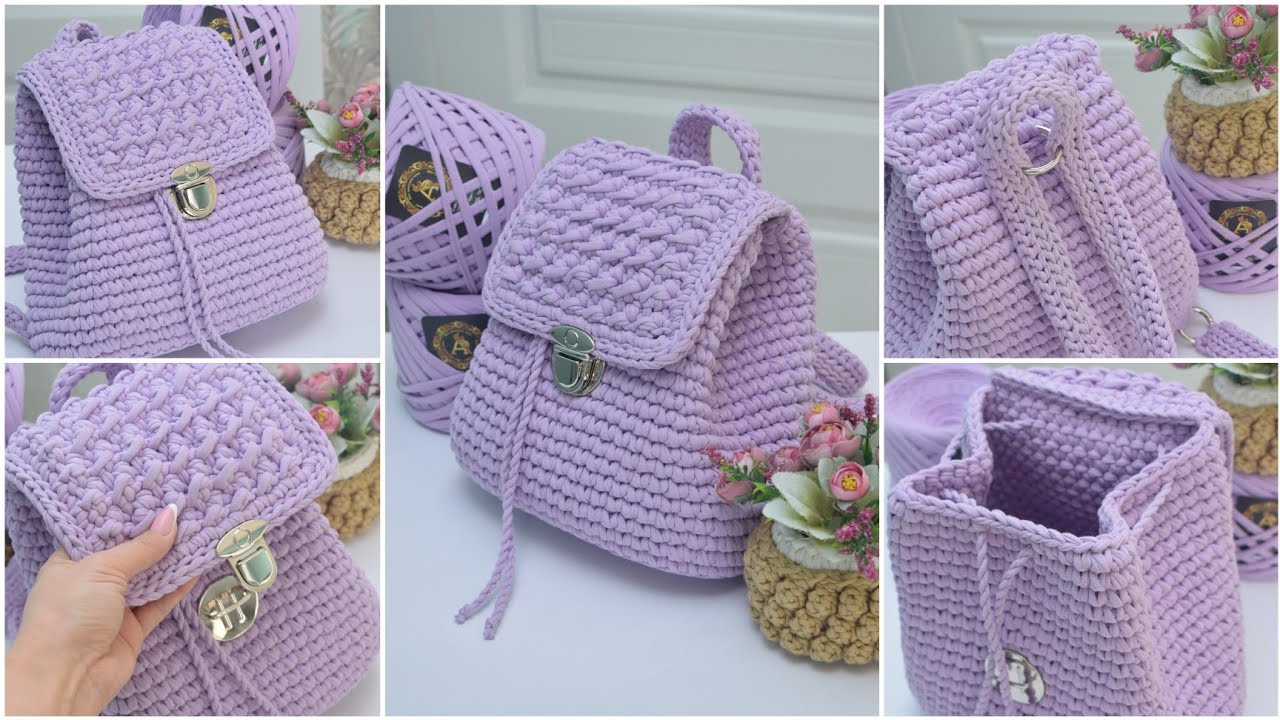
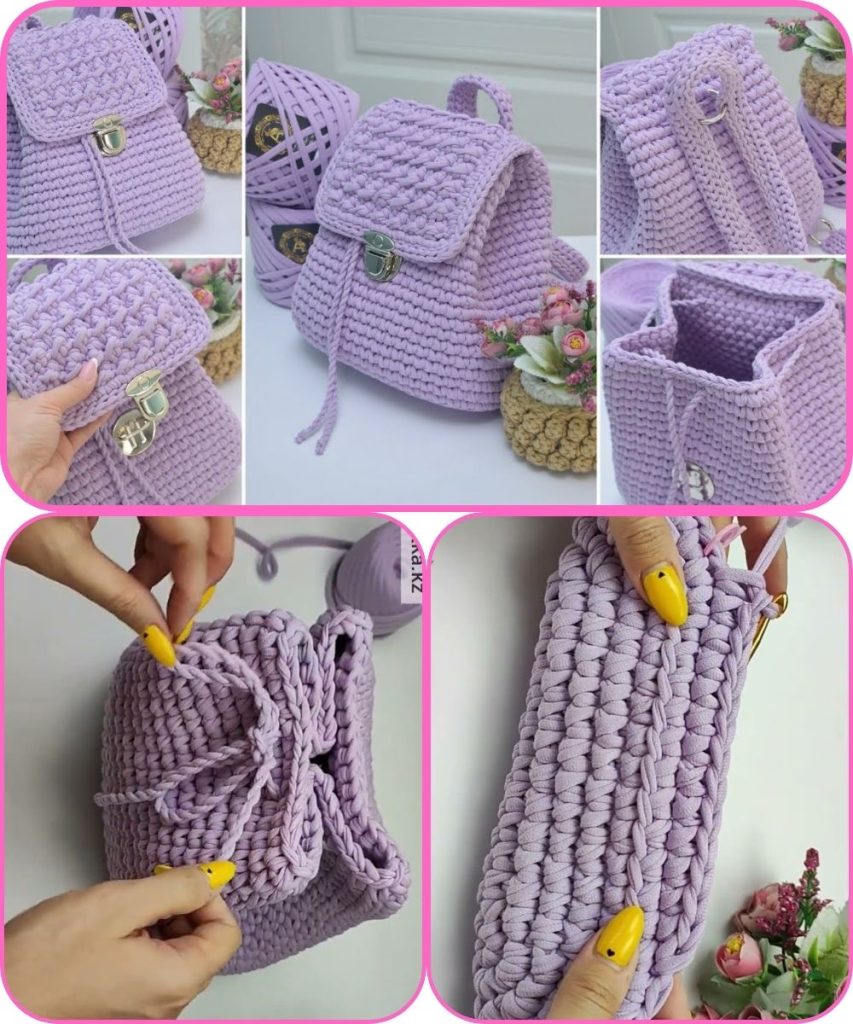
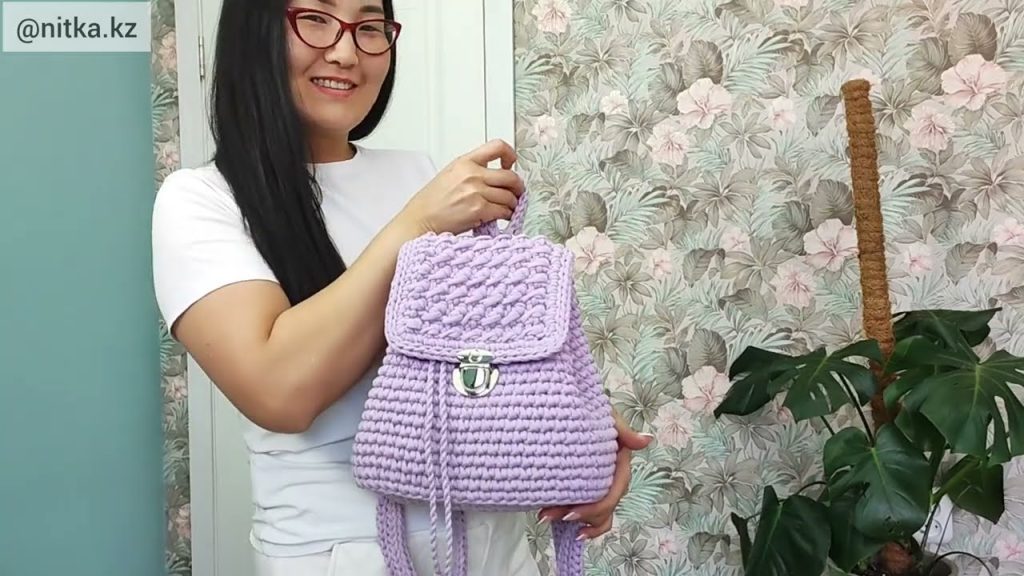
by Absolutely! I can guide you step by step on making an easy crochet backpack using a beginner-friendly pattern inspired by “Helen Crochet Pattern.” I’ll break it down so it’s clear and simple for beginners.
Materials Needed
- Yarn:
- Worsted weight cotton or acrylic yarn (medium #4).
- Approx. 400–500 grams, depending on backpack size.
- Crochet Hook:
- Size H/8 (5 mm) or recommended size for your yarn.
- Notions:
- Yarn needle for weaving ends.
- Scissors.
- Stitch markers (optional).
- Backpack straps (can crochet or use pre-made straps).
- Button, toggle, or drawstring for closure (optional).
Abbreviations Used
- ch = chain
- sc = single crochet
- dc = double crochet
- sl st = slip stitch
- st(s) = stitch(es)
- inc = increase (2 sc in same st)
- dec = decrease (single crochet two together)
Step 1: Base of the Backpack
- Start with a foundation chain of 25–30 stitches (depending on desired width).
- Row 1: Sc in 2nd ch from hook and across. Turn.
- Row 2–5: Ch 1, sc in each st across, turn.
- To make an oval or round base (optional): add extra stitches at ends by working 2 sc in the same stitch at each end row.
Tip: Keep your base firm by using single crochet only.
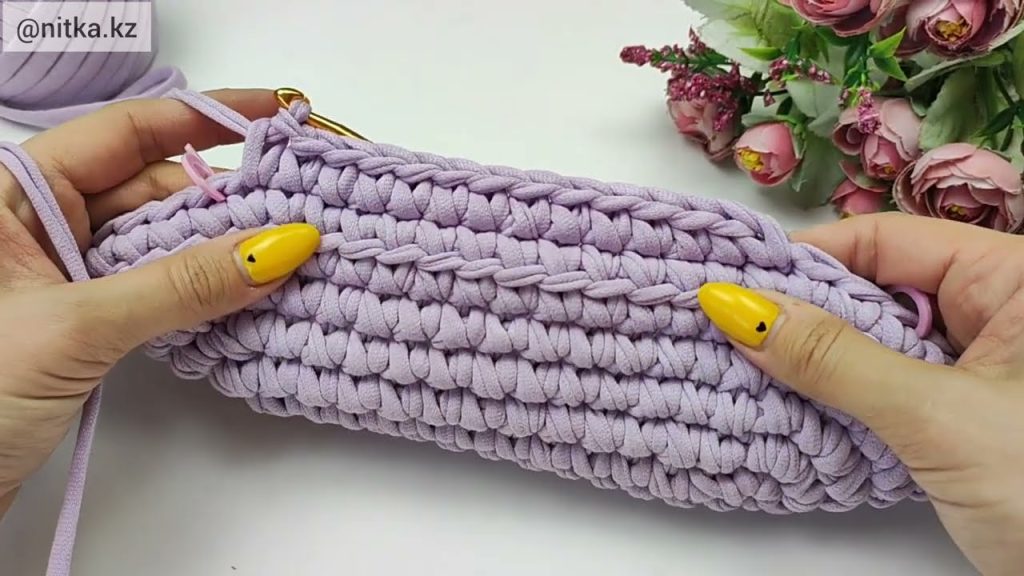
Step 2: Body of the Backpack
- Start working in rounds around the base (if oval/round) or rows (if rectangular).
- Round 1: Ch 1, sc evenly around the base. Use stitch markers to track rounds.
- Round 2–20 (or desired height): Sc in each st around. Keep checking height – standard backpack height is ~12 inches.
Optional: For a textured look, you can switch to half double crochet (hdc) or use a shell stitch every 5 rounds.
Step 3: Top Edge / Opening
- Once the desired height is reached, finish with a neat edge:
- Round 1: Ch 1, sc in each st.
- Round 2: Ch 1, sl st in back loop only (gives a subtle ribbed finish).
- Add a drawstring closure: Ch a long chain (~2x width of backpack), weave through the top row of stitches, and tie ends.
- Or attach a button/toggle for closure.
Step 4: Backpack Straps
- Crocheted Straps (or use ready-made ones):
- Ch 2–3, sc along chain until strap reaches desired length (~18–20 inches).
- Make 2 straps.
- Attach straps securely at the top and bottom of the back panel. Reinforce with extra sc stitches for durability.
Step 5: Optional Pocket
- Ch 15–20, sc in each chain, and sc around for 5–6 rows.
- Attach to the front of the backpack using sl st or sc, leaving the top open for a pocket.
Step 6: Finishing Touches
- Weave in all yarn ends neatly with a yarn needle.
- Block the backpack lightly if necessary to even out stitches.
- Add decorative touches (buttons, tassels, or pom-poms).

Tips for Beginners
- Keep stitches tight for durability.
- Use stitch markers to track rows/rounds.
- Don’t stress about small irregularities—they add charm!
- Test the size by measuring as you go, so it fits what you need.
This pattern makes a simple, beginner-friendly crochet backpack. It’s customizable—you can adjust the base size, height, texture, or add pockets and decorations.
If you want, I can also draw a simple diagram of the Helen Crochet Backpack showing the base, body, and straps, which makes it much easier to visualize for beginners.
Watch tutorial: