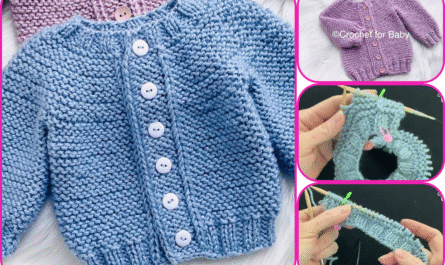
 by
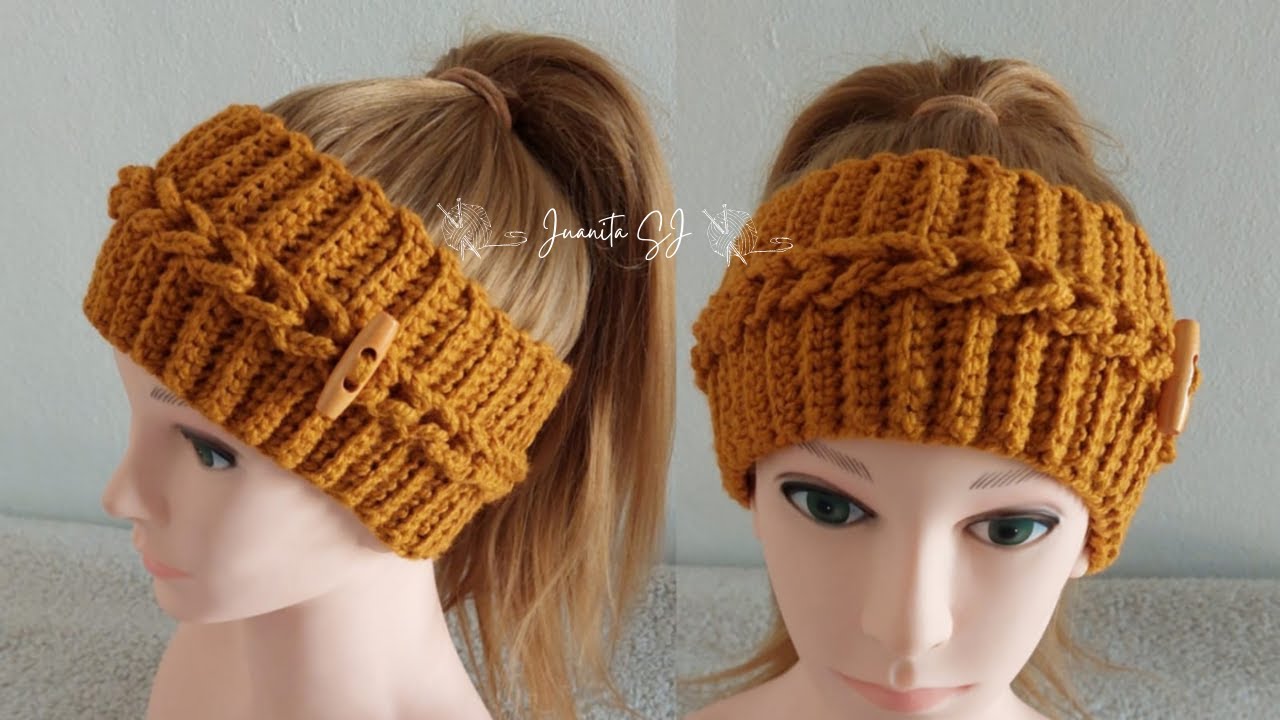
by Sure! Let’s go step-by-step through how to make a crochet headband (also called a crochet turban or crochet headwrap) — from materials to finishing touches.
I’ll include details for beginners, with clear steps and optional variations.
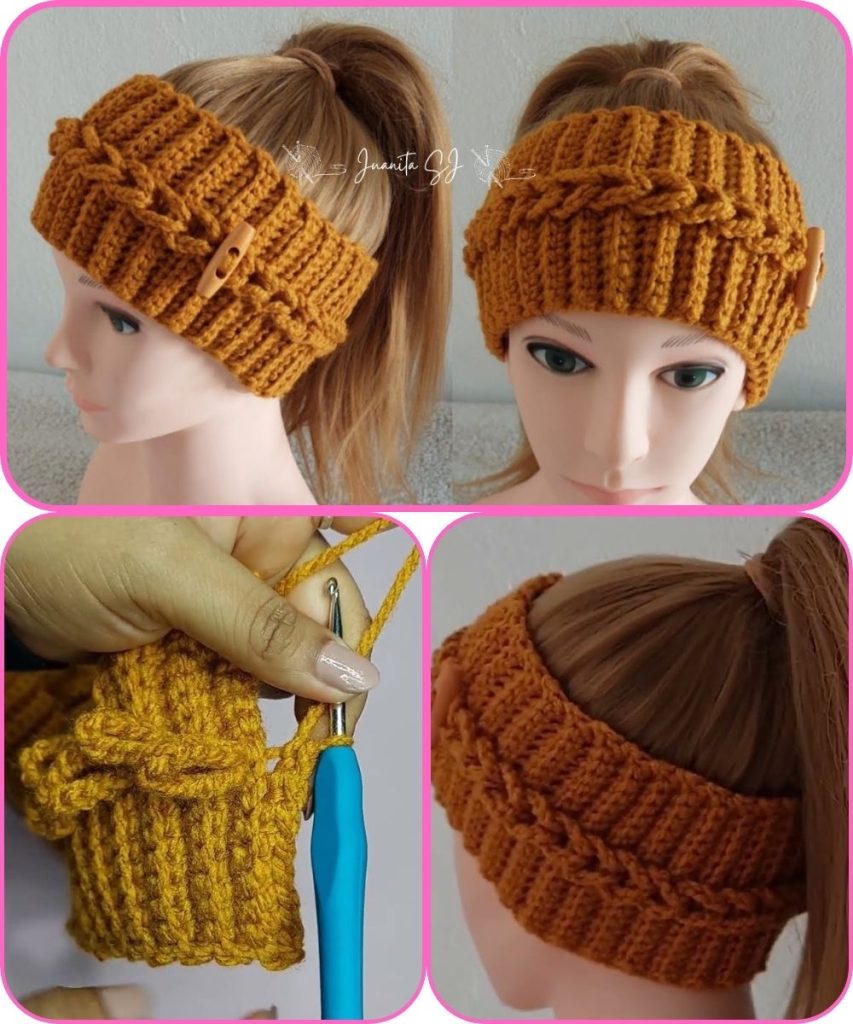
🧶 How to Make a Crochet Headband / Turban (Step by Step)
🪡 Materials You’ll Need
- Yarn: Medium weight (Category 4) yarn — acrylic or cotton works well.
Example: Red Heart Soft, Lion Brand Basic Stitch, or similar. - Crochet Hook: Size H/5.0 mm (adjust based on yarn label)
- Scissors
- Yarn Needle (for weaving ends)
- Measuring Tape
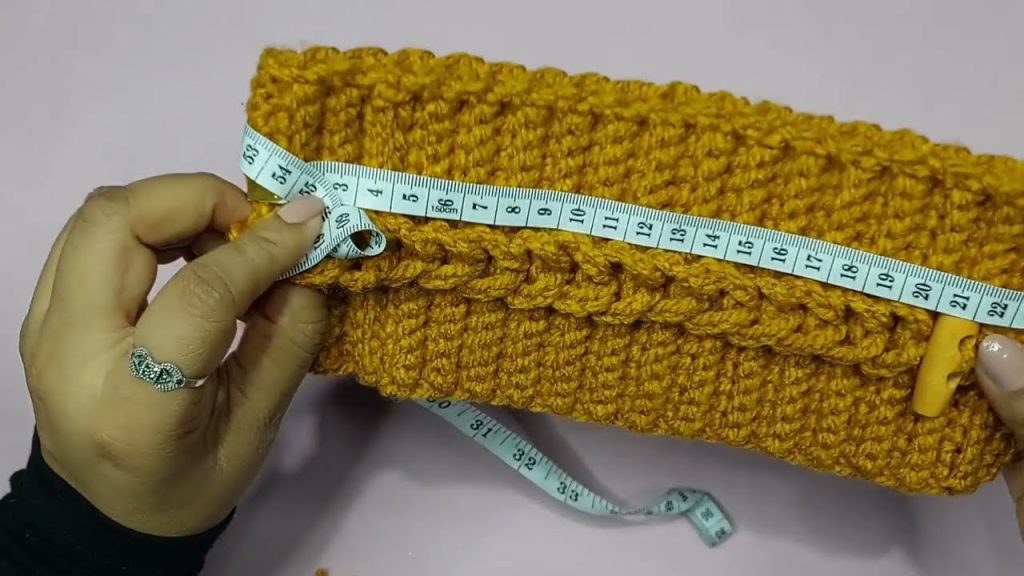
🧵 Step 1: Measure Your Head
Measure around your head where you’d like the headband to sit (usually around the forehead and back of head).
- Adult size: 21–23 inches (53–58 cm)
- Child size: 18–20 inches (46–51 cm)
Subtract about 2 inches (5 cm) from this measurement — the band should be snug and stretchy.
🧩 Step 2: Make a Foundation Chain
- Make a slip knot on your hook.
- Chain (ch) enough stitches to reach your adjusted head measurement (after subtracting 2″).
- Example: For a 21″ head, chain until your piece measures 19″.
💡 Tip: Keep your chain loose — you can switch to a bigger hook for the foundation chain if needed.
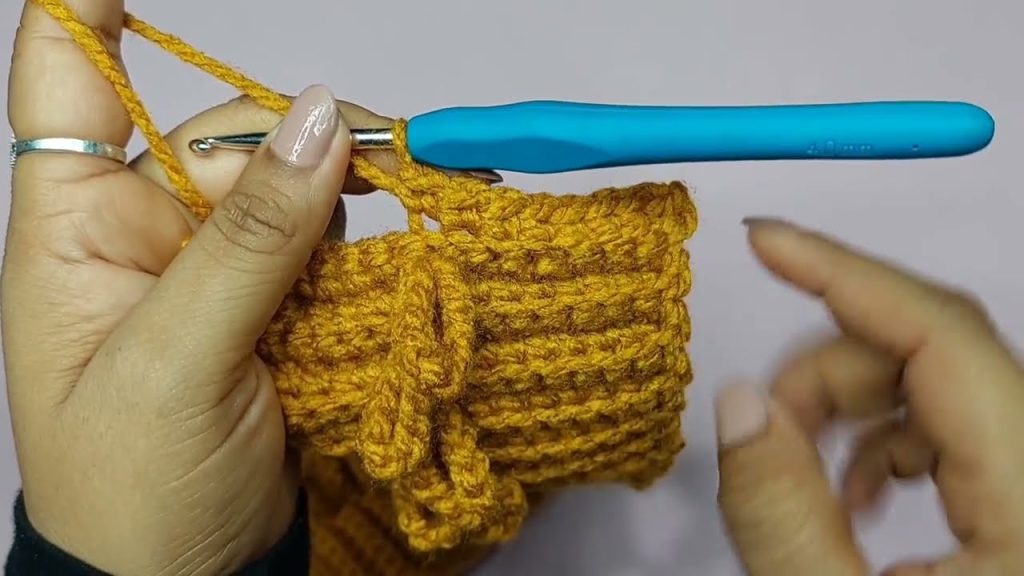
🧶 Step 3: First Row – Foundation Stitch
Choose a simple stitch pattern. Here are two beginner-friendly options:
Option A: Single Crochet (SC) Band
- Row 1: Insert hook in 2nd chain from hook, single crochet (sc) across.
- Chain 1, turn.
Option B: Half Double Crochet (HDC) Band
- Row 1: Yarn over, insert hook in 3rd chain from hook, half double crochet (hdc) across.
- Chain 2, turn.
🔁 Step 4: Repeat Rows Until Desired Width
- Continue working back and forth in rows until your band reaches your desired width:
- Thin headband: 2 inches (5 cm)
- Wide headwrap/turban: 4–6 inches (10–15 cm)
Keep edges straight and tension even.
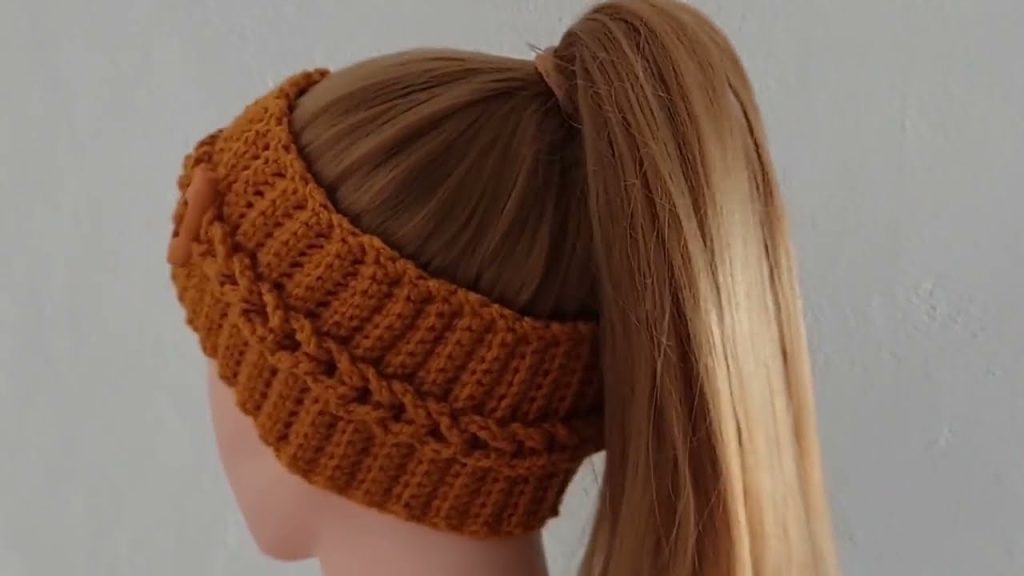
For texture, you can try a ribbed effect using back loop only (BLO) stitches:
Instead of inserting the hook under both loops, go only under the back loop in each stitch.
This creates a stretchy, knitted-looking rib pattern — great for headbands!
🧷 Step 5: Join the Ends
When your piece is long enough:
Option 1: Simple Join
- Fold ends together (right sides facing in).
- Slip stitch or sew edges together with yarn needle.
- Fasten off and weave in ends.
Option 2: Turban Twist Join
To create the turban twist effect:
- Lay the band flat.
- Fold each end in half (like a “C” shape) and interlock them together (one folded inside the other).
- Sew through all four layers along the edge.
- Turn right side out — you’ll have a beautiful twisted front!
✨ Step 6: Finishing Touches
- Weave in any loose yarn tails with your yarn needle.
- Block lightly with steam or water to shape, if needed.
- You can add decorations:
- Buttons
- Bows
- Crochet flowers
- Beads or embellishments
🎀 Optional Variation: Bow Style
To make a bow-style headband:
- Crochet a small strip (about 1″ wide, 3″ long).
- Wrap it around the seam of your headband and sew it to secure.
- It creates a cute bow/turban knot look!
🧵 Example Pattern (Simple Ribbed Headband)
Pattern (Adult Size):
Yarn: Medium (4), Hook: 5.0 mm

Ch 70 (adjust to head size).
Row 1: Hdc in 3rd ch from hook and each ch across. Ch 2, turn.
Row 2–10: Hdc in back loops only (BLO) across. Ch 2, turn.
Finish: Fold ends and sew or twist join.
Fasten off, weave in ends.
🌸 Tips for Beginners
- Always check gauge — too loose, and it will stretch out.
- Use a soft yarn for comfort on your forehead.
- Try color blocking by changing yarn colors halfway.
Would you like me to include photo references or diagrams (like how to fold for the twist join)? I can generate those step-by-step visuals for you.
Watch tutorial: