 by
by Sure! 😊 Here’s a detailed, beginner-friendly tutorial on how to make an easy crochet beret hat — step-by-step, with all the materials, stitches, and shaping explained clearly.
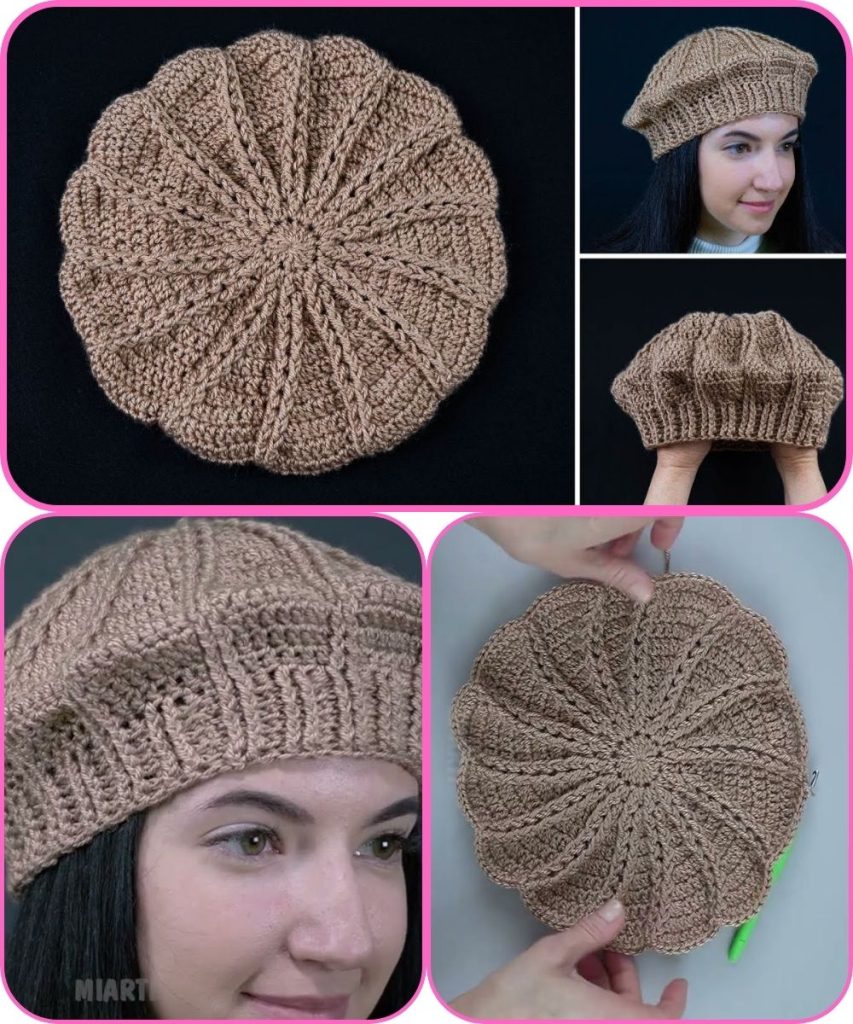
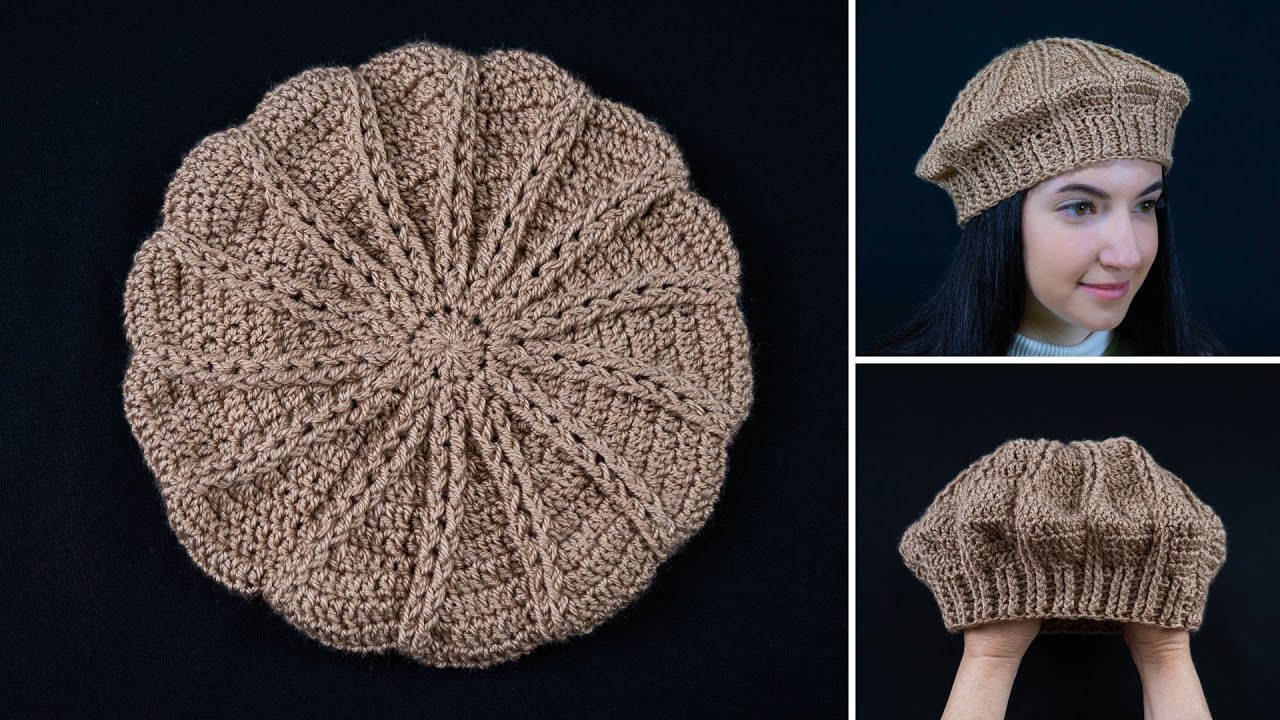
🧶 Easy Crochet Beret Hat Tutorial
✨ What You’ll Learn:
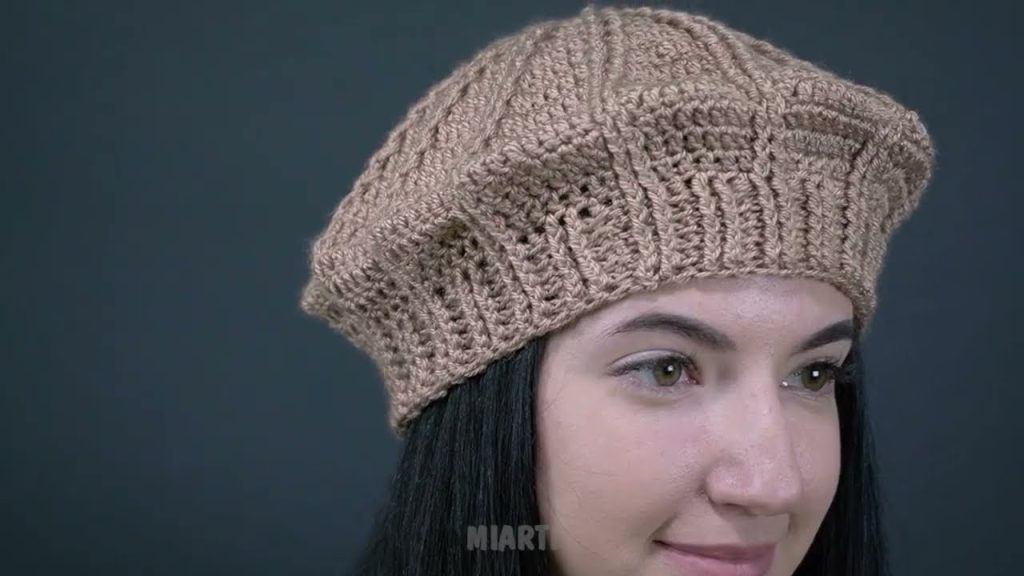
- How to crochet a stylish, slouchy beret from start to finish
- How to increase and decrease in the round
- How to shape the beret top, body, and band
🪡 Materials You’ll Need:
| Item | Description |
|---|---|
| Yarn | Medium (4) weight yarn or worsted weight, about 150–200 yards (acrylic, wool blend, or cotton) |
| Crochet Hook | Size H/5.0 mm or I/5.5 mm (depending on your tension) |
| Tapestry Needle | For weaving in ends |
| Scissors | For trimming yarn |
| Stitch Marker | Optional, helps mark your rounds |
🧵 Stitches & Techniques Used:
- Magic Ring (or Ch 4 and join to form a ring)
- Ch (chain)
- Sl St (slip stitch)
- Dc (double crochet)
- Sc (single crochet)
- Inc (increase) = 2 dc in same stitch
- Dec (decrease) = crochet 2 dc together
🎨 Finished Size:
Fits an average adult head (21–23 inches circumference).
You can easily adjust it for smaller/larger sizes (instructions below).
🪄 Step-by-Step Instructions
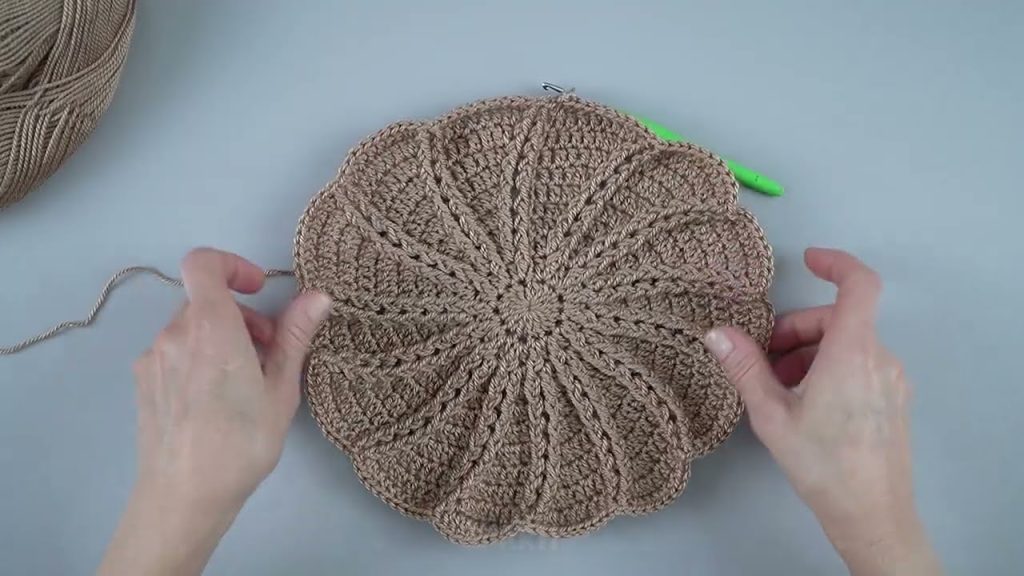
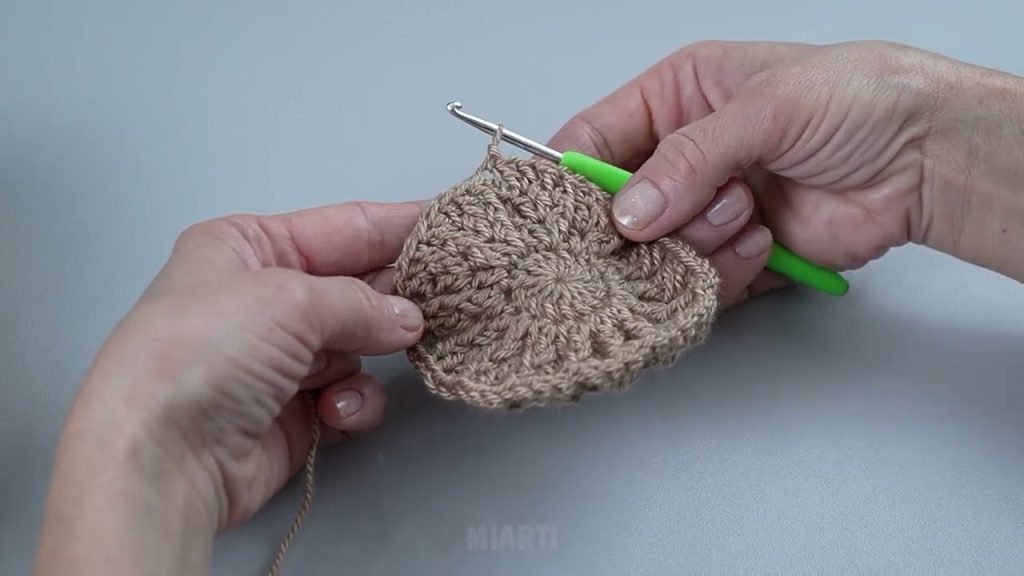
🌸 STEP 1: Start the Crown
This forms the top circle of your beret.
- Magic Ring (or chain 4, join with a slip stitch to make a ring).
- Round 1: Ch 3 (counts as 1 dc). Work 11 dc into the ring. Join with sl st to top of ch 3. (12 dc total)
- Round 2: Ch 3. Work 1 dc in same st, 2 dc in each stitch around. Join. (24 dc)
- Round 3: Ch 3, 1 dc in next st, 2 dc in next st, repeat around. Join. (36 dc)
- Round 4: Ch 3, 1 dc in next 2 sts, 2 dc in next, repeat around. Join. (48 dc)
- Round 5: Ch 3, 1 dc in next 3 sts, 2 dc in next, repeat around. Join. (60 dc)
- Round 6: Ch 3, 1 dc in next 4 sts, 2 dc in next, repeat around. Join. (72 dc)
👉 Continue increasing (adding 1 more dc between increases each round) until your flat circle measures about 10–11 inches across for an adult size.
🪶 STEP 2: Shape the Body (Slouch Section)
Once your circle is wide enough:
- Round 1: Ch 3. Dc in each stitch around (no increases). Join.
- Repeat this 5–8 rounds, depending on how slouchy you want the beret.
👉 This part gives the beret its signature “floppy” shape.
🧢 STEP 3: Decrease to Form the Band
Now you’ll bring the sides in to fit your head snugly.
- Round 1: Ch 3, dc in next 4 sts, dc2tog (decrease) around. Join.
- Round 2: Ch 3, dc in next 3 sts, dc2tog around. Join.
- Round 3: Switch to sc. Work 1 sc in each st around to make the band tighter.
You can also add 1–2 more rounds of sc if you want a thicker band.
🧵 STEP 4: Finishing
- Fasten off, leaving a 6-inch tail.
- Weave in all ends using a tapestry needle.
- Flatten and shape your beret — you can lightly block it (steam or damp towel) to smooth the top if desired.
🌼 Optional Customizations
- Add a puff or pompom to the top for a classic French look.
- Use variegated yarn for a multi-color swirl.
- Add a decorative brim using front post/back post stitches for texture.
- Change hook size for looser or tighter fabric.
🧶 Sizing Tips
| Head Size | Crown Diameter | Approx. Circumference |
|---|---|---|
| Teen/Small | 9–10 in | 20–21 in |
| Adult M | 10–11 in | 22–23 in |
| Adult L | 11–12 in | 24 in |
If your beret is too small, add another increase round.
If it’s too big, remove one increase round before starting the body.
💡 Quick Troubleshooting
| Issue | Solution |
|---|---|
| Hat is too tight | Use a larger hook or add another increase round |
| Hat is too loose | Use a smaller hook or fewer increases |
| Hat curls up | Make sure you have enough increases before the body section |
| Band too loose | Add an extra sc round or switch to a smaller hook for the band |
Would you like me to include photo illustrations or a crochet chart/diagram to go with this tutorial? I can generate step-by-step visuals to make it easier to follow.
Watch tutorial: