 by
by Absolutely! Let’s go step by step with a detailed guide on how to make a crocheted puff pattern using cord. I’ll include tips, stitch explanations, and variations so you can follow it even if you’re new to crocheting with thicker materials like cord.
Materials Needed
- Cord or rope – Depending on your project, you can use cotton cord, jute, or synthetic cord. Thickness: usually 3–6 mm works well.
- Crochet hook – Size appropriate for your cord (check the cord label). Usually 1–2 sizes larger than normal yarn.
- Scissors
- Tapestry needle – For weaving in ends.
Basic Techniques to Know
- Chain (ch) – Foundation stitch for most crochet projects.
- Single Crochet (sc) – Insert hook, yarn over, pull through, yarn over, pull through both loops.
- Double Crochet (dc) – Yarn over, insert hook, yarn over, pull through, yarn over, pull through two loops twice.
- Puff Stitch – The main decorative stitch in this pattern.
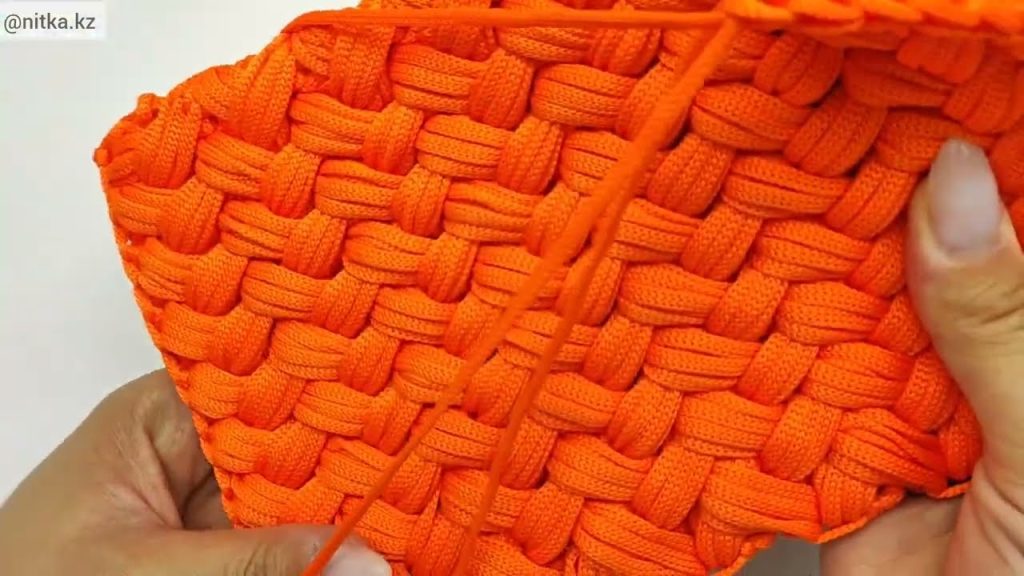
How to Make a Puff Stitch
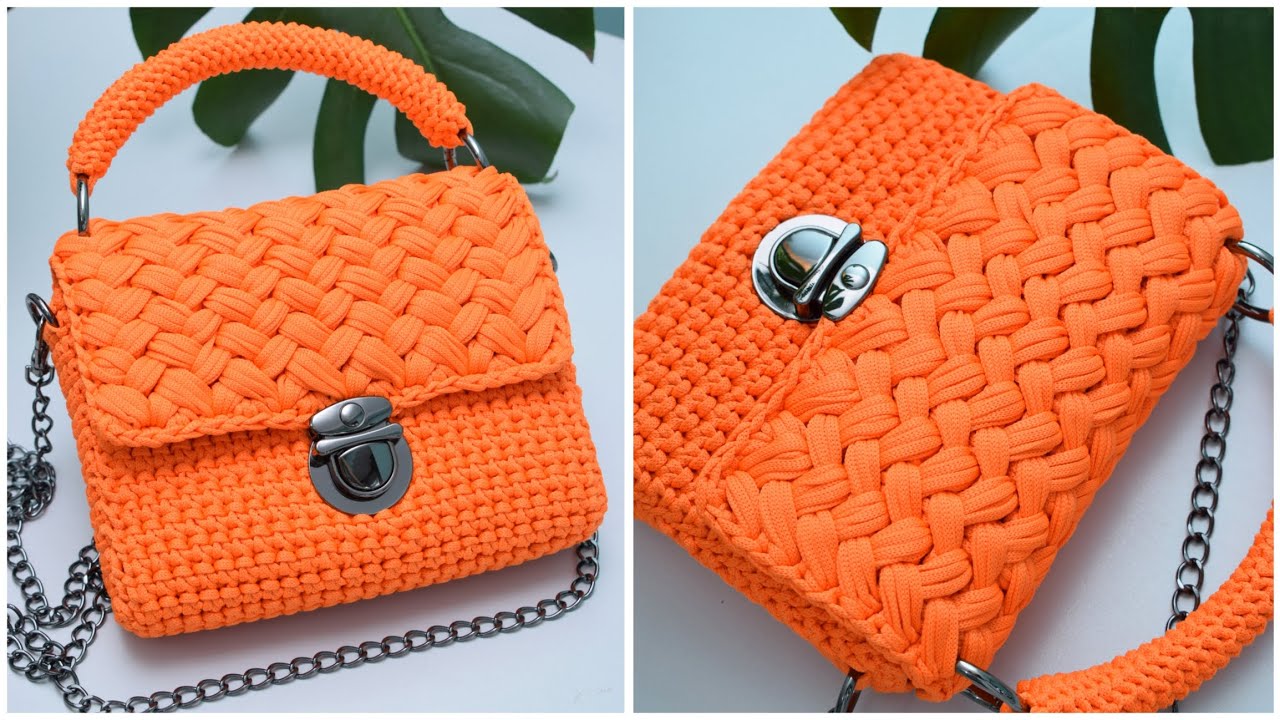
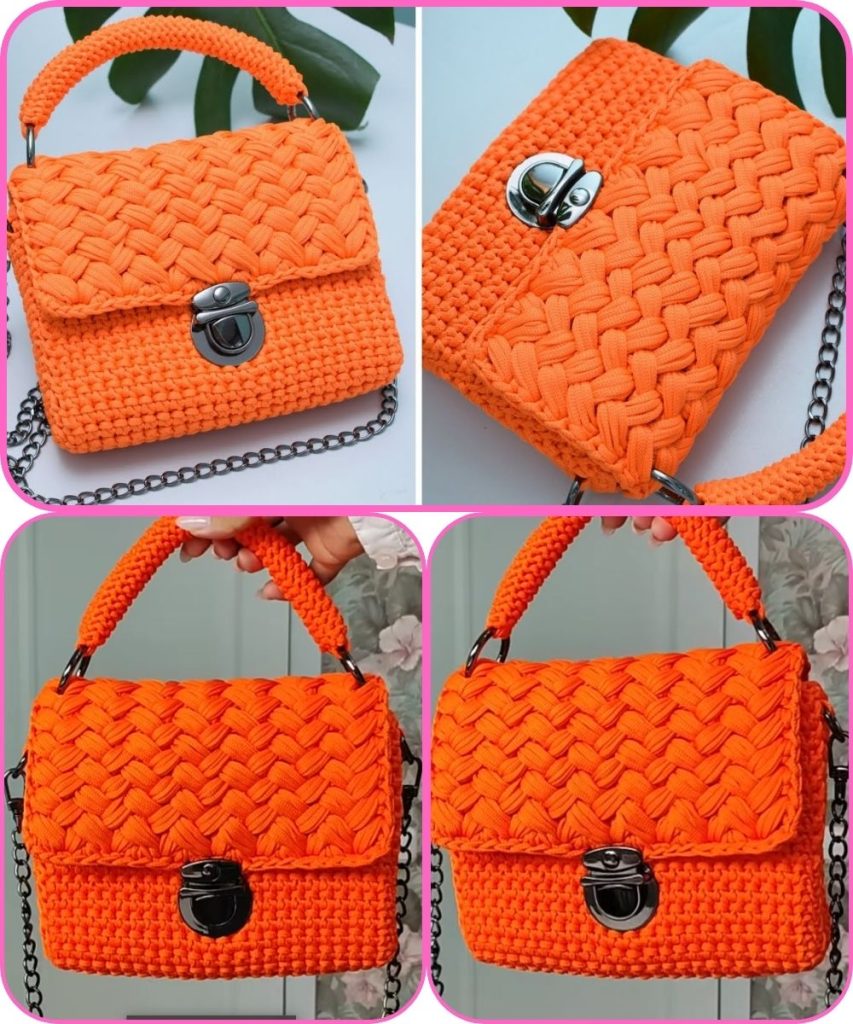
The puff stitch creates that “puffy” textured effect, which looks beautiful in cord projects.
Step-by-step for 1 puff stitch:
- Yarn over, insert your hook into the stitch you want to make the puff.
- Yarn over, pull up a loop (you now have 3 loops on your hook).
- Repeat step 1 and 2 2–3 more times in the same stitch, depending on how big you want your puff (you should have 5–7 loops on your hook).
- Yarn over and pull through all loops on the hook.
- Chain 1 to secure the puff stitch (optional but recommended with cord).
Tip: Don’t pull too tightly when working puff stitches; you want them to remain soft and full.
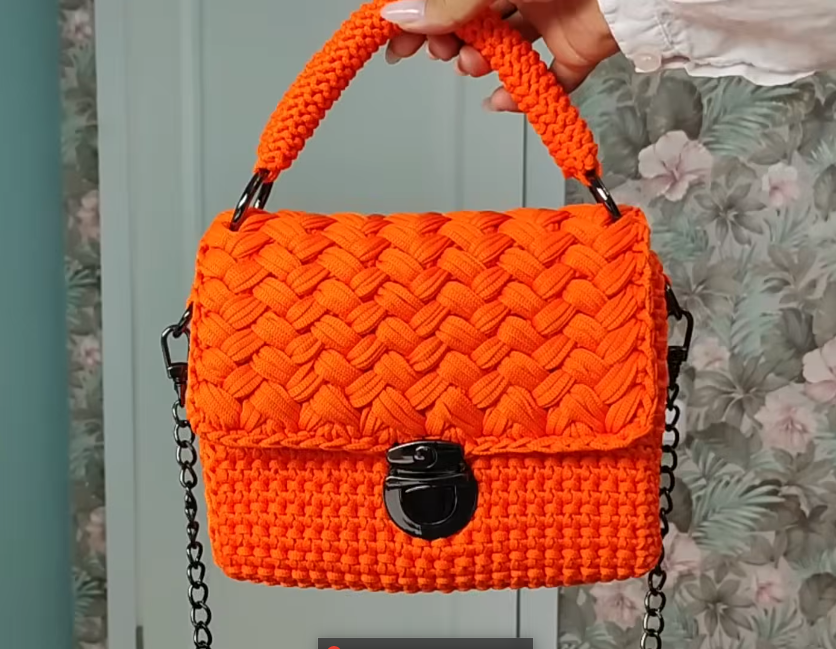
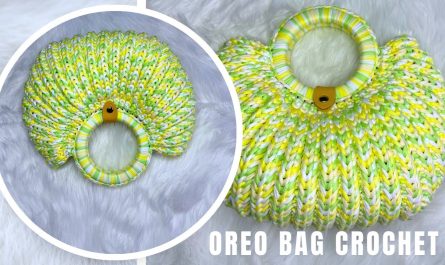
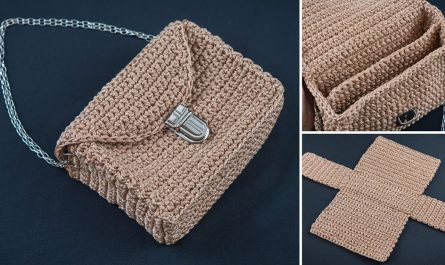
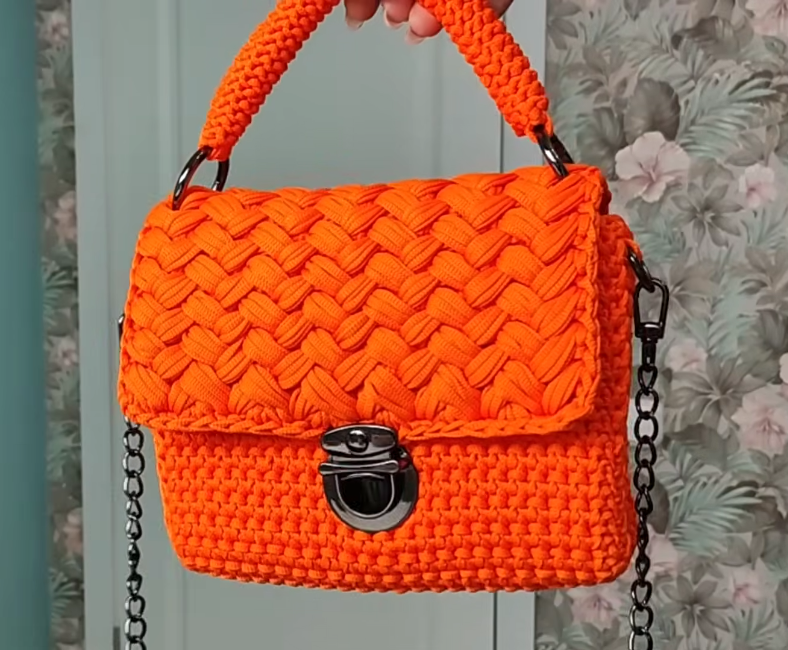
Crocheted Puff Pattern Using Cord
Here’s a simple rectangular or square puff pattern, which you can use for rugs, bags, mats, or cushions.
Foundation Row:
- Chain a multiple of your puff stitch repeats (e.g., ch 20).
Row 1:
- Skip first chain.
- Make 1 sc in the second chain from hook.
- Chain 1, skip 1, make puff stitch in next chain. Repeat across. Turn.
Row 2:
- Chain 1.
- Make puff stitch in each chain-1 space of the previous row.
- End with sc in last stitch. Turn.
Repeat Row 2 until your piece reaches the desired length.
Finishing Tips
- Edge: You can make a border of single crochet or slip stitch for a neat finish.
- Weaving in ends: Use a tapestry needle to tuck cord ends inside stitches.
- Blocking: Optional, but for cord projects, lightly shaping while damp can improve appearance.
Variations
- Larger puff stitches: Wrap the cord around your hook 4–5 times for extra puffiness.
- Alternating puff rows: Skip rows of sc to create texture variations.
- Circular puff pattern: Start with a magic ring, make puff stitches in the round, perfect for coasters or bags.
If you want, I can draw a step-by-step diagram of the puff stitch made with cord, showing exactly how to insert the hook and wrap the loops—it makes learning so much easier!
Watch tutorial: