 by
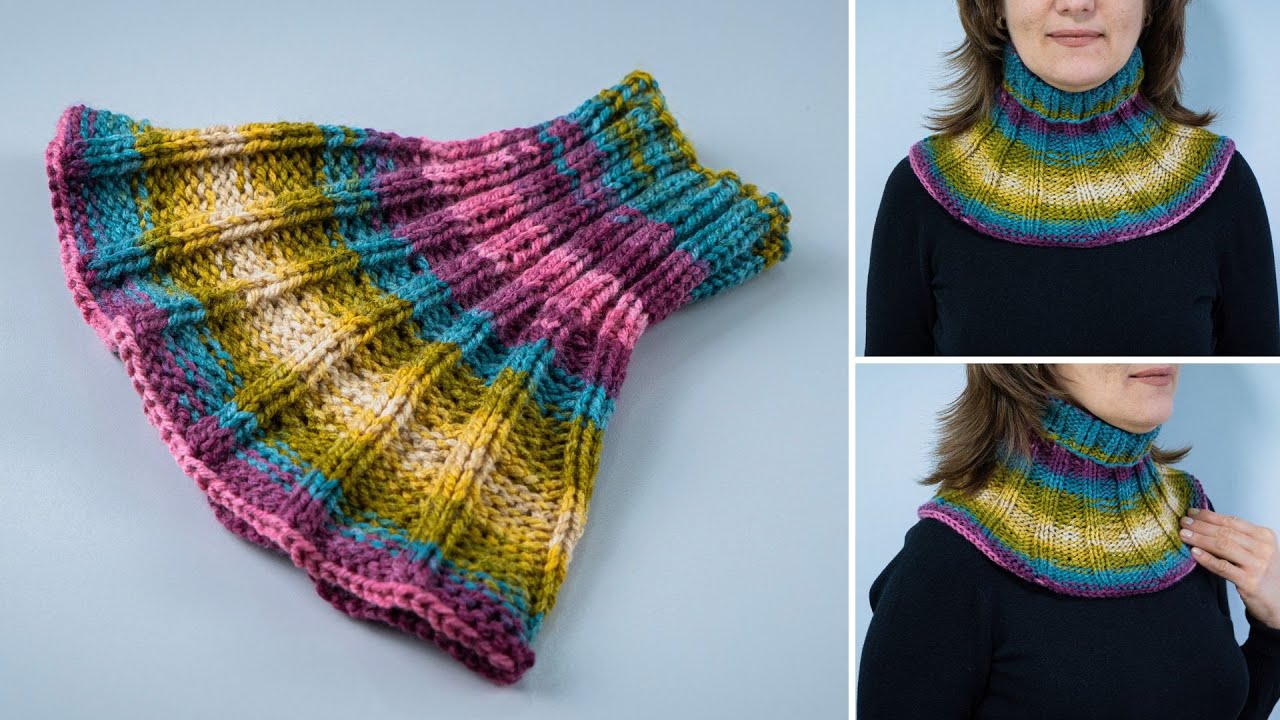
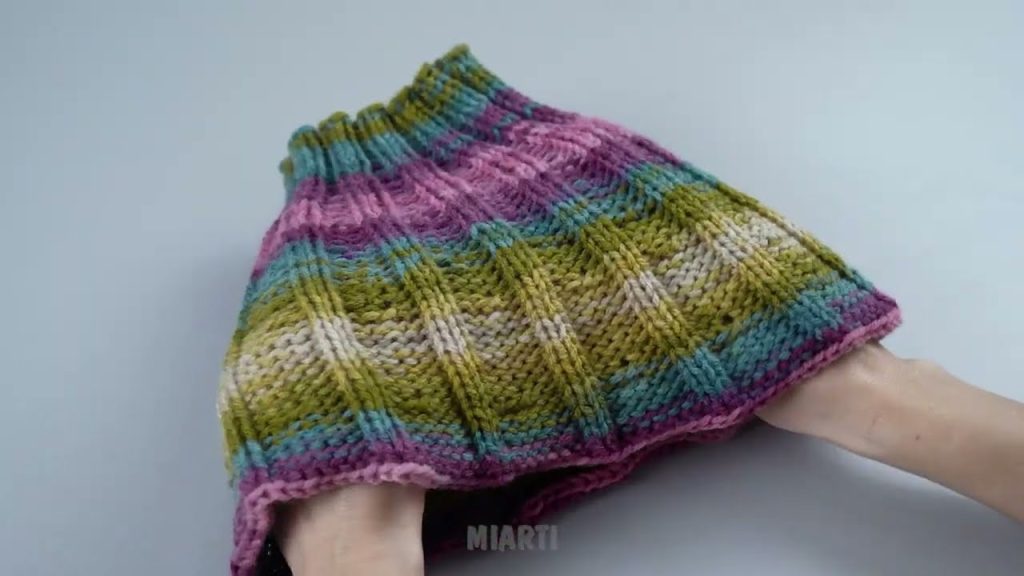
by Absolutely! I can guide you step by step on how to make a simple knitted snood suitable for beginners. A snood is a circular scarf that you can pull over your head, so it’s cozy and stylish. Here’s a detailed beginner-friendly tutorial:

Materials You’ll Need
- Yarn:
- Choose a soft, medium-weight yarn (worsted weight, category 4).
- A 100g–150g skein is usually enough for a simple snood.
- Knitting Needles:
- Circular needles are ideal (16–24 inches long) in a size that matches your yarn (usually 5–8 mm for worsted yarn).
- You can also use double-pointed needles if you prefer.
- Other Supplies:
- Stitch markers (optional, helps keep track of rounds).
- Scissors.
- Yarn needle for weaving in ends.
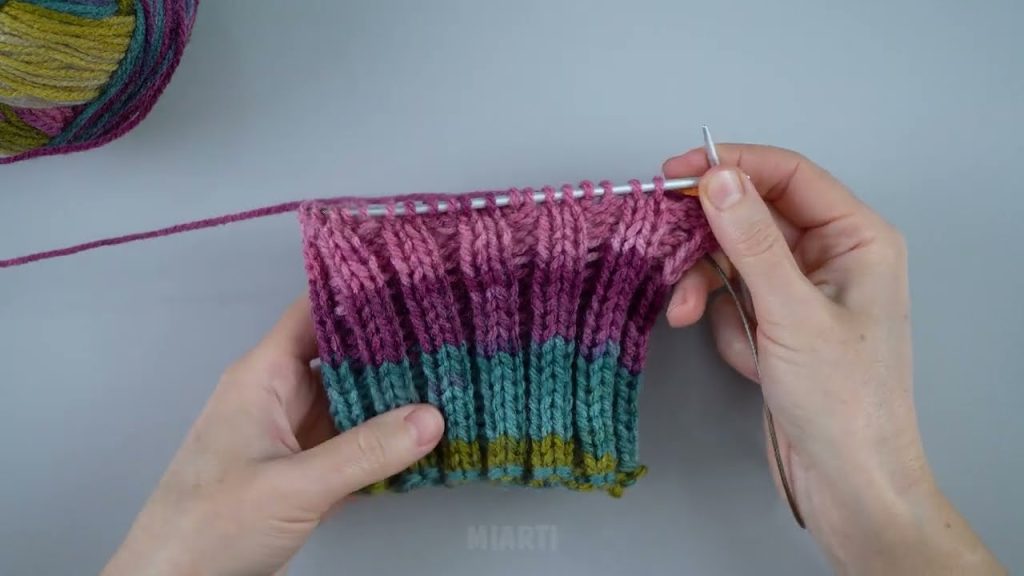
Step 1: Cast On
- Decide how wide you want your snood. A comfortable width for beginners is 8–10 inches.
- Use the long-tail cast-on method to cast on enough stitches for your chosen width. For medium-weight yarn with 6–7 mm needles, you might cast on 36–40 stitches.
Step 2: Join in the Round
- Carefully join your stitches in the round making sure not to twist them.
- Place a stitch marker to indicate the beginning of the round.
Step 3: Choose a Simple Stitch Pattern
For beginners, the easiest and effective stitch patterns are:
- Garter Stitch:
- Knit every row if working flat, or alternate knit and purl rounds for circular knitting.
- Stockinette Stitch in the Round:
- Knit all stitches in every round.
- Produces a smooth side (right side) and a slightly curled edge.
- Ribbing (Optional for Stretchy Edge):
- K2, P2 around the first few inches of the snood for a stretchy, neat edge.

Step 4: Knit Until Desired Length
- Keep knitting in your chosen stitch until the snood is long enough to loop comfortably around your neck (usually 20–25 inches for a single loop, 40–50 inches for a double loop).
Step 5: Bind Off
- Use a loose bind-off to keep the edge stretchy and comfortable.
- Make sure your last round is neat, and don’t pull too tight.
Step 6: Finish
- Weave in all loose yarn ends with a yarn needle.
- Block your snood if needed: gently wet it, shape it, and let it dry flat to even out stitches.
Tips for Beginners
- Choose chunky yarn if you want it to knit up faster.
- Use circular needles even for beginners—it’s easier to manage stitches in a loop.
- Keep your tension even; too tight makes it hard to stretch over the head, too loose makes it floppy.
- Try practicing your stitch pattern on a small swatch first.
If you want, I can also make a super simple step-by-step beginner diagram and stitch count guide for a snood that’s perfectly sized, so you can just follow along and knit it without worrying about numbers.
Watch tutorial: