 by
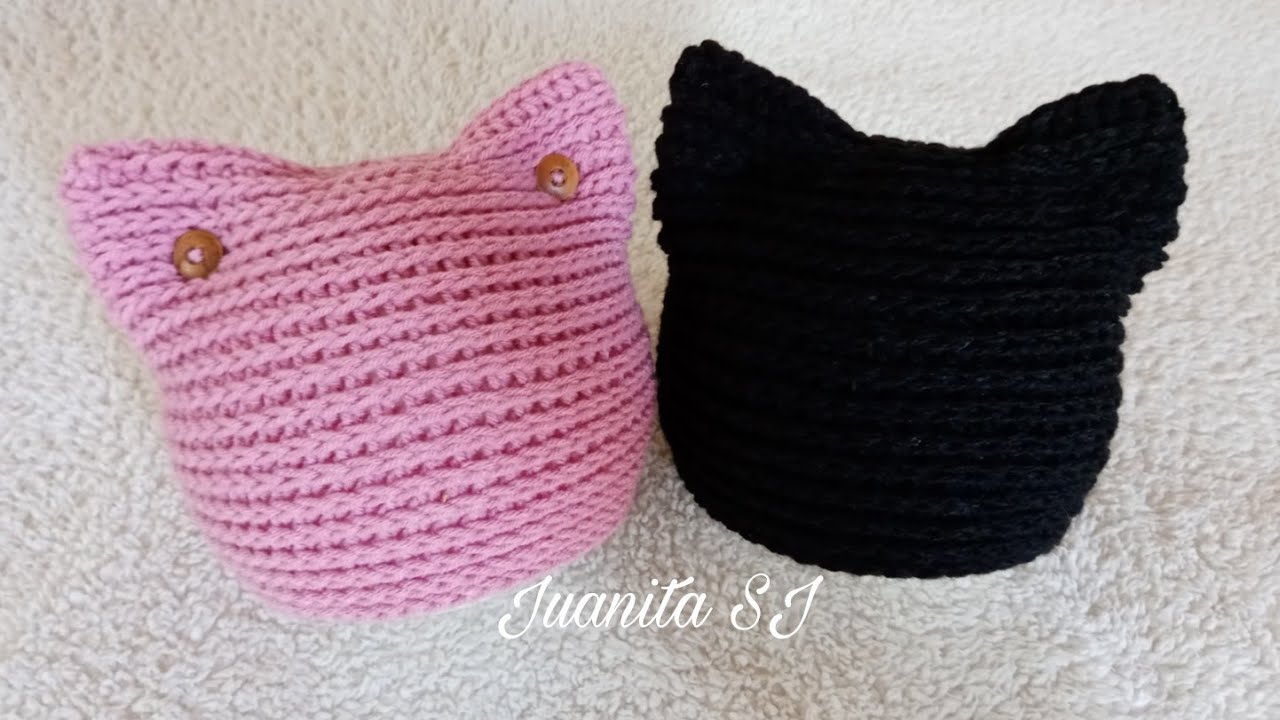
by Sure! 🧶 Here’s a step-by-step guide to making a crochet cat ear hat — a fun and cute project perfect for beginners and intermediate crocheters. I’ll describe everything you need from materials to shaping the ears.
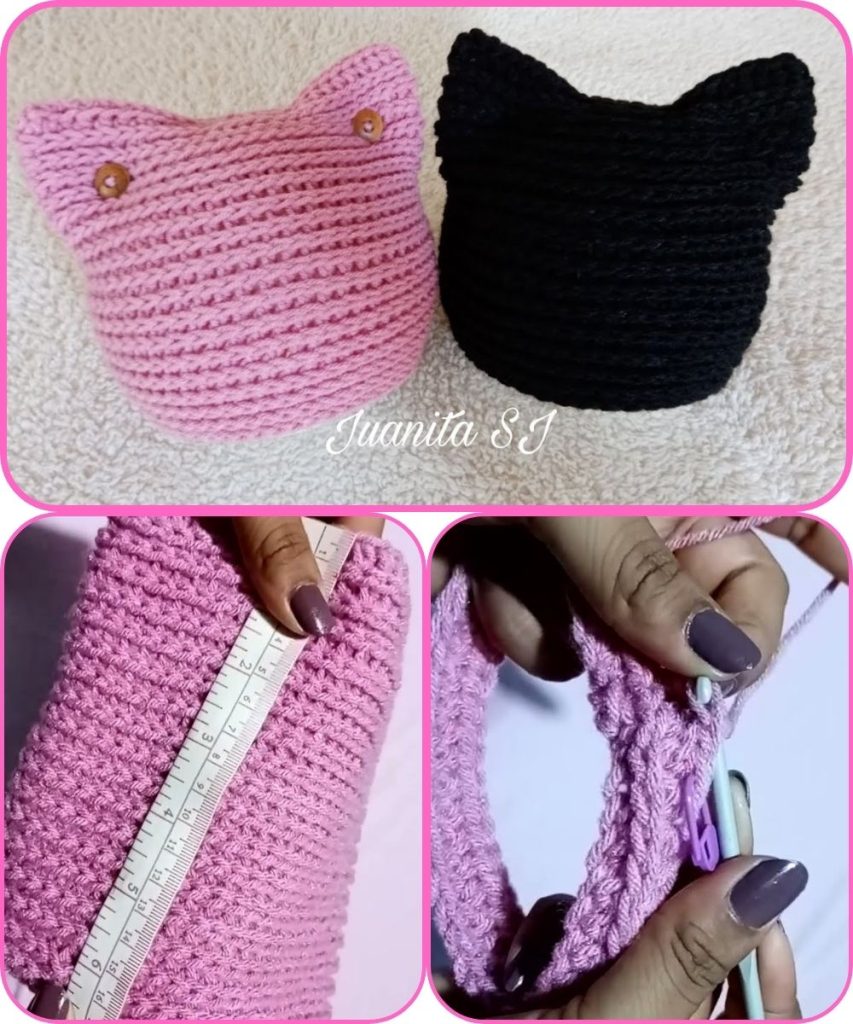
🐱 Crochet Cat Ear Hat – Step-by-Step Tutorial
🧵 Materials
- Yarn: Worsted weight (Category 4) yarn – about 150–200 yards
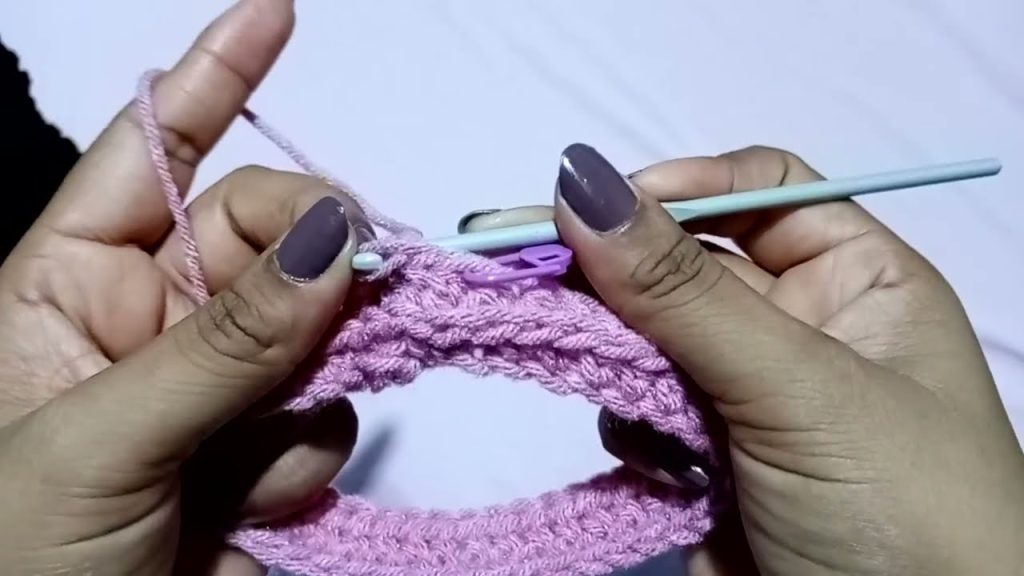
(acrylic or wool blend works well) - Hook: 5 mm (H-8) crochet hook
- Tapestry needle for sewing in ends
- Scissors
- Stitch marker (optional)
🪡 Step 1: Make a Magic Ring and Start the Crown
- Magic Ring: Make a magic ring (or chain 4 and join with a slip stitch to form a loop).
- Round 1: Chain 2 (counts as first double crochet), then make 9 more double crochets (DC) into the ring.
→ You should have 10 DC total. - Join with a slip stitch to the top of the first DC.
(You can adjust the stitch count if you want a smaller or larger hat.)
🪡 Step 2: Increase to Form the Hat’s Top
You’ll now increase in rounds to make the crown of the hat.
- Round 2: Ch 2, 2 DC in each stitch around. Join. → 20 DC
- Round 3: Ch 2, 1 DC in first stitch, 2 DC in next around. Join. → 30 DC
- Round 4: Ch 2, 1 DC in next 2 stitches, 2 DC in next around. Join. → 40 DC
- Round 5: Ch 2, 1 DC in next 3 stitches, 2 DC in next around. Join. → 50 DC
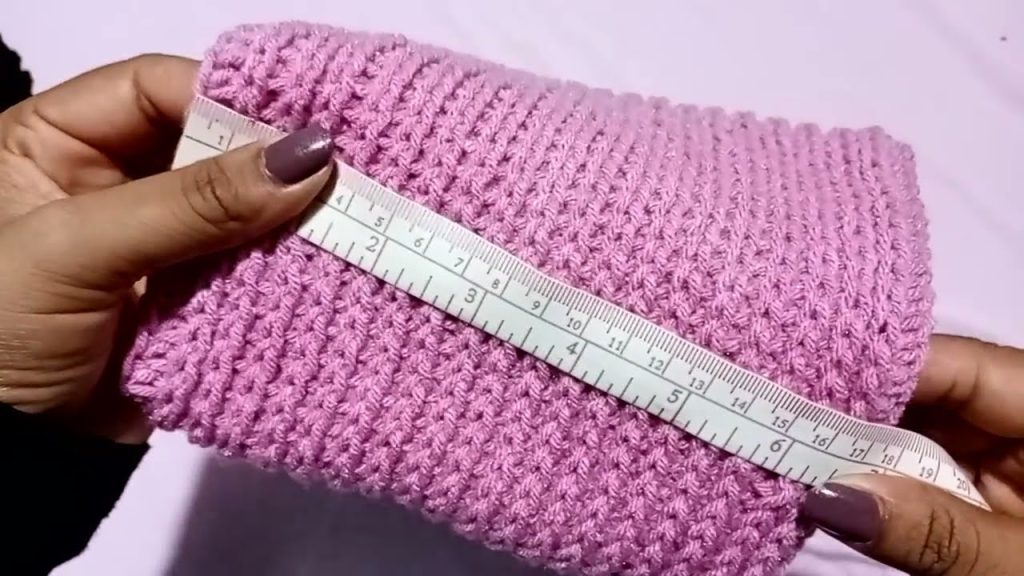
💡 Continue increasing evenly (add one more stitch between increases each round) until the circle’s diameter is about 6.5–7 inches (for an adult size hat).
🪡 Step 3: Build the Body of the Hat
- Once the crown is the right size, stop increasing.
Work 1 DC in each stitch around for about 5–6 inches to form the sides of the hat. - Continue until the hat reaches the desired length (typically 8–9 inches total height for an adult hat).
- Finish off: Cut yarn, leaving a few inches to weave in. Use the tapestry needle to weave in the end.
🪡 Step 4: Make the Cat Ears (x2)
You’ll crochet two small triangles.
Cat Ear (Make 2)
- Row 1: Chain 10.
- Row 2: DC in 3rd chain from hook, and across. (8 DC)
- Row 3: Ch 2, turn. DC2tog, DC in next 4, DC2tog (6 DC)
- Row 4: Ch 2, turn. DC2tog, DC in next 2, DC2tog (4 DC)
- Row 5: Ch 2, turn. DC2tog twice (2 DC)
- Row 6: Ch 2, turn. DC2tog (1 DC)
- Fasten off, leaving a long tail for sewing.
💡 Optional: Make smaller “inner ear” triangles in a contrasting color using half-double crochet for a layered look.
🪡 Step 5: Attach the Ears
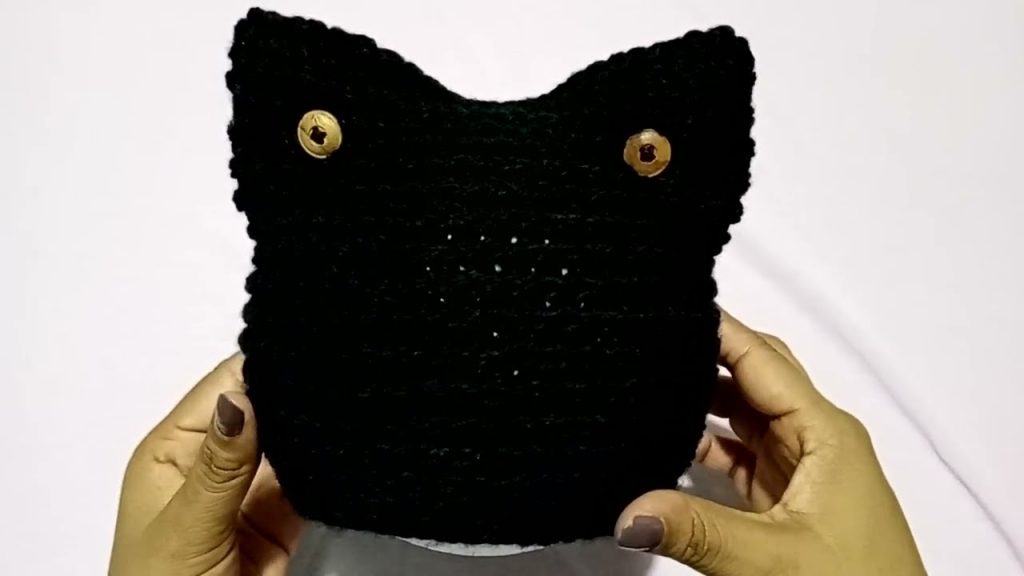
- Fold the hat flat so the front and back edges align.
- Mark where you want the ears (about 2–3 inches apart at the top).
- Use the yarn tails and tapestry needle to sew each ear securely in place.
- Weave in any remaining ends.
🪡 Step 6: Finishing Touches
- Add a pom-pom, buttons, or embroidery for personality.
- You can also line the hat with fleece for extra warmth.
- Lightly steam or shape the ears so they stand up nicely.
🎀 Optional Variation Ideas
- Use fuzzy yarn for a “fur effect.”
- Make striped ears or add contrast inner ears.
- Turn it into a kitty beanie with whisker embroidery.
Would you like me to write this as a printable pattern format (with gauge, sizes, and abbreviations), like you’d see on Ravelry or Etsy? That version is great if you plan to sell or share your design.
Watch tutorial: