 by
by Sure! Here’s a detailed guide and video tutorial outline for “How to Make a Crochet Shoulder Bag with Canvas – Amazing Result!”

You can use this as a script or description for a YouTube video, blog post, or social media tutorial.
🧶 Description:
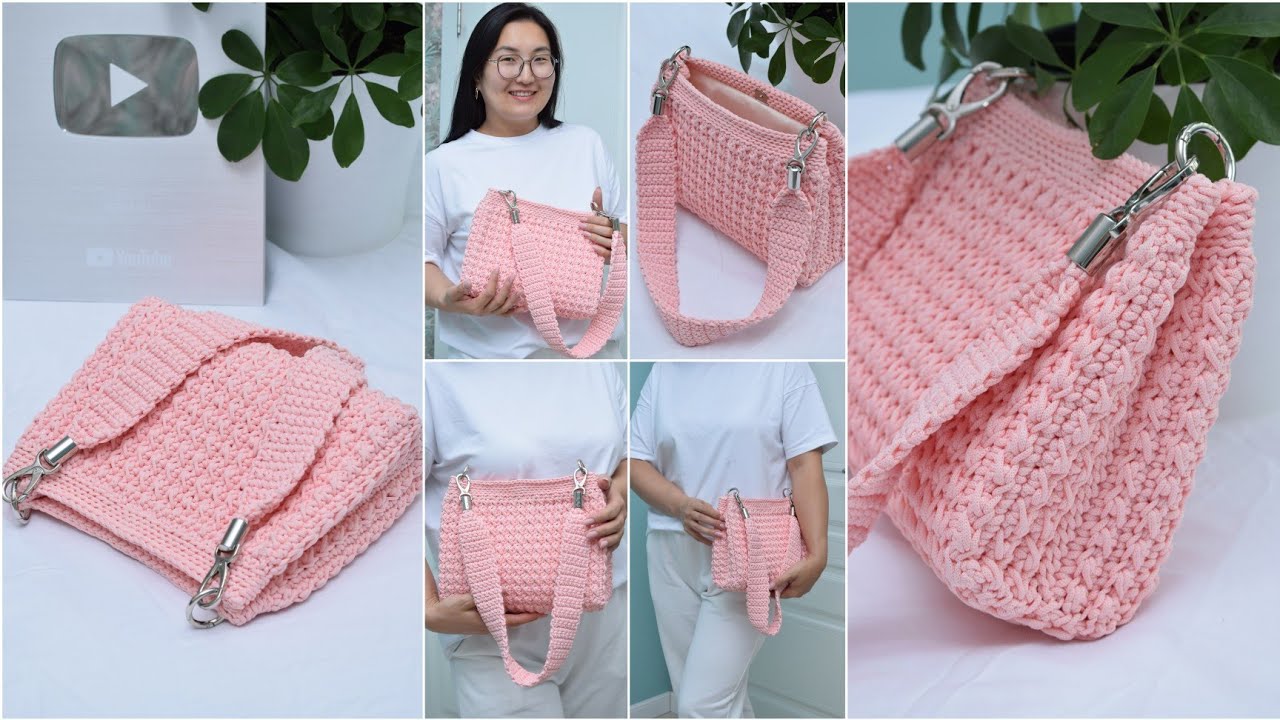
In this video, I’ll show you how to make a beautiful, durable crochet shoulder bag using a canvas base for extra structure and a professional finish. This project is perfect for beginners or intermediate crocheters who want to create a trendy, long-lasting handmade bag.
✨ Materials You’ll Need:
- Canvas fabric or pre-cut canvas bag base
- Cotton or nylon crochet yarn (medium weight recommended)
- Crochet hook (size 3.5 mm – 4.5 mm depending on yarn thickness)
- Scissors
- Yarn needle (for weaving ends)
- Measuring tape
- Fabric glue or sewing machine (optional)
- Bag strap or crochet strap (optional metal rings for attachment)
- Lining fabric (optional for inner finish)
🧵 Step-by-Step Instructions:
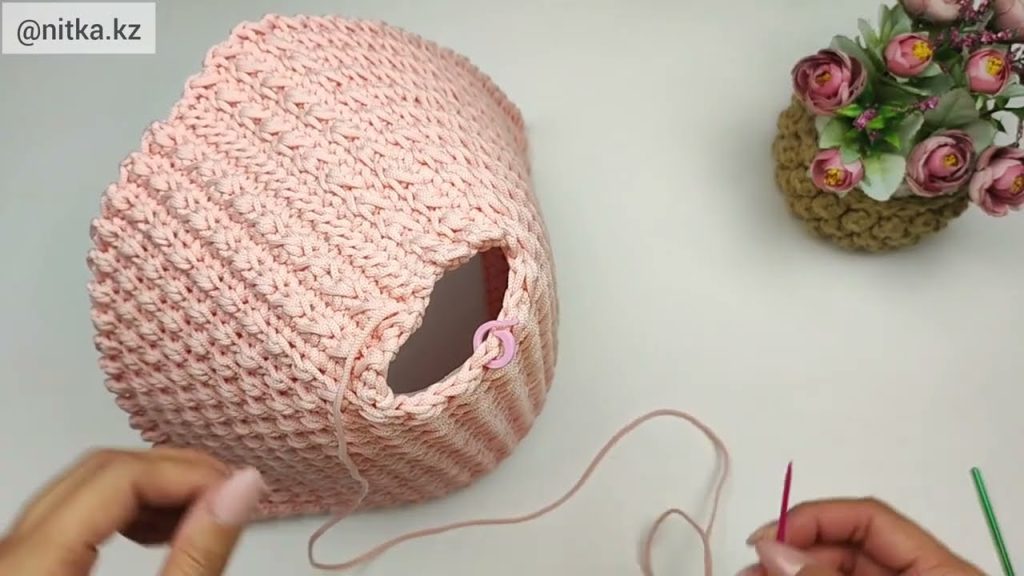
Step 1: Prepare the Canvas Base
- Cut your canvas fabric into the desired bag size — for example, 30 cm x 25 cm for a medium shoulder bag.
- If you have a pre-made canvas base, skip this step.
- Sew the sides and bottom together (right sides facing each other) to form a bag shape.
- Turn it right side out.
Step 2: Mark and Create Crochet Foundation
- Along the top edge of the canvas, mark small evenly spaced holes (about 1 cm apart).
- Using a sharp hook or awl, carefully make holes for your crochet stitches.
- Attach your yarn to the canvas with a slip knot and make a row of single crochet stitches all around the top edge. This creates the base for your crochet pattern.
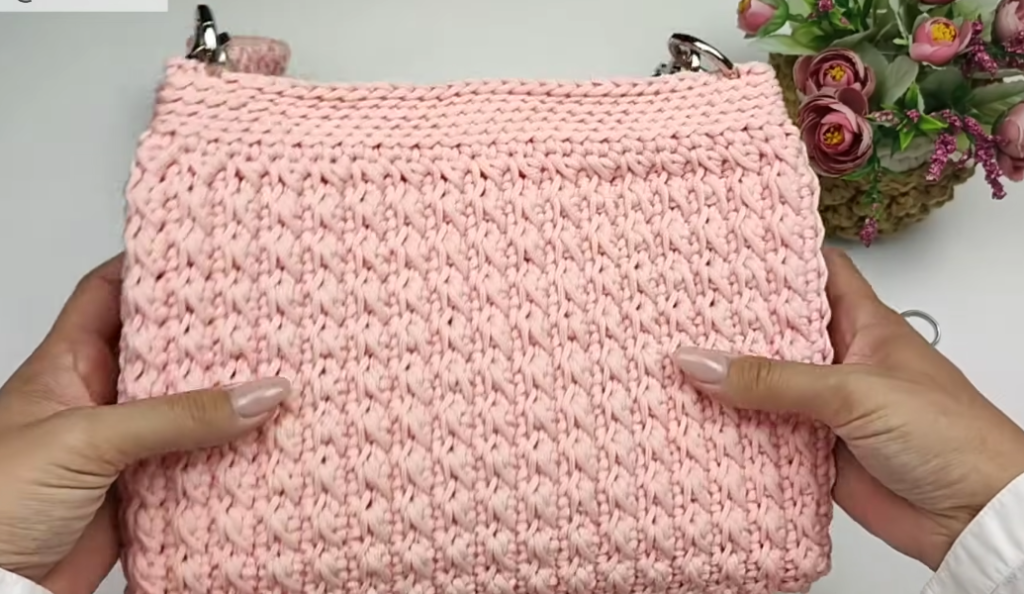
Step 3: Start Crocheting the Body
- After the foundation round, you can choose your favorite stitch pattern:
- Half double crochet (hdc) for a smooth, dense texture
- Granny stitch for a more decorative, open look
- Moss stitch for a modern, woven style
Continue crocheting in rounds until the bag reaches your desired height.
Step 4: Add Shoulder Strap
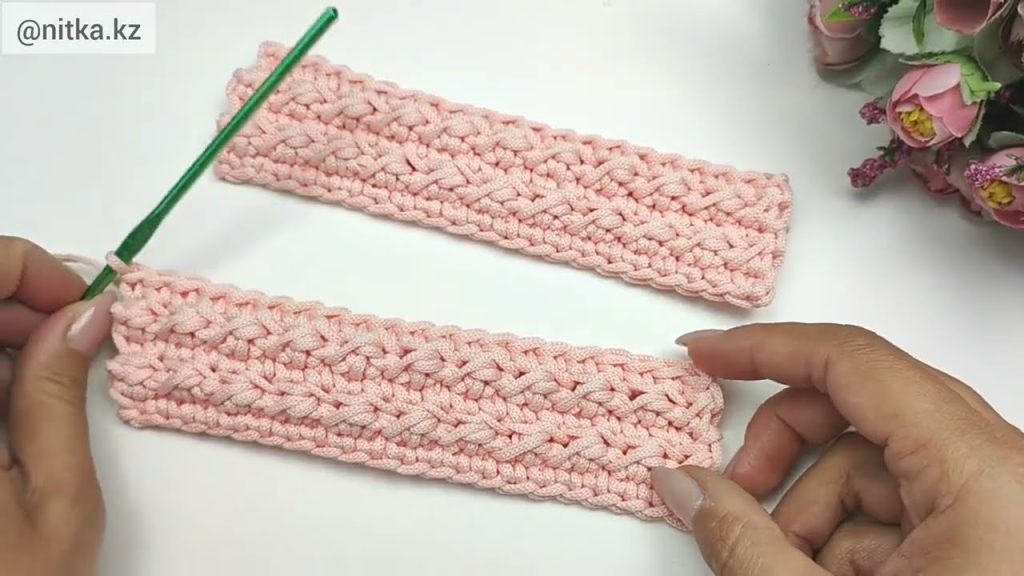
Option 1: Crochet the Strap
- Make a long chain (about 90–120 cm depending on your height).
- Work single or half double crochet rows until the strap is thick and strong.
Option 2: Attach a Pre-made Strap
- Use metal rings or D-rings to connect a leather or fabric strap to the sides of the bag.
Step 5: Finishing Touches
- Weave in all yarn ends with your needle.
- Add lining fabric inside if desired (hand-stitch or use fabric glue).
- Optionally, attach zippers, buttons, or magnetic snaps for closure.
🌸 Pro Tips:
- Use canvas fabric for durability — it helps your crochet bag keep its shape.
- Choose contrasting yarn colors for a trendy design.
- You can embroider or add appliqué to personalize your bag.
- For a waterproof finish, use coated canvas or spray a fabric protector.
🎬 Video Tutorial Outline:
Intro (0:00–0:30)
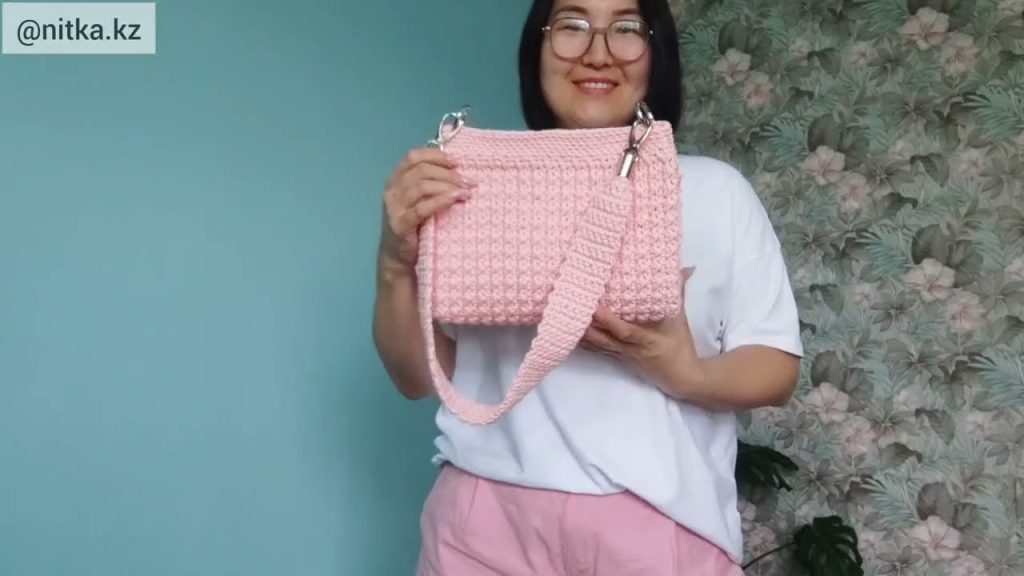
- Show the finished crochet shoulder bag.
- Quick overview of materials and the end result.
Step 1 – Canvas Preparation (0:30–2:00)
- Demonstrate cutting, sewing, and forming the bag base.
Step 2 – Crochet Foundation (2:00–4:00)
- Show making holes and the first crochet round.
Step 3 – Crocheting the Body (4:00–8:00)
- Demonstrate pattern stitches and progress.
- Share tips for neat edges.
Step 4 – Adding Strap (8:00–9:30)
- Crochet or attach strap with hardware.
Step 5 – Finishing & Styling (9:30–10:30)
- Add lining, closures, and final touches.
- Show the bag on your shoulder — highlight the structure and design.
Outro (10:30–11:00)
- Showcase the finished bag in good lighting.
- Invite viewers to like, subscribe, and comment.
💬 Example YouTube Description:
Learn how to make this stunning crochet shoulder bag with a sturdy canvas base! 💕
It’s stylish, practical, and easy to make — perfect for everyday use.🧶 Materials listed below!
👇 Watch till the end for tips on customizing your bag!#CrochetBag #DIYHandbag #CrochetTutorial #CanvasBag #HandmadeStyle
Would you like me to include a sample crochet pattern (written stitches) for the bag body (e.g., using half double crochet or a textured stitch)? I can add that next so you can share it in your tutorial or description.
Watch tutorial: