 by
by Absolutely! Let’s go step by step through how to make a crocheted visor hat, also known as a crocheted sun hat or cap with a brim. Below you’ll find a complete beginner-friendly guide — from materials and sizing to detailed, step-by-step instructions.

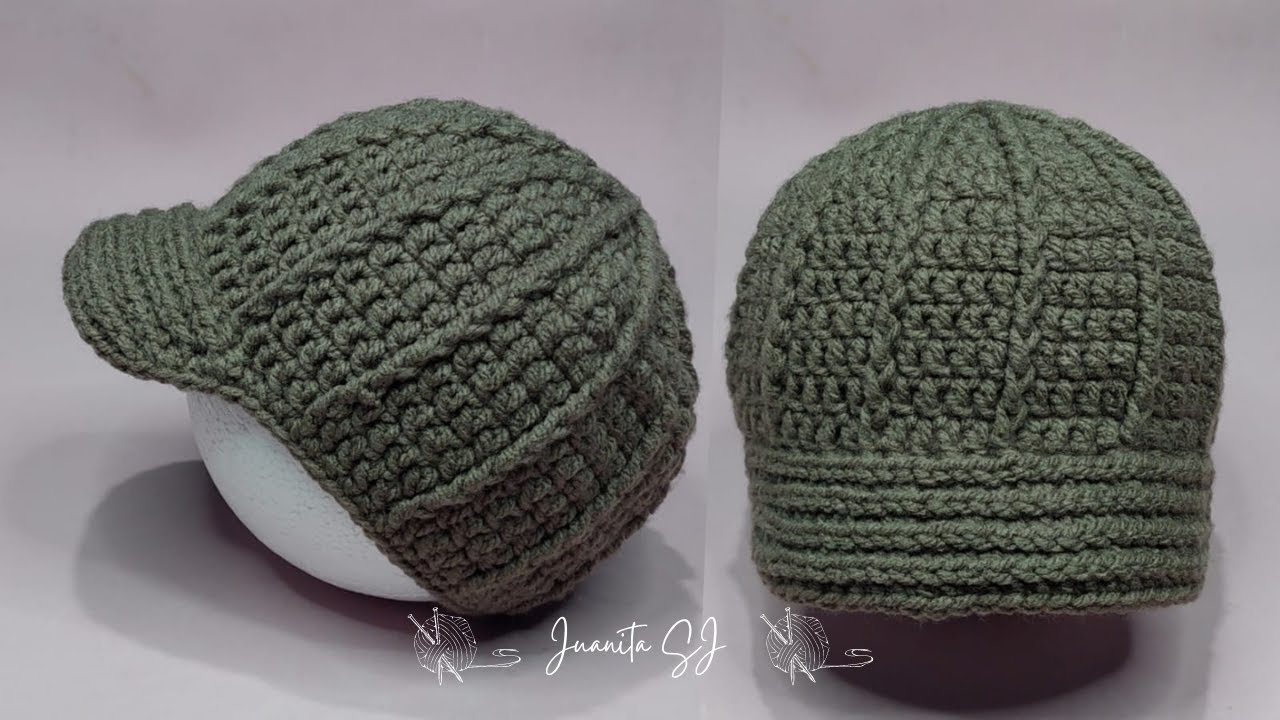
🧶 Crocheted Visor Hat — Step-by-Step Guide
🧵 Materials You’ll Need:
- Yarn: Medium weight (Category 4) cotton or cotton-blend yarn (approx. 150–200 yards)
- Crochet hook: Size H/8 (5 mm) or as needed for gauge
- Stitch marker
- Scissors
- Yarn needle (for weaving in ends)
- Optional: Plastic canvas or interfacing (to stiffen the visor brim)
🧩 Abbreviations (US Terms)
| Abbreviation | Stitch Name |
|---|---|
| ch | chain |
| sl st | slip stitch |
| sc | single crochet |
| hdc | half double crochet |
| dc | double crochet |
| st(s) | stitch(es) |
| inc | increase (2 sts in one stitch) |
| dec | decrease (crochet two stitches together) |
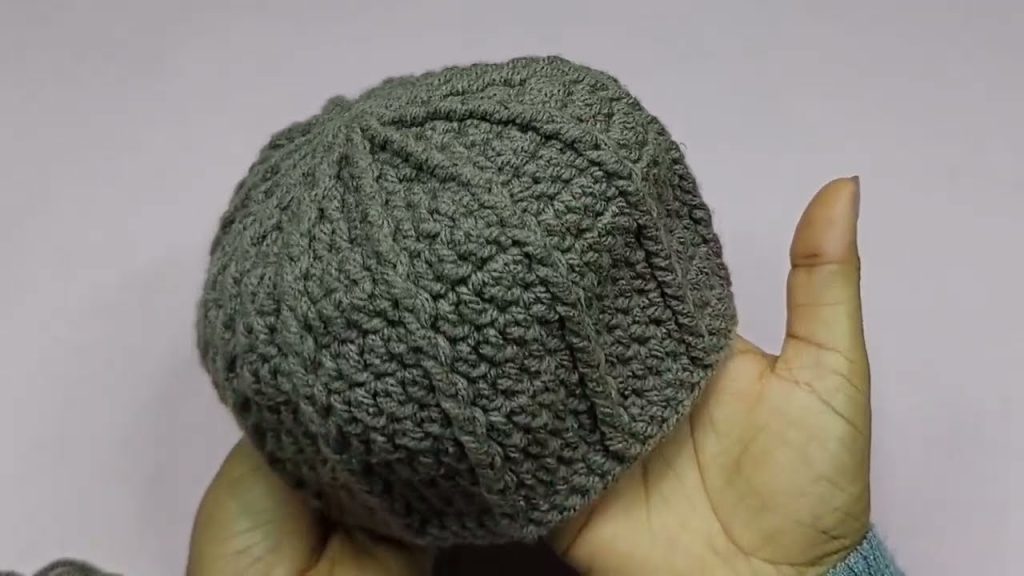
🎩 Step 1: Create the Crown (Top of Hat)
You’ll start by crocheting in the round to form the top of the hat.
- Magic ring (or ch 4, join with sl st to form ring).
- Round 1: Ch 2 (does not count as stitch), work 12 dc in ring. Join with sl st to first dc. (12 sts)
- Round 2: Ch 2, 2 dc in each st around. Join. (24 sts)
- Round 3: Ch 2, 1 dc in next st, 2 dc in next st — repeat around. Join. (36 sts)
- Round 4: Ch 2, 1 dc in next 2 sts, 2 dc in next st — repeat. Join. (48 sts)
- Round 5: Ch 2, 1 dc in next 3 sts, 2 dc in next st — repeat. Join. (60 sts)
🪡 Continue increasing evenly until the circle’s diameter matches the desired crown size:
- Baby: 5″
- Child: 6″
- Adult: 7″–7.5″
🧢 Step 2: Shape the Sides (Body of Hat)
Now that the top is complete, crochet straight down without increasing.
- Rounds 6–12 (or desired length): Ch 2, 1 dc in each st around. Join each round.
- For a snugger fit, you can switch to hdc or sc stitches on lower rounds.
💡 Tip: Try the hat on after a few rounds — you can add more rounds for a deeper cap or fewer for a shallower style.
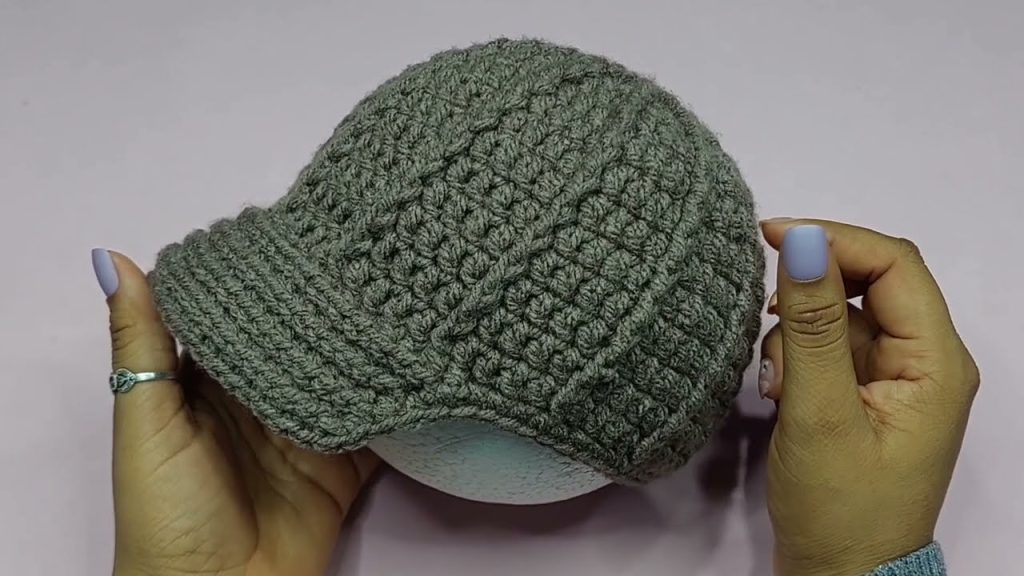
🌞 Step 3: Form the Visor (Brim)
The visor is usually worked in rows, not rounds.
- Find the front center: Fold hat in half to locate the middle front.
- Attach yarn to one side where you want the visor to start (typically about 10–12 stitches from the front center on each side).
- Row 1: Ch 1, sc in next 20–24 sts (across front). Turn.
- Row 2: Ch 1, sc in each st across, dec 1 st at each end. Turn.
- Row 3: Repeat Row 2 (continue decreasing evenly on both ends).
- Row 4: Continue until visor is about 2″–3″ deep or as wide as desired. Fasten off.
🪡 Optional: For a stiffer brim, cut a piece of plastic canvas or fusible interfacing to fit between two visor layers, then crochet around to encase it.
🎀 Step 4: Finishing Edge
To make it neat and uniform:
- Join yarn anywhere on the edge of the visor.
- Round: Work sc evenly around the entire hat edge (around visor and back).
- Join with sl st and fasten off.
- Weave in all ends using a yarn needle.
🧤 Step 5: Add Details (Optional)
- Decorate: Add a button, bow, or flower applique.
- Color Play: Try color-blocking (different color for visor and crown).
- Textured Look: Use puff or front-post stitches for a sporty style.
📏 Sizing Guide (Head Circumference)
| Size | Head Circumference | Finished Hat Diameter |
|---|---|---|
| Baby | 16–17 in | 5 in |
| Child | 18–20 in | 6 in |
| Adult Small | 21–22 in | 7 in |
| Adult Large | 23–24 in | 7.5 in |
🧺 Care Instructions
- Hand wash in cool water
- Lay flat to dry
- Avoid ironing the visor if you used plastic canvas
Would you like me to include pictures or diagrams for each step (e.g., crown shaping, visor shaping)? I can generate clear crochet process illustrations for visual guidance.
Watch tutorial: