 by
by Absolutely! 🧶 Here’s a detailed, step-by-step tutorial on how to make a crochet cat basket, perfect for beginners and intermediate crocheters. This guide will cover materials, stitches, pattern instructions, and tips for shaping and stiffening your basket so your kitty has the coziest spot in the house.
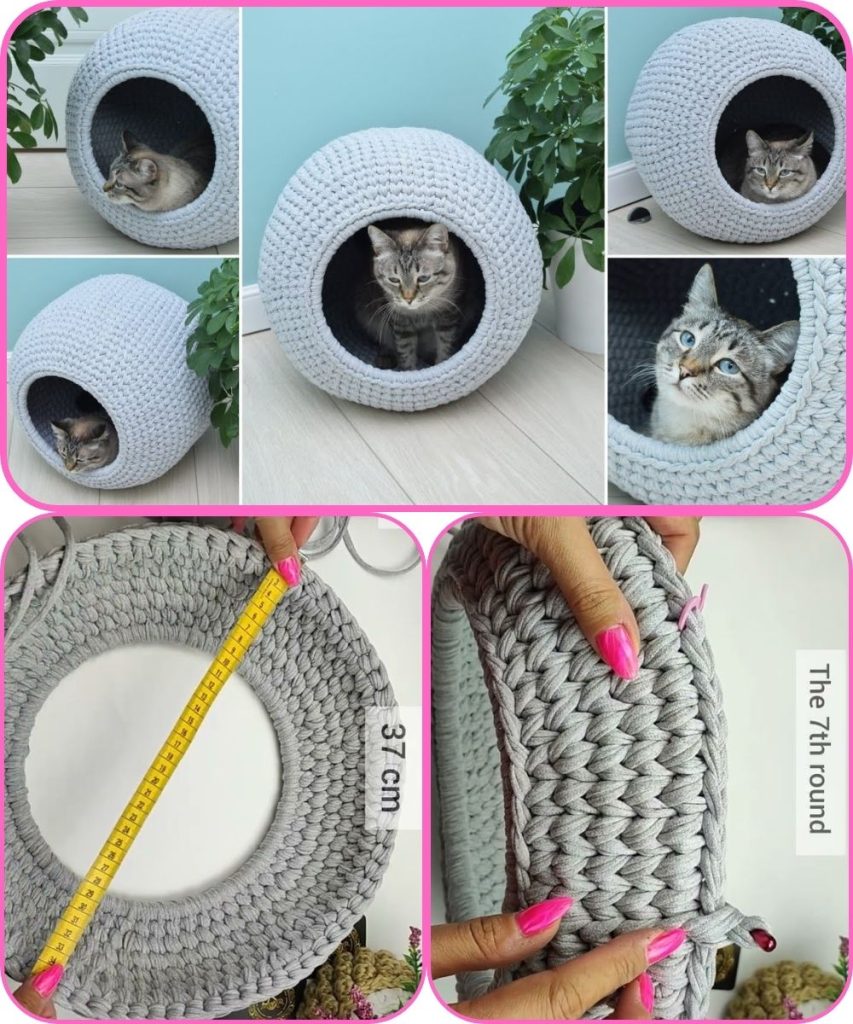
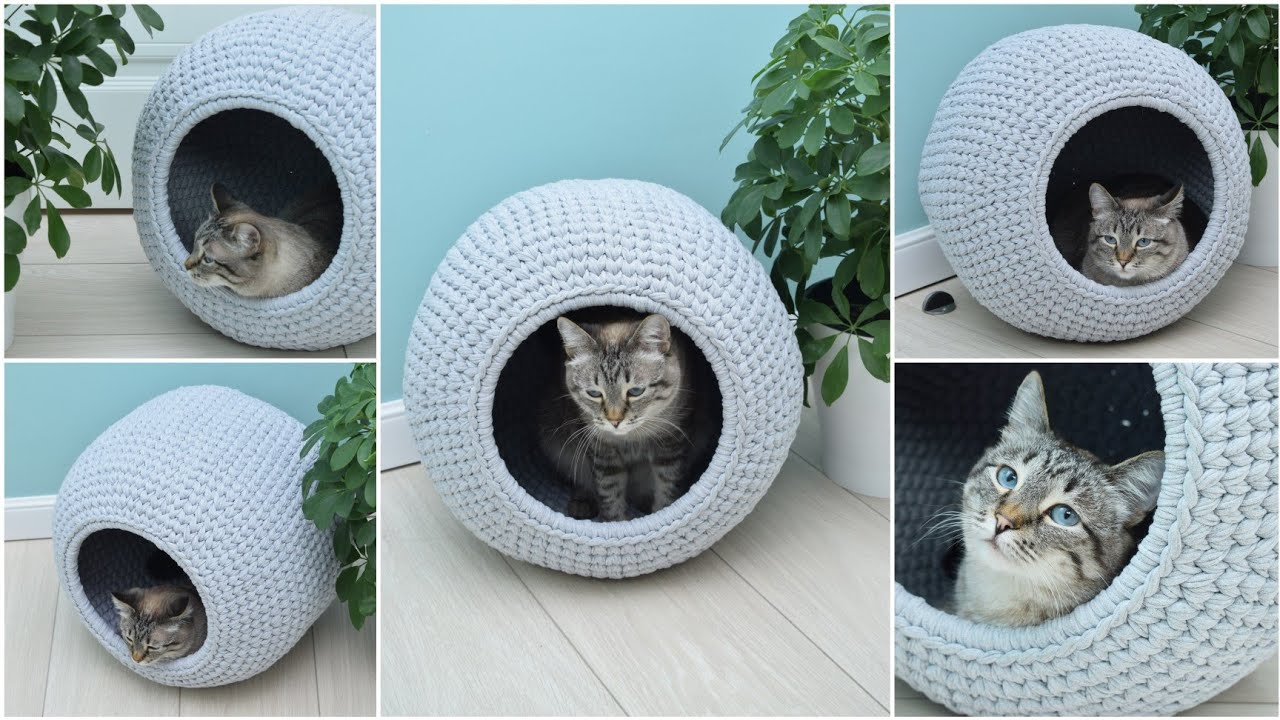
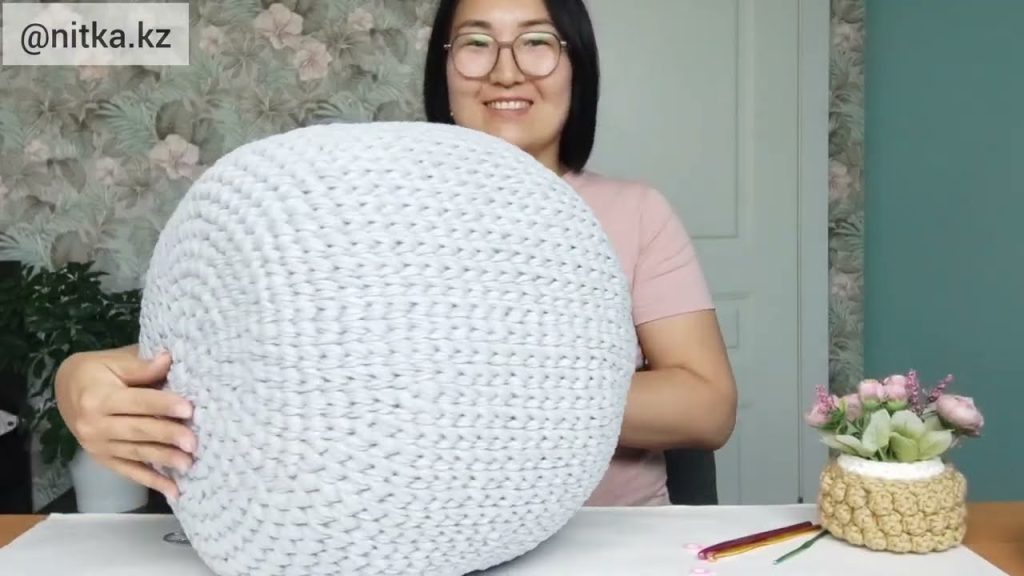
🐾 Crochet Cat Basket Tutorial
🧵 What You’ll Need
Materials:
- Yarn: Super bulky weight yarn (category 6 or 7).
Recommended: T-shirt yarn, chunky cotton rope yarn, or thick wool blend (e.g., Lion Brand Wool-Ease Thick & Quick or Hoooked Zpagetti). - Hook: 9 mm – 12 mm crochet hook (depending on your yarn thickness).
- Stitch marker (optional, for marking rounds).
- Scissors
- Yarn needle (for weaving in ends)
- Optional: Fabric stiffener or diluted PVA glue if you want your basket extra firm.
Finished Size (Adjustable): ~16–18 inches (40–45 cm) in diameter, 6–8 inches (15–20 cm) tall.
🪡 Step 1: Make the Base
Stitch used: Single crochet (SC) in the round.
- Start with a magic ring.
(Alternatively, chain 2 and work into the first chain.) - Round 1: 6 SC into the ring. (6 stitches)
Pull the ring tight. - Round 2: 2 SC in each stitch around. (12 stitches)
- Round 3: 1 SC in next stitch, 2 SC in next stitch — repeat around. (18 stitches)
- Round 4: 1 SC in next 2 stitches, 2 SC in next stitch — repeat around. (24 stitches)
- Continue increasing this way:
- Each new round adds 1 more single crochet between increases.
- Example: Round 5 = 1 SC in next 3 stitches, 2 SC in next stitch → (30 stitches)
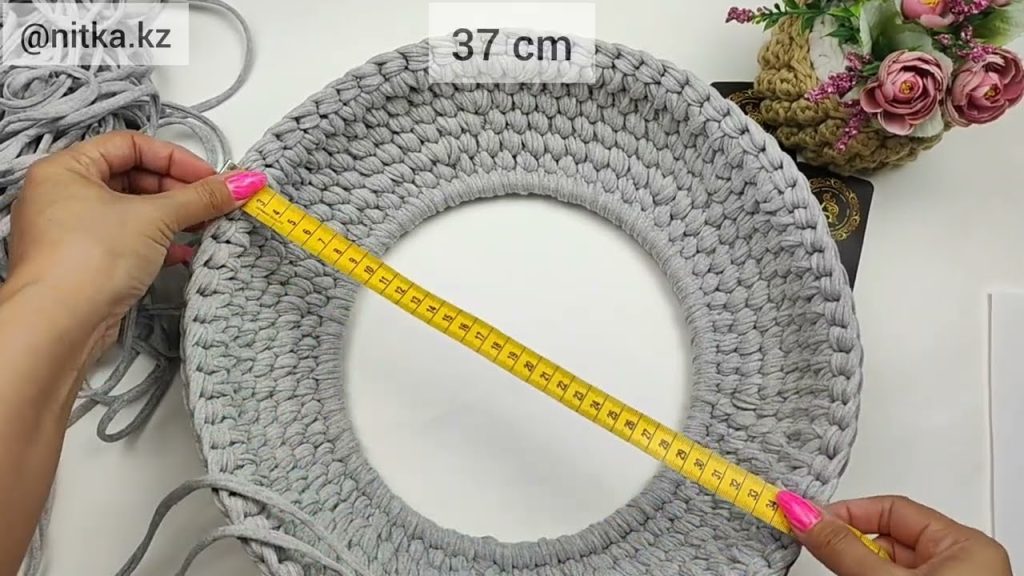
- Continue until the circle measures the desired diameter of your cat bed (typically 16–18 inches).
The larger the circle, the wider your basket.
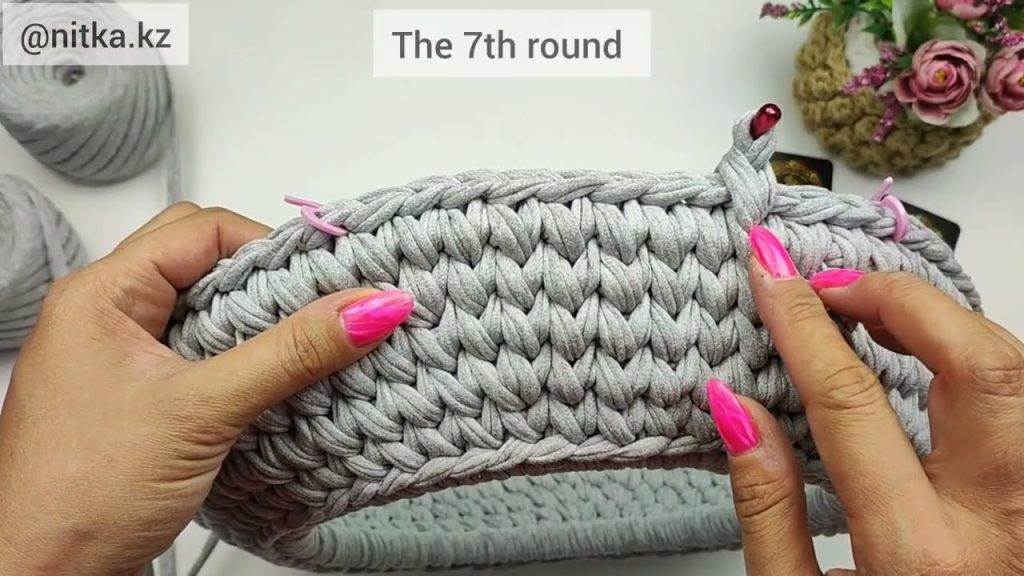
🧶 Step 2: Form the Sides
Now you’ll stop increasing so the edges turn upward.
- Next Round: Work 1 SC in the back loop only (BLO) of each stitch around.
→ This creates a sharp edge and starts turning the sides upward. - Following Rounds (approx. 8–12 rounds):
Work 1 SC in both loops of each stitch around, without increasing.
Continue until the sides reach your desired height (6–8 inches is common).
🐈 Step 3: Create a Rolled Edge (Optional but Cute!)
To make a soft rim:
- Work 1 round of slip stitches loosely all around.
- Then work 1 more round of SC on top of that to make a firm rolled edge.
You can also add a round of half double crochet (HDC) if you want a chunkier border.
🧴 Step 4: Shape and Finish
- Fasten off and weave in the ends using your yarn needle.
- If your sides are a bit floppy, you can:
- Mix equal parts white glue (PVA) and water.
- Lightly brush the inside of the basket.
- Shape it and let it dry completely (12–24 hours).
- Alternatively, you can crochet a second basket slightly smaller and nest them for double thickness and firmness.
✨ Optional Add-ons
- Cushion: Add a round cushion or crochet a small round pillow for the base.
- Cat ears: Crochet two small triangles and sew them to the rim.
- Colors: Use variegated yarn or switch colors halfway for a two-tone look.
🧶 Basic Crochet Terms (US)
| Abbreviation | Meaning |
|---|---|
| CH | Chain |
| SC | Single Crochet |
| HDC | Half Double Crochet |
| SL ST | Slip Stitch |
| BLO | Back Loop Only |
| INC | Increase (2 SC in 1 stitch) |
🐾 Tips for Success
- Use sturdy yarn to help the basket hold its shape.
- If using t-shirt yarn, keep your tension even — too tight and it’ll curl, too loose and it’ll flop.
- You can make larger or smaller baskets by changing hook size or the number of increase rounds.
Would you like me to include a printable pattern version (with row-by-row stitch counts) or a video tutorial link recommendation next?
Watch tutorial: