 by
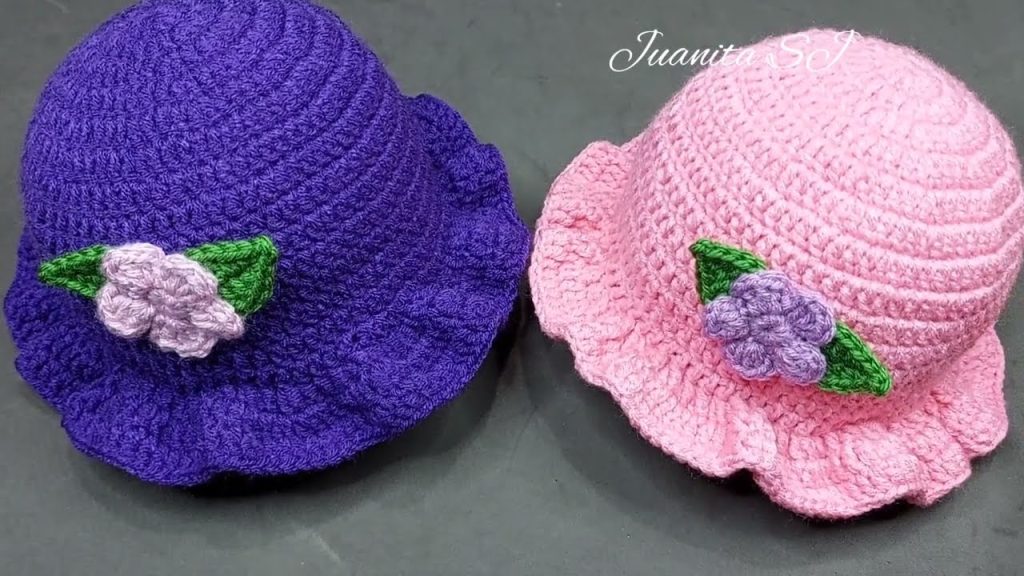
by Absolutely! I can provide a detailed, step-by-step guide on how to make a knitted hat, including tips for beginners. I’ll assume you’re making a basic adult-sized beanie using simple knitting techniques.
Materials Needed:
- Yarn: Medium-weight (worsted) yarn is a good choice for beginners.
- Knitting needles: Circular needles (16-inch, size US 8 / 5 mm) or double-pointed needles for the top.
- Scissors
- Tapestry needle for weaving in ends.
- Measuring tape
Step-by-Step Instructions:
Step 1: Choose Your Pattern & Size
- Decide the circumference and length of your hat.
- Adult beanies usually measure about 20–22 inches (51–56 cm) in circumference and 8–10 inches (20–25 cm) long.
- Check your yarn’s gauge (usually on the yarn label) and knit a small swatch to make sure your stitches match.
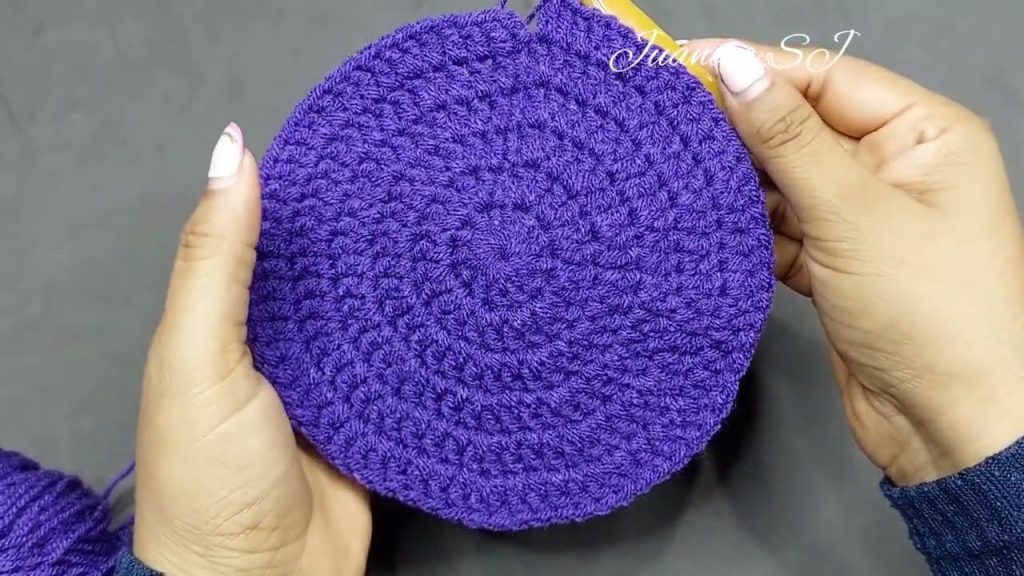
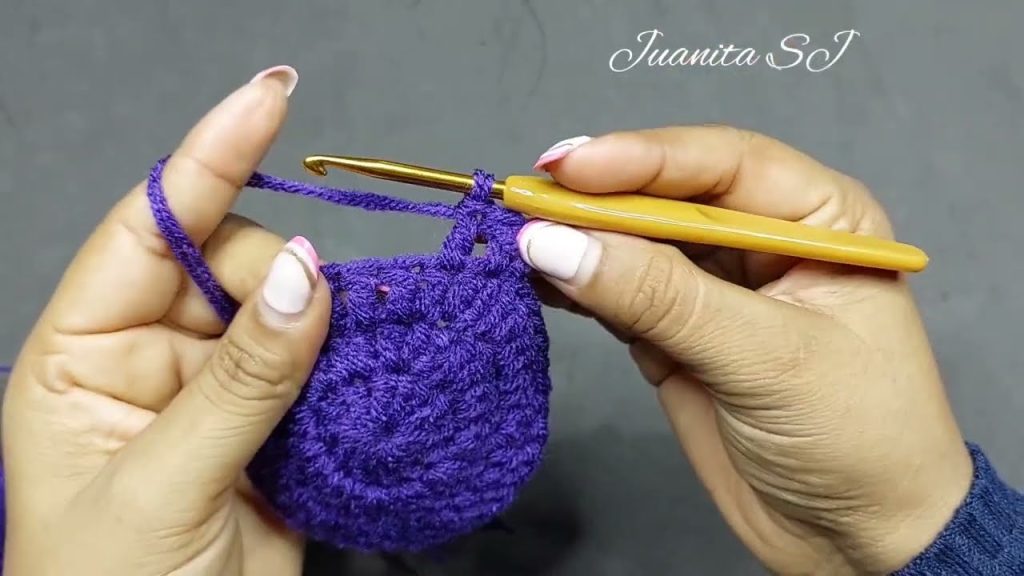
Step 2: Cast On Stitches
- Use a stretchy cast-on (like long-tail cast-on) to avoid a tight brim.
- For a standard adult hat, you’ll usually cast on 80–100 stitches depending on your gauge.
- Join in the round carefully, making sure not to twist your stitches.
Step 3: Knit the Brim
- The brim is usually 1–2 inches long.
- Use ribbing for elasticity (common: k2, p2 rib).
- k2 = knit 2 stitches
- p2 = purl 2 stitches
- Continue ribbing until the brim reaches the desired length.
Step 4: Knit the Body of the Hat
- Switch to stockinette stitch (knit all stitches if knitting in the round).
- Continue knitting until the hat measures 6–7 inches from the cast-on edge, depending on how slouchy you want it.
Step 5: Decrease for the Crown
- You need to shape the top of the hat by decreasing stitches.
- Common decrease pattern (example for 100 stitches):
- Round 1: K8, k2tog repeat around
- Round 2: Knit all stitches
- Round 3: K7, k2tog repeat around
- Round 4: Knit all stitches
- Repeat decreasing every other round, reducing the “k” by 1 each time (k6, k2tog → k5, k2tog → …)
- When you have 8–10 stitches left, cut the yarn leaving a 6-inch tail.
Step 6: Finish the Hat
- Thread the yarn tail through a tapestry needle.
- Pull the tail through the remaining stitches and tighten to close the top.
- Weave in all yarn ends on the inside of the hat.
Step 7: Optional Touches
- Add a pom-pom to the top.
- Use different colors for stripes.
- Try cables or patterns for more advanced textures.
Tips for Beginners:
- Keep tension even: not too tight, not too loose.
- Use stitch markers to mark the beginning of the round.
- If using double-pointed needles for the crown decreases, carefully switch from circular needles when the circumference becomes too small.
- Always measure as you go to avoid a hat that’s too small or too large.
If you want, I can also draw a visual step-by-step diagram showing each stage, which makes it super easy to follow for beginners.
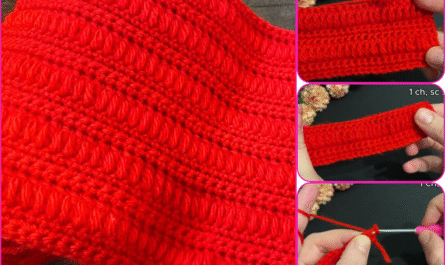
Watch tutorial: