 by
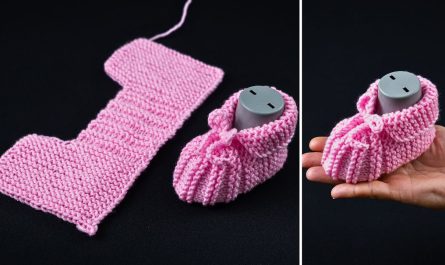
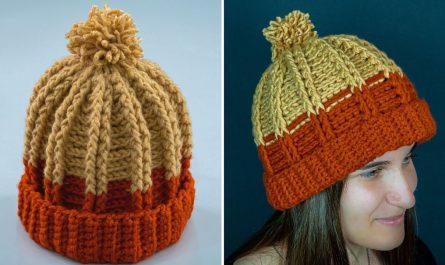
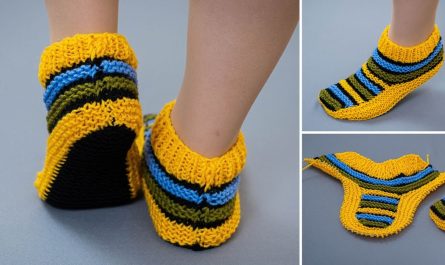
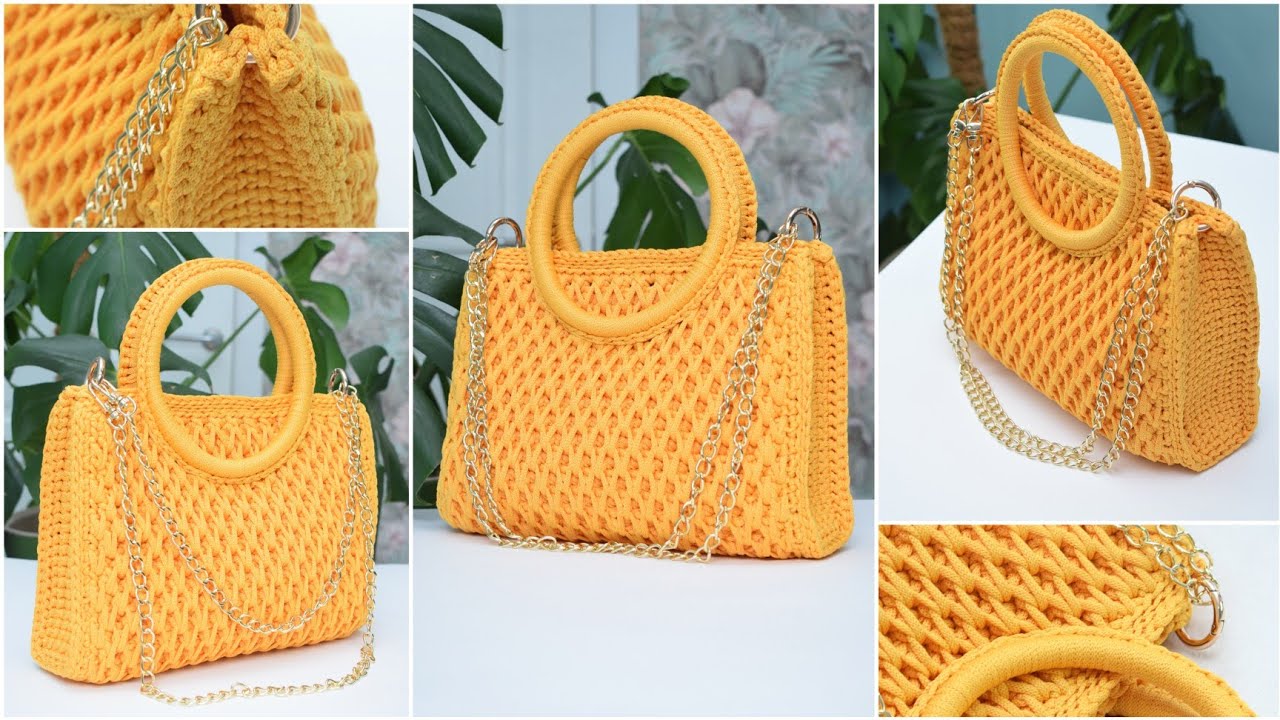
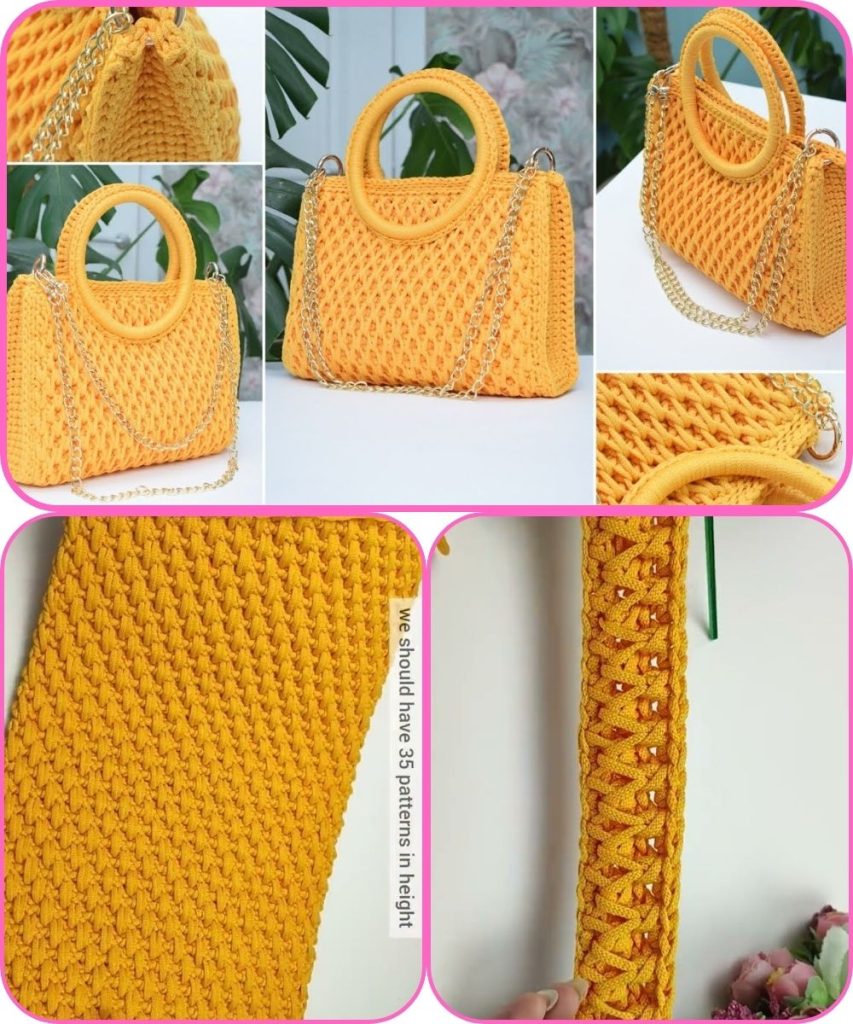
by Absolutely! Here’s a detailed guide on how to make a crochet bag with round handles using a honeycomb pattern. I’ll break it down step by step, including materials, techniques, and tips for success.
Materials Needed
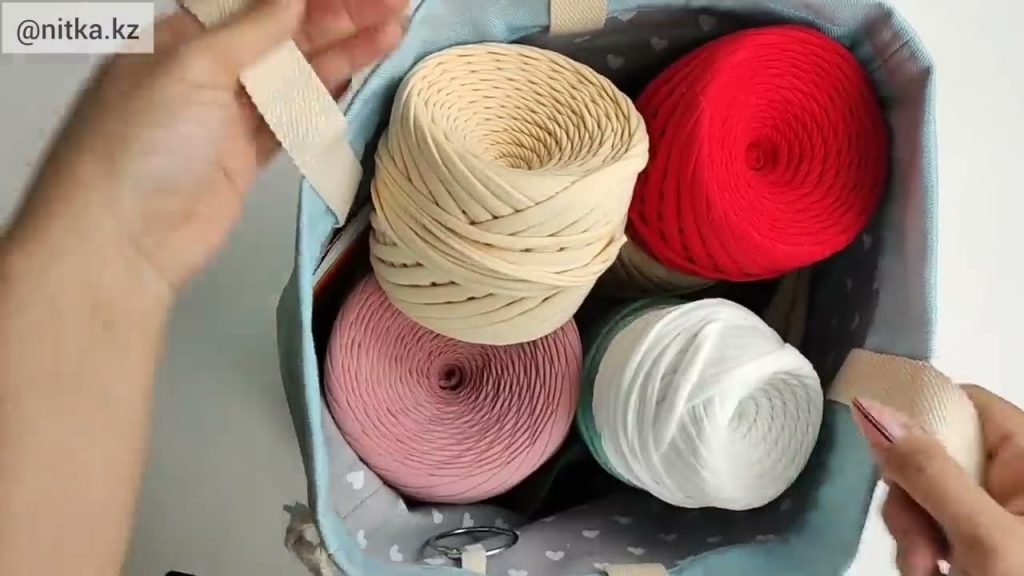
- Yarn:
- Medium weight cotton yarn is ideal for bags as it gives structure.
- You’ll need about 200–300g depending on bag size.
- Crochet Hook:
- Typically, a 4.0 mm – 5.0 mm hook works well for medium weight cotton yarn. Check your yarn label for recommended size.
- Round Handles:
- Wooden or acrylic round handles, usually 4–6 inches in diameter.
- Other Supplies:
- Scissors
- Yarn needle
- Stitch markers (optional)
Abbreviations (US Terms)
- ch = chain
- sc = single crochet
- dc = double crochet
- sl st = slip stitch
- sk = skip
- sp = space
Step 1: Choose Your Bag Size
Decide on the width and height of your bag. A common size for a medium handbag is about 10–12 inches wide and 8–10 inches tall.
Step 2: Start the Base
- Chain foundation:
- Chain the width of your bag. Make sure the number of chains allows the honeycomb pattern to fit (honeycomb usually works in multiples of 2 or 3, depending on your stitch choice).
- First row:
- Work single crochet (sc) across the foundation chain. This creates a firm base.
- Optional:
- For extra sturdiness, make 2–3 rows of sc before starting the honeycomb pattern.
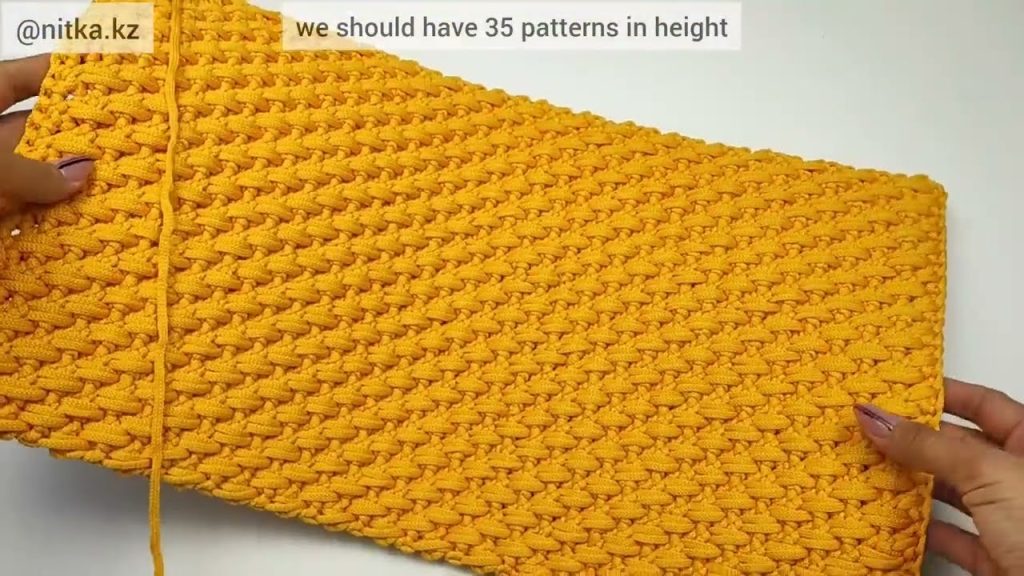
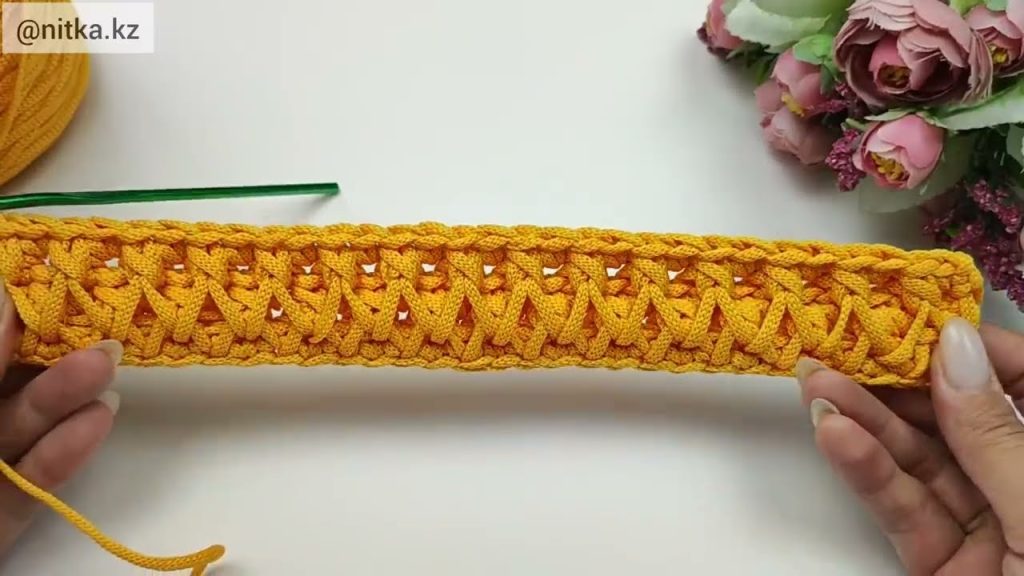
Step 3: Honeycomb Pattern
The honeycomb pattern creates a textured, lattice-like look. Here’s a simple version:
Row 1:
- Ch 2 (counts as first dc), dc in next st, ch 1, skip 1 st, repeat across, end with dc in last st.
Row 2:
- Ch 2, dc in each dc from previous row, ch 1 over chain space, repeat across.
Row 3 and onward:
- Repeat Row 2 until your bag reaches the desired height.
Tip: The honeycomb pattern can also be created using front post double crochet (fpdc) and back post double crochet (bpdc) to make raised hexagonal shapes. This gives a more authentic honeycomb texture.
Step 4: Create the Bag Body
- Continue crocheting in honeycomb pattern until your piece matches the desired height.
- If you want a square or rectangular bag, keep the width constant. For a rounded bottom, gradually decrease stitches at the base using sc.
Step 5: Attach Round Handles
- Placement:
- Fold the top of your bag over the handles, or leave a few stitches below the top edge.
- The handles should be evenly spaced from each side.
- Attachment:
- Use single crochet or slip stitches to attach the bag to the handles.
- Wrap the yarn tightly around the handle if needed to secure.
- Make 2–3 rows around the handle for strength.
Step 6: Finish the Bag
- Weave in all loose ends with a yarn needle.
- Optionally, block the bag lightly to even out the honeycomb pattern.
- You can also add a lining inside the bag to make it sturdier.
Optional Embellishments
- Tassels or pom-poms at the sides.
- A button or magnetic snap closure.
- Color variations in the honeycomb pattern using two yarn colors.
Tips for Success
- Keep tension even: Honeycomb patterns show uneven tension clearly.
- Check stitch count: Ensure you maintain the stitch multiple required for the pattern.
- Handles: Test them for weight support; cotton yarn is strong, but if your bag is large, lining helps.
- Experiment with size: Small honeycomb stitches look cute for a clutch; larger ones work well for a tote.
If you want, I can also draw a step-by-step diagram showing the honeycomb stitch pattern and handle attachment, which makes it much easier to follow visually.
Watch tutorial: