 by
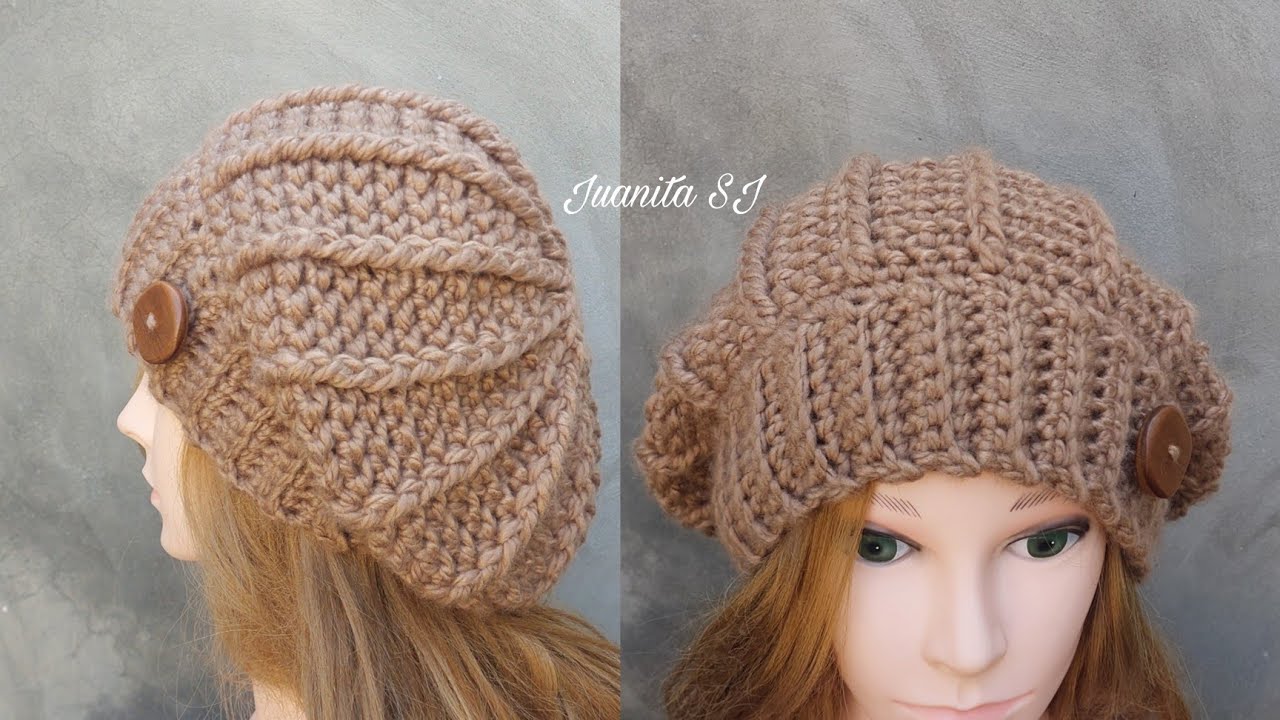
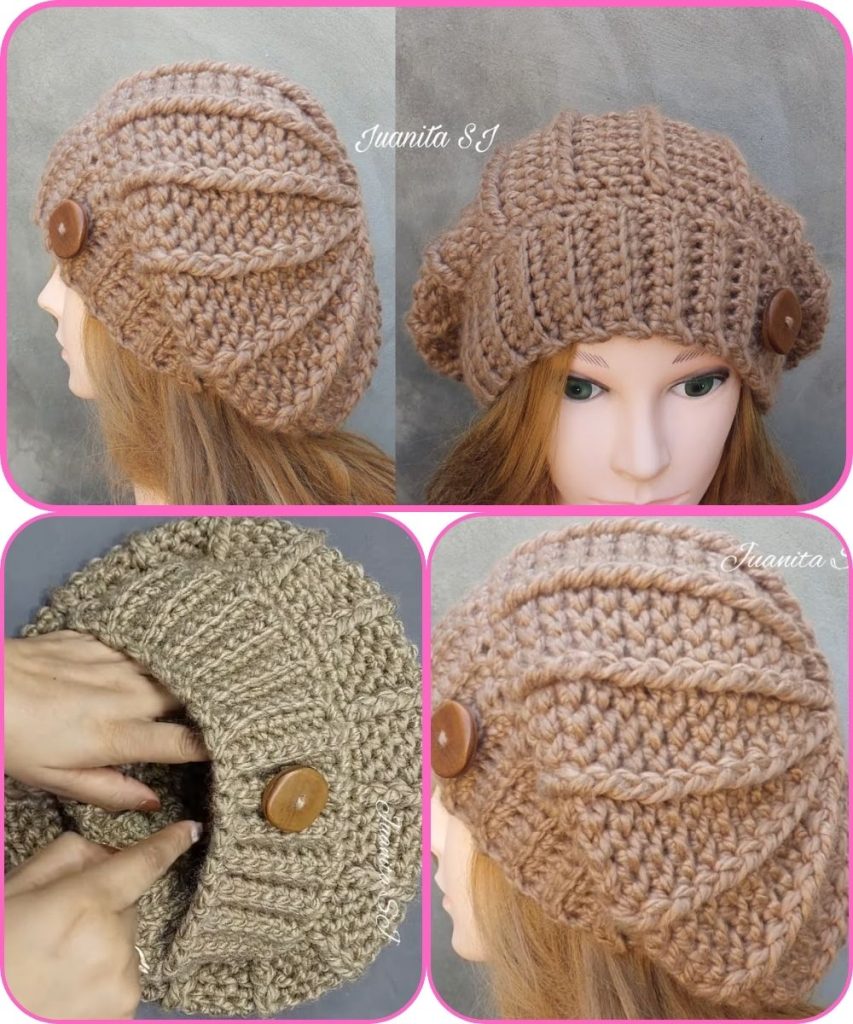
by Absolutely! Let’s go through a step-by-step guide on how to crochet a beret. I’ll break it down into materials, stitches, techniques, and the actual step-by-step instructions. I’ll also include tips for beginners.
Materials Needed
- Yarn: Medium weight (worsted) yarn is recommended; you can choose any color you like.
- Crochet hook: Usually 5.0–5.5 mm (H/8–I/9), check your yarn label for recommendations.
- Scissors
- Tapestry needle for weaving in ends
- Stitch marker (optional, but useful for marking rounds)
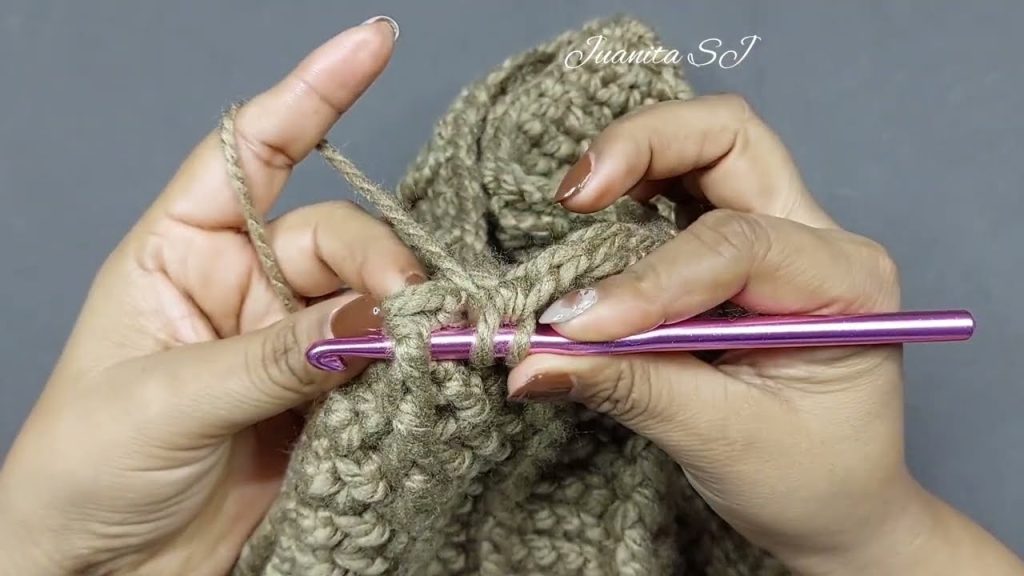
Basic Stitches You Should Know
- Chain (ch): Foundation stitch.
- Slip stitch (sl st): Joins rounds.
- Single crochet (sc): Short, tight stitch.
- Half double crochet (hdc): Medium height stitch.
- Double crochet (dc): Tall stitch, gives the beret a nice airy texture.
- Increase (inc): Crochet two stitches into the same stitch.
- Decrease (dec): Crochet two stitches together.
Step-by-Step Crochet Beret Instructions
Step 1: Make the Center of the Beret (Top Circle)
- Start with a magic ring (or chain 4 and slip stitch to form a ring).
- Round 1: Crochet 10–12 dc into the ring. Pull tight to close the ring. Join with a sl st to the first dc.
- Round 2: Chain 3 (counts as first dc), dc in the same stitch, then 2 dc in each stitch around. Join with sl st.
- Round 3: Chain 3, dc in next stitch, 2 dc in next stitch around. This increases evenly.
Tip: Continue increasing each round by adding one more dc between increases until the circle is the size you want for the crown of your beret (usually about 6–7 inches in diameter for adult).
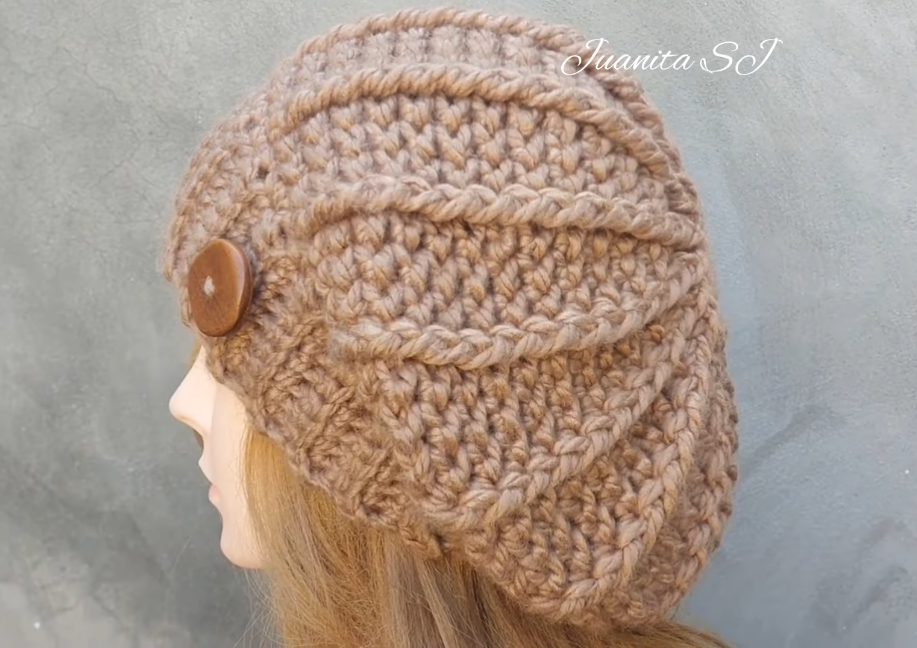
Step 2: Start Shaping the Beret
- Once the top is large enough, stop increasing.
- Crochet even rounds (dc in each stitch around) to create the body of the beret.
- Continue until the beret reaches your desired depth (usually 4–5 inches from the center to the edge).
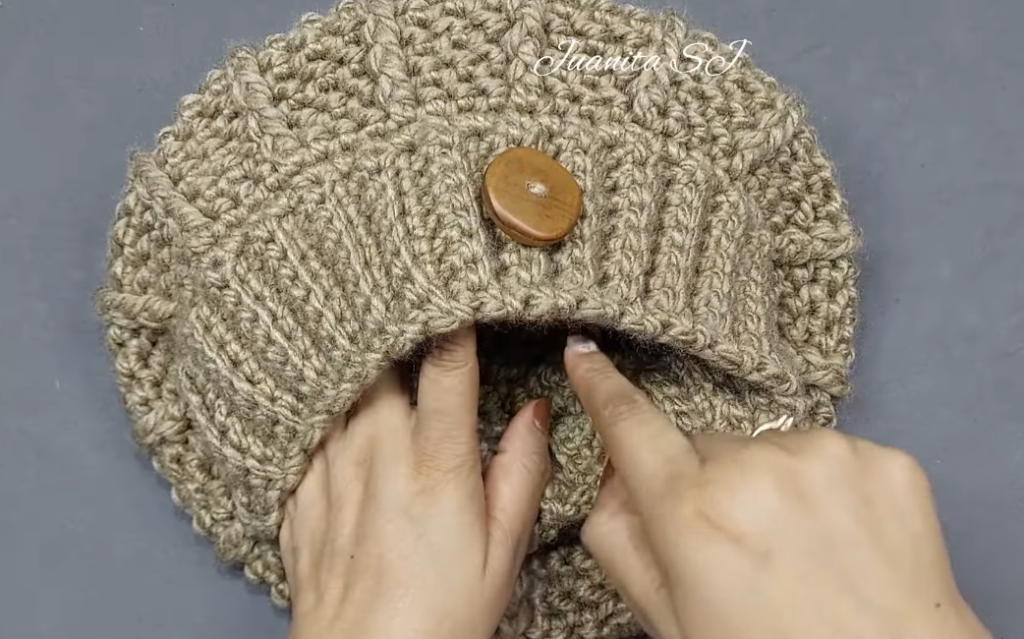
Step 3: Add the Ribbed Band
- For a snug fit, switch to single crochet or half double crochet for the band.
- Chain 1 and sc evenly around the edge for 1–2 inches.
- Optionally, you can use front loop only (FLO) stitches for a stretchy ribbed effect.
Step 4: Finishing
- Fasten off and leave a long tail.
- Use a tapestry needle to weave in all ends neatly.
- Block your beret if needed: dampen lightly and shape into a flat circle with a slightly raised center.
Optional Variations
- Add a small pom-pom on top for a classic French beret style.
- Use different stitch patterns like shell stitches or puff stitches for texture.
- Make a slouchy beret by adding extra rounds before the ribbed band.
💡 Tips for Beginners
- Always count your stitches in each round; this keeps the circle smooth.
- Use a stitch marker for the start of each round to avoid losing your place.
- Try the beret on as you go if you want a custom fit.
If you want, I can also draw a detailed diagram showing each round of the beret, which makes it way easier to follow visually.
Watch tutorial: