by
by Sure! Here’s a detailed, step-by-step guide on how to make a crocheted round handbag with a rattan pattern — perfect for beginners or intermediate crocheters who love boho-style accessories.
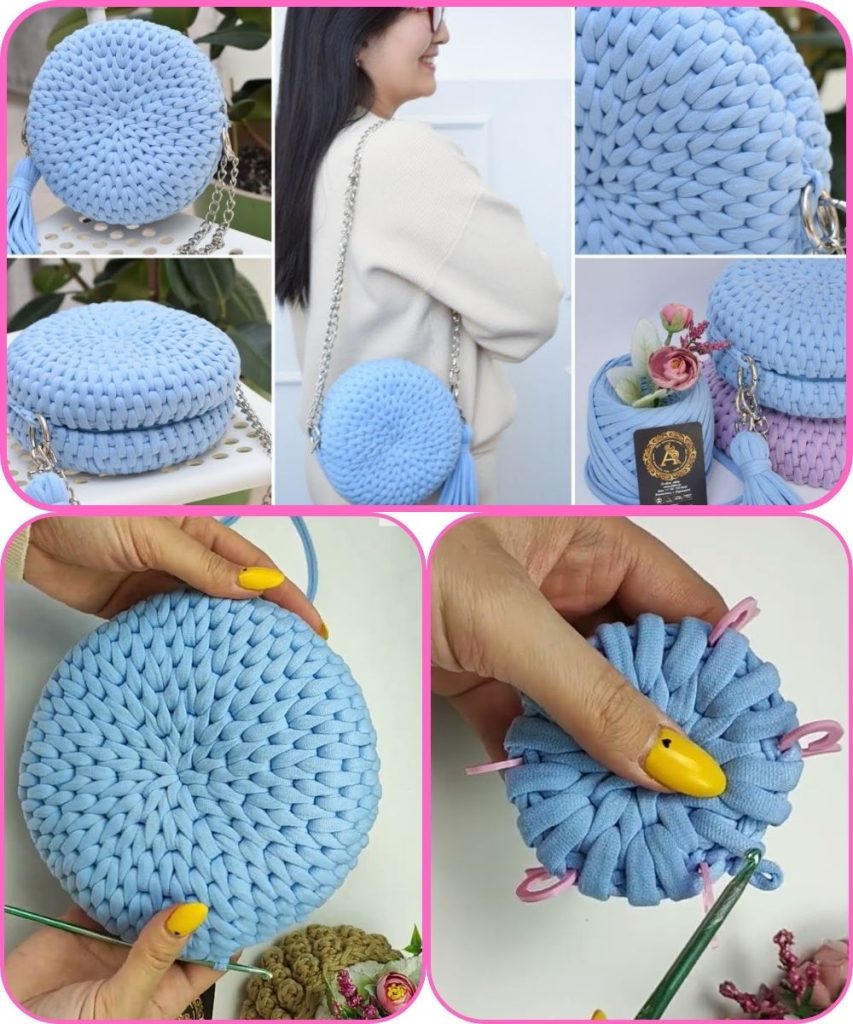
🧺 How to Make a Crocheted Round Handbag with Rattan Pattern
🌿 Overview
A rattan-pattern crochet handbag combines the warmth of yarn with the rustic, woven look of rattan or wicker. The bag is usually round and sturdy — ideal for summer or casual outings. The pattern mimics the crisscross texture of rattan using crochet stitches.
🧶 Materials Needed
| Item | Description |
|---|---|
| Yarn | Cotton or raffia yarn (for a natural rattan-like look). Choose a medium (worsted) weight yarn. |
| Crochet Hook | 3.5 mm – 4.0 mm (depending on yarn thickness). |
| Bag Handles | Wooden or bamboo round handles, or crochet your own straps. |
| Lining Fabric (optional) | Canvas or cotton fabric for inside lining. |
| Zipper or Magnetic Button | To close the bag. |
| Tapestry Needle | For weaving in ends and sewing parts. |
| Scissors | For cutting yarn. |
🪡 Basic Stitches You’ll Use
- Magic Ring (MR)
- Chain (ch)
- Slip Stitch (sl st)
- Single Crochet (sc)
- Double Crochet (dc)
- Front Post Double Crochet (FPdc)
- Back Post Double Crochet (BPdc) — creates the “rattan” texture
- Increase (inc) — two stitches in one stitch
🧭 Step-by-Step Instructions
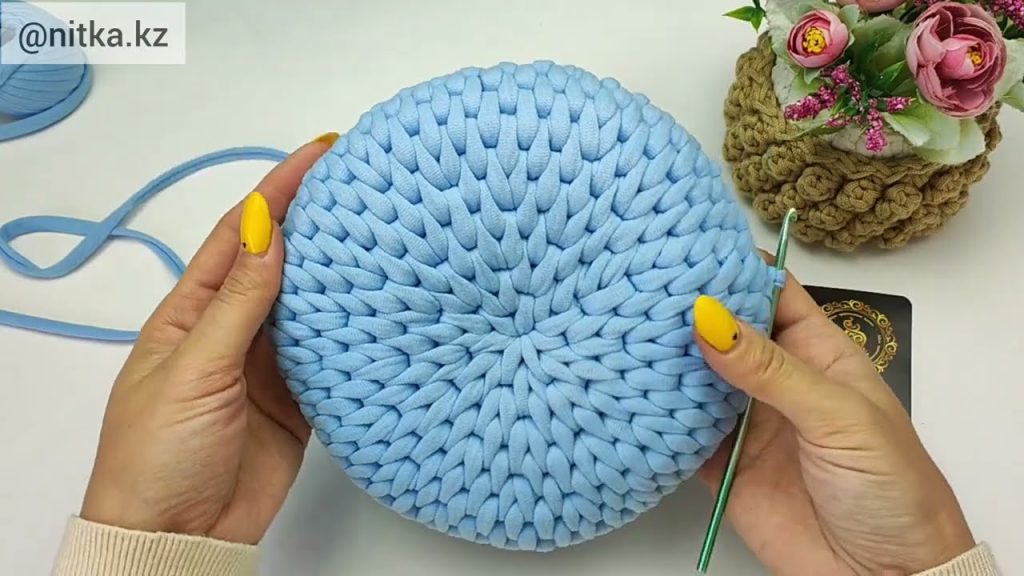
Step 1: Make the Round Base (Front & Back Panels)
You will make two identical round panels.
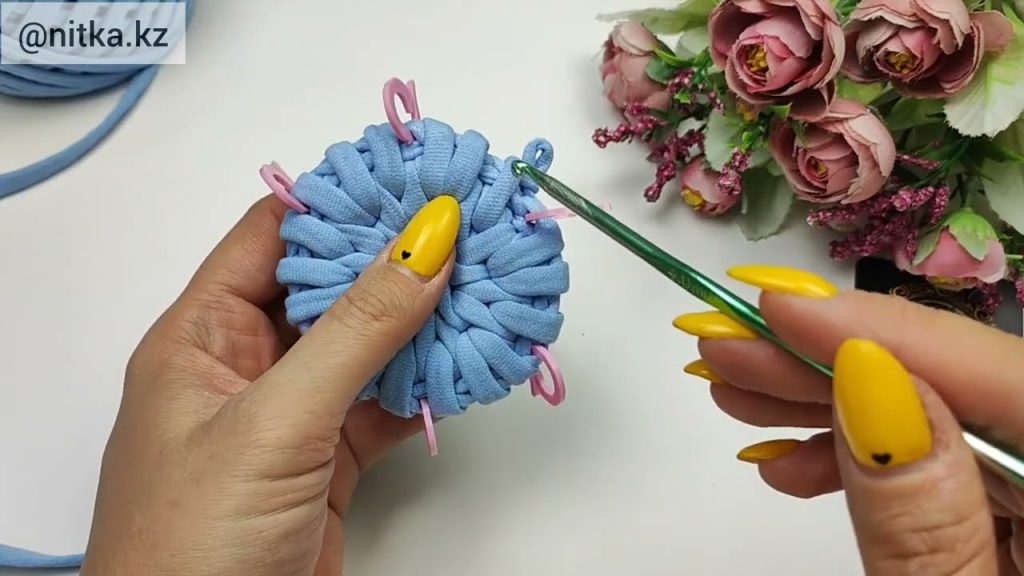
- Start with a magic ring.
- Round 1: 12 dc into the ring. Join with sl st to the first dc. (12 sts)
- Round 2: 2 dc in each st around. Join. (24 sts)
- Round 3: (1 dc, 2 dc in next st) repeat around. (36 sts)
- Round 4: (2 dc, 2 dc in next st) repeat around. (48 sts)
- Round 5–10: Continue increasing evenly in each round until the diameter reaches about 9–10 inches (23–25 cm).
💡 Tip: To keep the circle flat, increase the number of stitches evenly per round — generally 12 increases each round.
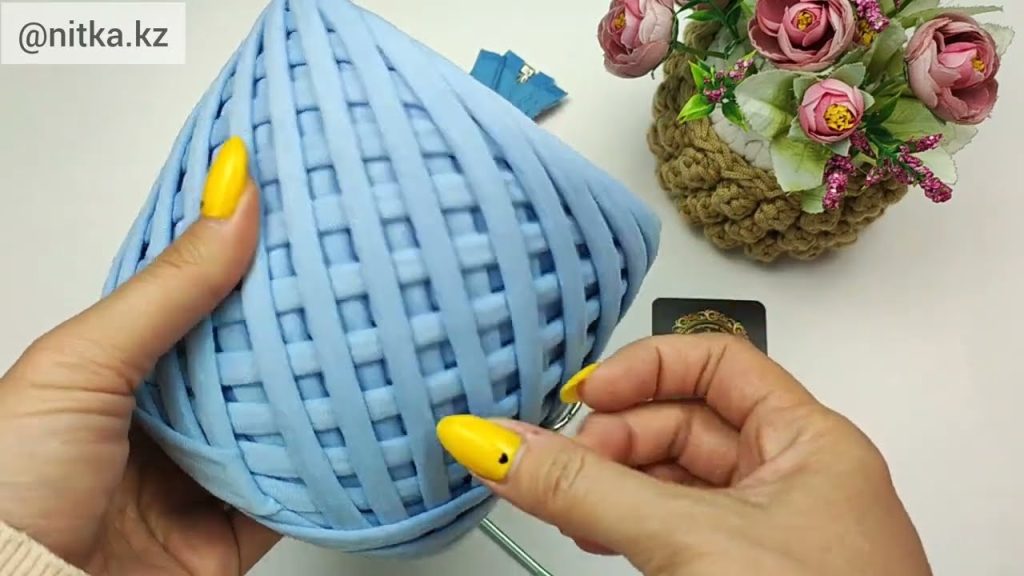
Step 2: Create the Rattan Texture Pattern
Once your circle is the desired size, you’ll begin the rattan-like pattern:
- Round 11: (FPdc, BPdc) repeat around.
- Round 12: (BPdc, FPdc) repeat around — this alternation creates the woven texture.
- Round 13–15: Repeat Rounds 11–12 for more depth.
This alternating front and back post technique mimics the crisscross look of rattan weaving.
Step 3: Make the Side Panel (the Bag’s Width)
You can adjust the width of your handbag here.
- Ch 8–12 (depending on desired thickness).
- Sc in each chain to make a foundation row.
- Continue single crocheting in rows until the strip is long enough to go around your circular panels.
- Join both ends of the strip with sl st to make a loop — this forms the side wall of the bag.
Step 4: Assemble the Bag
- Attach one round panel to one side of the strip using sc stitches (right sides facing out).
- Repeat with the second panel on the other side.
- Use tight, even stitches to keep the shape sturdy.
Optionally, you can use a lining fabric: cut circles matching the crochet panels and a long strip for the side. Sew it inside before attaching handles.
Step 5: Add the Handles
- If you’re using wooden or bamboo handles, crochet around them with sc stitches for a neat look.
- Attach them securely to the top edge of the bag using yarn or sturdy thread.
Alternatively, crochet your own strap:
- Chain your desired length.
- Work in sc or hdc rows for 4–5 rows.
- Attach the strap to both sides of the bag.
Step 6: Finishing Touches
- Weave in all yarn ends with a tapestry needle.
- Add a magnetic snap or zipper to close the bag.
- Optionally, spray lightly with starch or fabric stiffener to maintain shape.
🌸 Optional Variations
- Use raffia yarn for a more authentic rattan look.
- Add a crochet flower or macramé tassel for decoration.
- Experiment with colors — beige, sand, or light brown give a classic rattan effect.
👜 Care Tips
- Spot clean only; avoid machine washing.
- Keep it dry to prevent yarn distortion.
- Store it flat or stuffed to retain shape.
Would you like me to include a crochet pattern chart (diagram) for the round rattan texture section? I can draw or describe it clearly so you can visualize the stitch pattern.
Watch tutorial: