 by
by Absolutely! Let’s go step-by-step through how to make a stunning crochet balaclava turtleneck hoodie using scrap yarn — perfect for cozy, creative, and sustainable winter wear. 🌈🧶
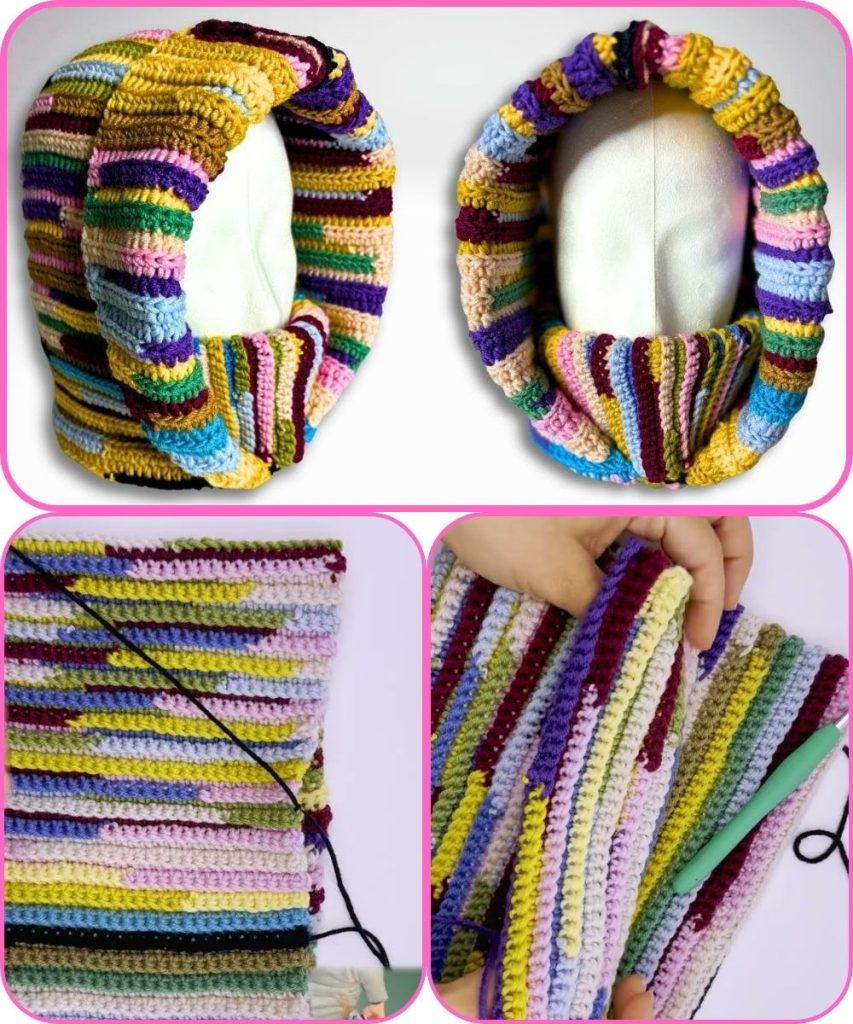
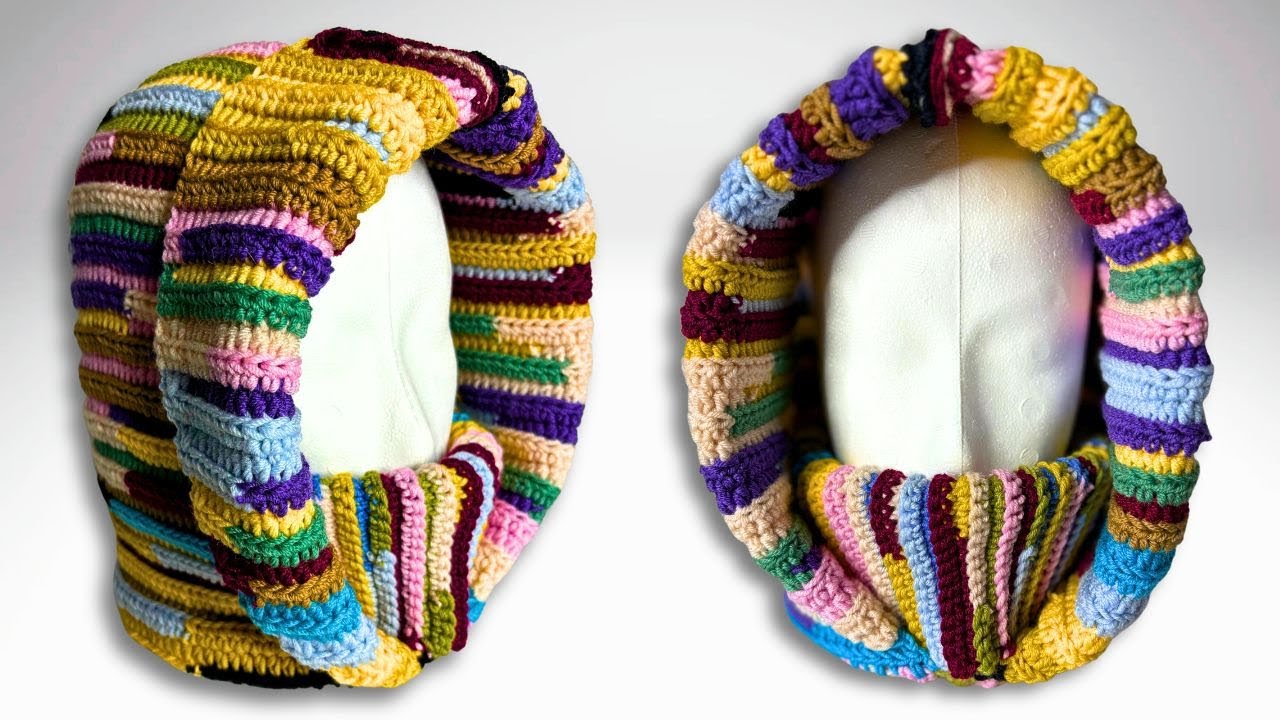
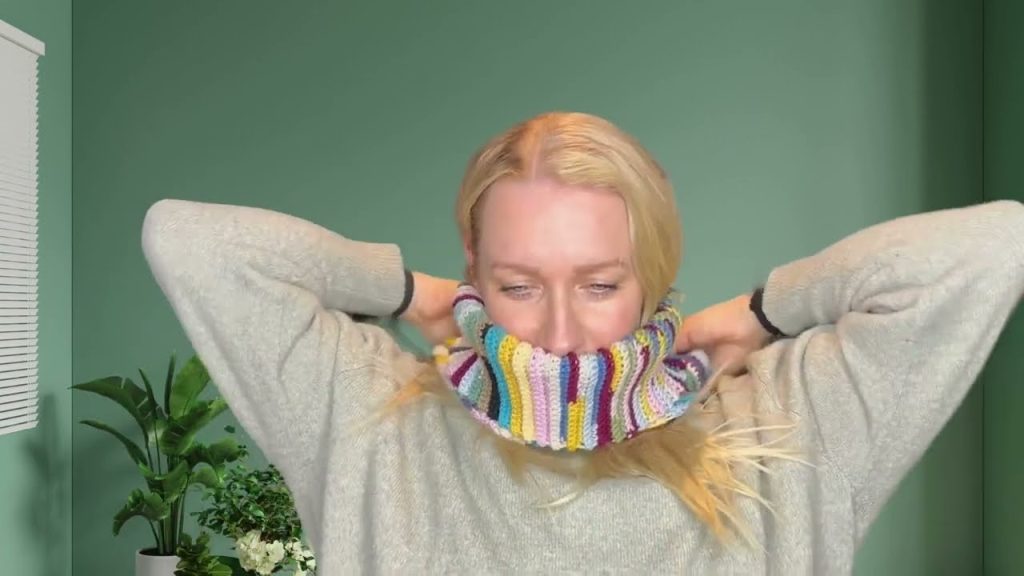
🧶 Project: Crochet Stunning Balaclava Turtleneck Hoodie (Using Scrap Yarn)
✨ Overview
This crochet project combines fashion and function — a balaclava, turtleneck, and hoodie all in one piece. It’s designed to be warm, stylish, and an excellent stash-busting project using scrap yarns of different colors and textures.
You can make it patchwork-style (like a “scrappy” aesthetic) or use coordinated leftover yarns for a more uniform look.
🪡 Materials Needed
- Yarn: Scrap yarns in different colors and weights. Ideally, stick to worsted weight (medium #4) or similar for consistency. Wool, acrylic, or blends all work.
- Crochet Hook: Size 5 mm (H/8) or as needed for your yarn weight.
- Scissors and yarn needle (for weaving in ends).
- Measuring tape.
- Stitch markers (optional but helpful for shaping).
📏 Sizes
The pattern can be adjusted easily:
- Adult Small: Head circumference ~21–22″
- Adult Medium: 22–23″
- Adult Large: 23–24″
You can tweak the number of stitches or rows to fit your measurements.
🧩 Construction Overview
Your balaclava hoodie is made in three parts:
- The Turtleneck
- The Face/Head Section (Balaclava)
- The Hood Extension (optional)
Then you’ll join them together and add any finishing touches, such as edging or decorative stitches.
🪄 Step-by-Step Instructions
🧣 1. Crochet the Turtleneck
- Foundation:
- Chain enough stitches to fit comfortably around your neck (e.g., 60–70 ch for adult size).
- Join in a round with a slip stitch, being careful not to twist.
- Ribbed Neck:
- Round 1: Ch 2 (counts as dc), dc in each st around, sl st to join.
- Round 2–10 (or desired length): Fpdc, bpdc (front and back post double crochet) alternating to create a ribbed texture.
- Adjust the height to your liking — about 5–6 inches is cozy.
🧤 2. Create the Head/Face Section
- Foundation Round:
- Work from the top edge of your turtleneck.
- Round 1: Dc in each stitch around.
- Increase for the head:
- Add 1–2 increase rounds evenly spaced to shape it comfortably around the head.
- Face Opening:
- When you reach where the face will go, work back and forth (not in the round) for about 5–6 inches, leaving an oval space open.
- Continue rows until the opening fits your face comfortably (about 6–7 inches tall for adults).
- Resume in the round:
- Once past the face section, join the edges again and continue working in the round until the back of the head is covered.
🧥 3. Add the Hood Extension
- Attach yarn at the top back of the balaclava.
- Chain 1, then work hdc or dc stitches to form the back of the hood.
- Work in rows, increasing slightly at the sides to give the hood fullness.
- Once the hood is long enough to drape (about 10–12 inches), fold the top and seam it closed with slip stitches or whip stitch.
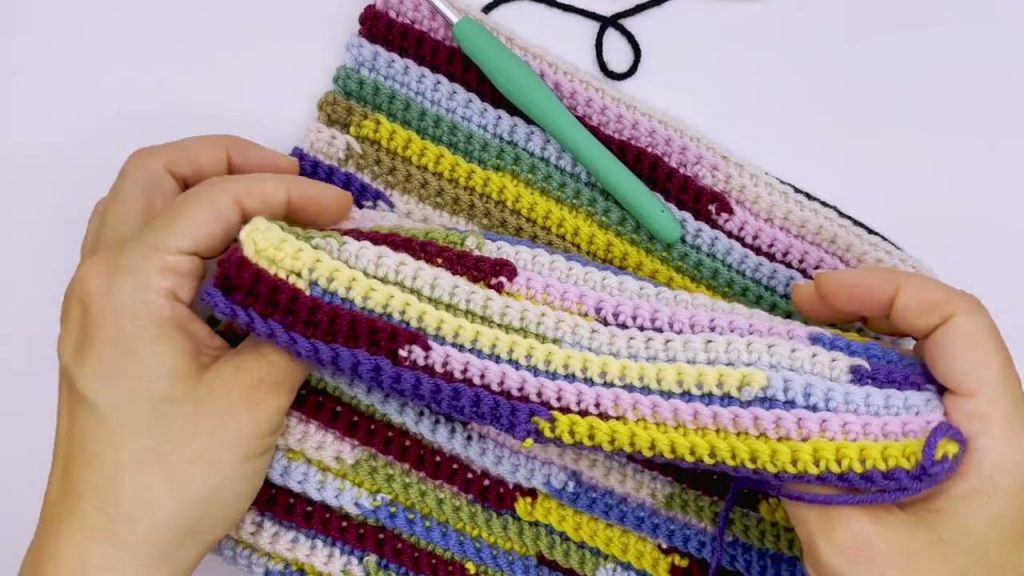
🌈 4. Scrap Yarn Magic
Now the fun part — use scrap yarns creatively:
- Color blocking: Use one color for each section (neck, face, hood).
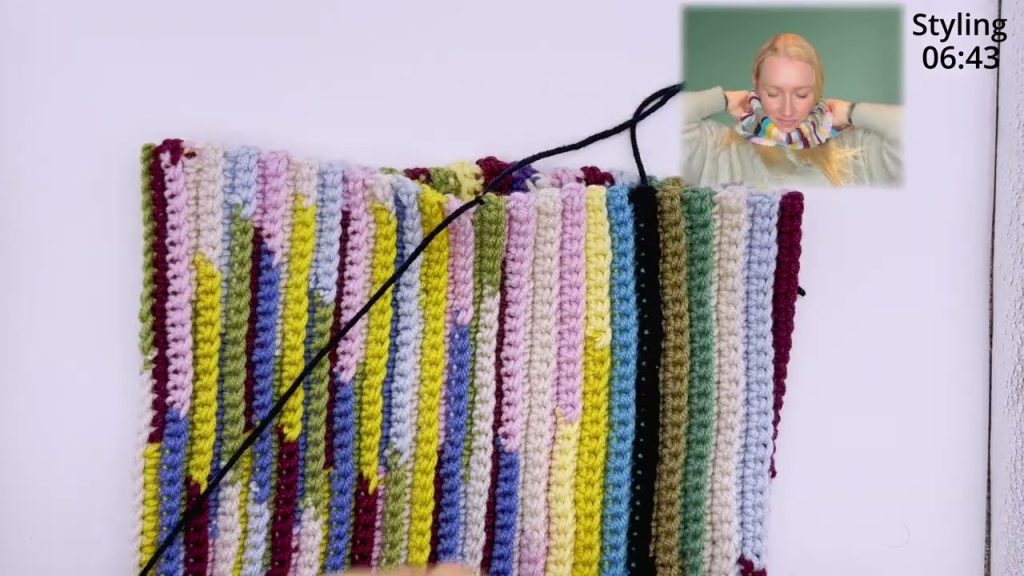
- Stripes: Alternate colors every few rows.
- Patchwork style: Join small crochet squares or rectangles (like granny squares) to make sections, then seam them together for a funky, artistic look.
- Texture mix: Combine different stitches (like popcorn, bobble, moss, or herringbone) in scrap sections.
🪶 5. Finishing Touches
- Edging: Add a round of single crochet or crab stitch around the face opening and hood edges.
- Weave in all ends securely with a yarn needle.
- Add embellishments: Buttons, tassels, pompoms, or a drawstring for the hood.
- Block lightly with steam or a damp cloth to shape it.
🧵 Optional Variations
- Add ear flaps or chin ties for a ski-mask style.
- Turn it into a hooded cowl by making the turtleneck longer and skipping the full face coverage.
- Use chunky yarn and a larger hook for an oversized, cozy look.
💡 Tips
- Keep consistent tension even when switching yarn types.
- If mixing fiber types (like wool and acrylic), hand wash gently to avoid warping.
- Try a color plan before starting: arrange your scrap yarns visually to see how the palette flows.
🎨 Style Ideas
- Streetwear look: Bright blocks of neon or primary colors.
- Cottagecore: Muted, natural tones with textured stitches.
- Y2K / Grunge: Random, mismatched yarns and patchwork vibes.
Would you like me to turn this into a written pattern with stitch counts (e.g., “Row 1: ch 60, join to form a ring…”) or keep it as a freeform scrap-style tutorial? I can format it either as a PDF pattern or a step-by-step blog-style guide.
Watch tutorial: