 by
by Sure! Here’s a detailed step-by-step guide on how to crochet a summer baby cardigan. This guide is suitable for beginner to intermediate crocheters and will walk you through materials, stitches, and instructions. The cardigan is designed to be lightweight and breathable for summer.
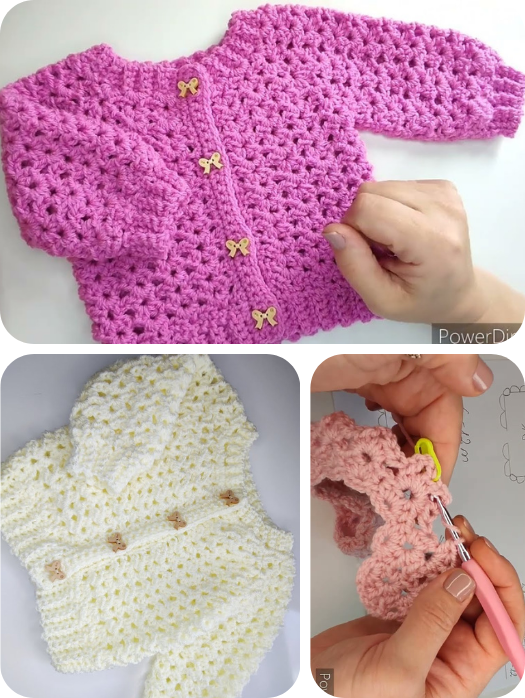
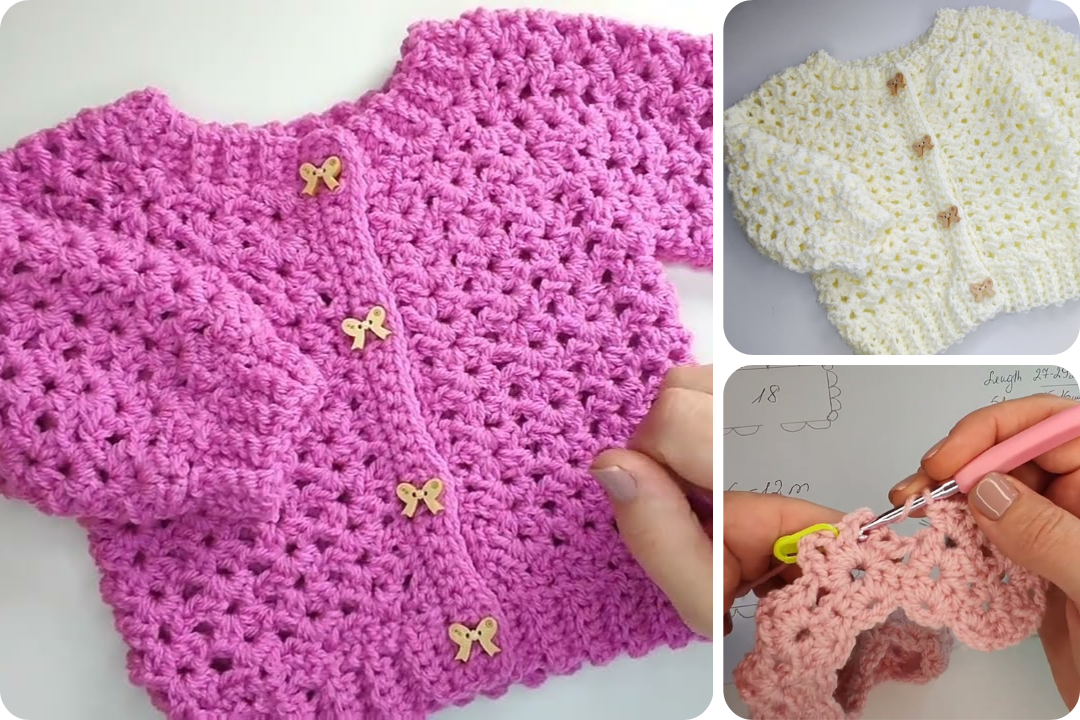
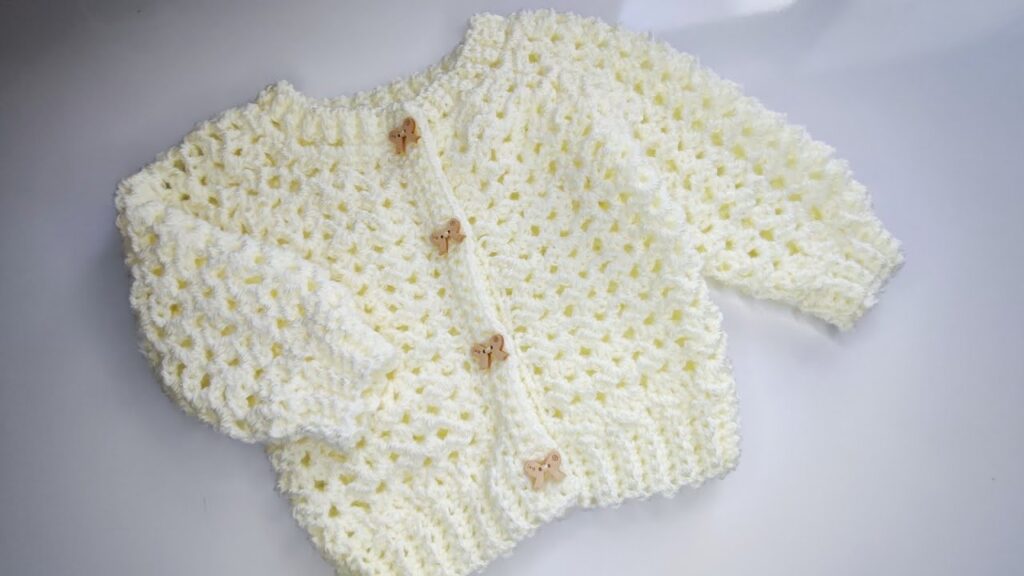
🧶 How to Crochet a Summer Baby Cardigan
📏 Size:
- For this tutorial, we’ll make a cardigan for a 0–6 month-old baby.
- You can adjust the size by changing yarn weight, hook size, or adding extra rows.
🧵 Materials Needed:
- Lightweight cotton yarn (category 3 / DK): 200–250 grams
- Cotton is breathable and soft, ideal for summer.
- Crochet hook: 4.0 mm (G-6)
- Stitch markers
- Yarn needle for weaving in ends
- Scissors
- Buttons (3–5 small buttons, optional)
🧶 Stitches & Abbreviations:
| Abbreviation | Stitch Name |
|---|---|
| ch | chain |
| sl st | slip stitch |
| sc | single crochet |
| dc | double crochet |
| inc | increase (2 dc in one st) |
| dec | decrease (dc2tog) |
| st(s) | stitch(es) |
You should be familiar with basic stitches. If not, I can walk you through them.
🧵 Construction Overview:
This cardigan is worked top-down, using a raglan yoke, then split into body and sleeves.
🧷 Instructions:
Step 1: Yoke (Top part)
- Foundation Chain:
Ch 54 (this will form the neck) - Row 1 (Setup):
Dc in 4th ch from hook, dc in next st until end. You should have 52 dc. Turn. - Row 2 (Raglan increases):
You will now place 4 markers for raglan increase points.
Example placement:- 8 dc (left front), mark next st
- 10 dc (sleeve), mark next
- 16 dc (back), mark next
- 10 dc (sleeve), mark next
- 8 dc (right front)
Dc to marker, 2dc in marked st, move marker, repeat - Repeat Row 2 for 7–9 rows (until yoke depth is about 4.5–5 inches)
Step 2: Split for Sleeves
- When yoke is long enough, you’ll separate sleeves:
- Body Row:
Dc to first marker, skip sleeve sts, ch 4 (armhole), dc across back to next marker, skip next sleeve sts, ch 4, dc to end. You now have a body opening with 2 armholes.
Step 3: Body
- Work in rows below armholes in dc.
- Continue for 6–8 rows (or until desired length).
- Optional: Add shell stitch edging at bottom.

Step 4: Sleeves
- Attach yarn at underarm.
- Dc around sleeve opening, join.
- Work 5–6 rounds.
- Finish with a simple sc or shell border.
Step 5: Front Edging
- Attach yarn at the bottom corner of one front panel.
- Sc evenly up the edge, around the neckline, and down the other side.
- Optional: Add buttonholes every 5–6 stitches on one side (use ch 2, skip 2 sts method).
- Add buttons on the opposite side.
✅ Finishing Touches:
- Weave in all ends with yarn needle.
- Sew buttons if used.
- Lightly block the cardigan for a neat finish.
🎨 Customization Ideas:
- Use striped yarn for a colorful look.
- Add a small crochet flower or applique.
- Add a hood by continuing from the neckline in dc rows.
Watch video: