 by
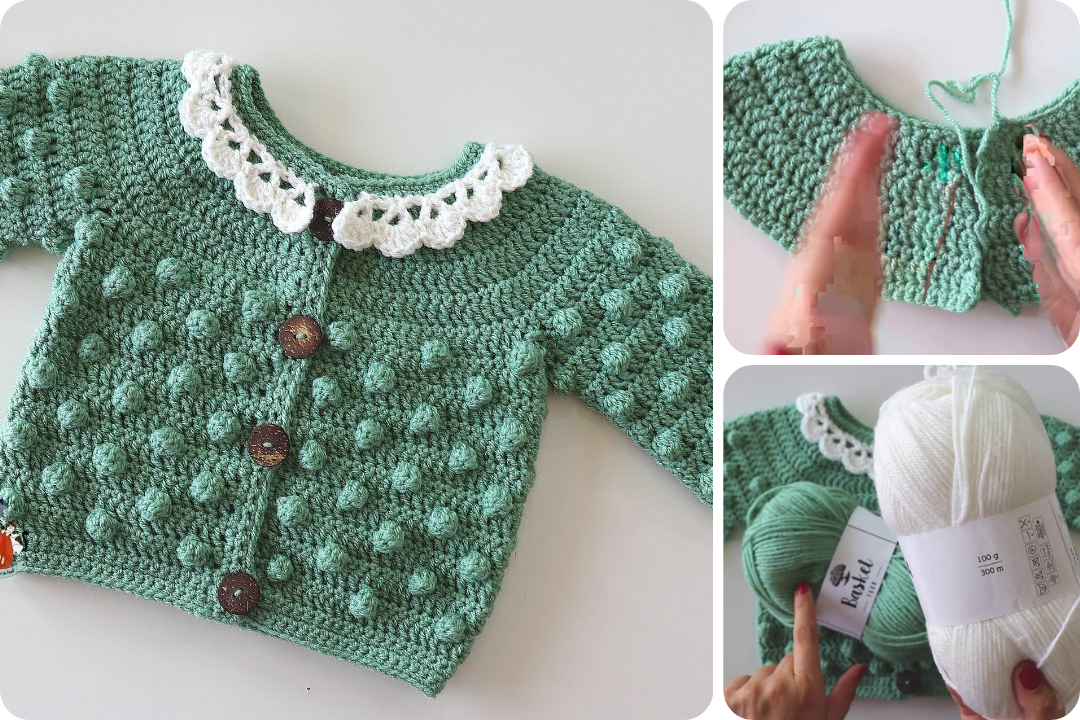
by Here’s a detailed guide on How to Crochet a Baby Cardigan with Bobble Stitch — ideal for a handmade baby shower gift or your own little one. This pattern assumes a basic understanding of crochet stitches like chain (ch), single crochet (sc), double crochet (dc), and bobble stitch.
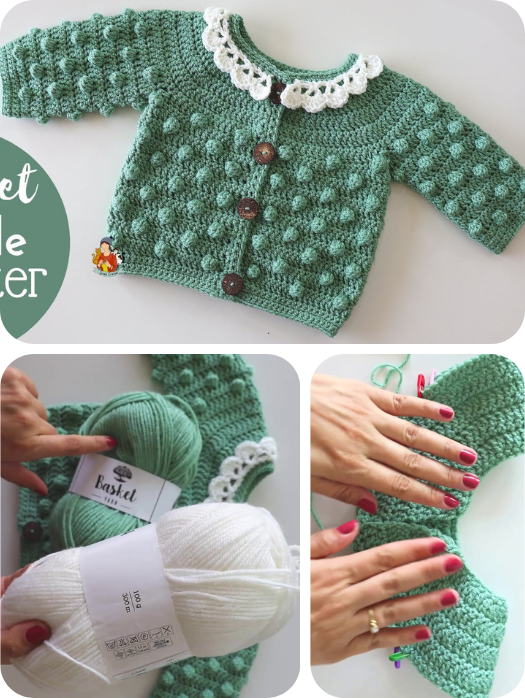
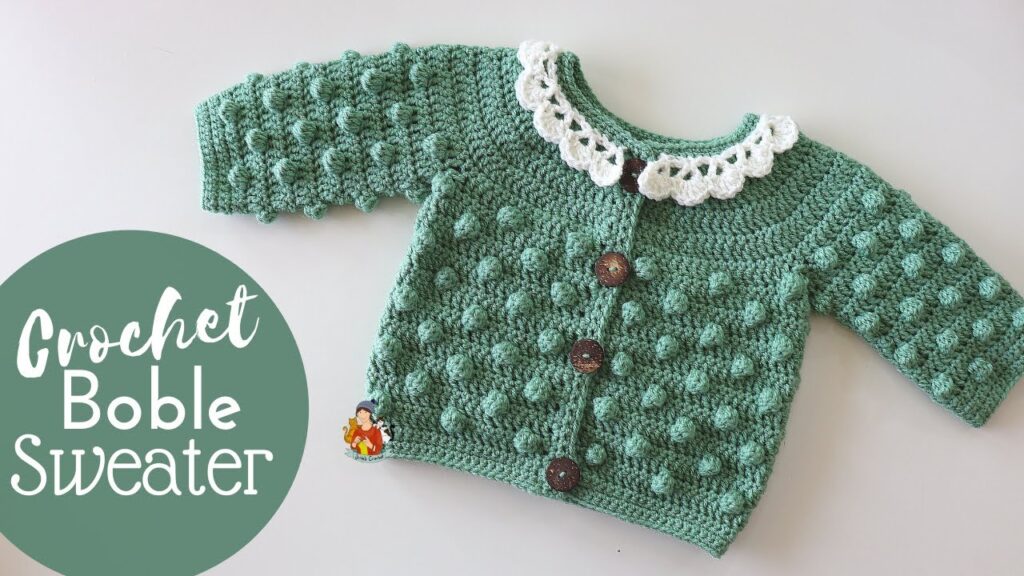
🧶 How to Crochet a Baby Cardigan with Bobble Stitch (Step-by-Step)
📏 Size:
Newborn to 6 months (adjustable instructions for 6–12 months included)
🧵 Materials Needed:
- Yarn: Worsted weight (Size 4) soft baby yarn (approx. 300–400 yards)
- Hook: 4.5 mm (US 7) or size needed to meet gauge
- Tapestry needle
- Stitch markers
- Buttons (3–5 small, optional)
- Scissors
🔁 Crochet Abbreviations:
- ch – chain
- sc – single crochet
- dc – double crochet
- st(s) – stitch(es)
- sl st – slip stitch
- bobble – bobble stitch
- RS – right side
- WS – wrong side
✨ Bobble Stitch (5-dc Bobble):
- Yarn over, insert hook into stitch, yarn over and pull through (3 loops).
- Yarn over, pull through two loops (2 loops remain).
- Repeat steps 1–2 four more times (you will have 6 loops on hook).
- Yarn over, pull through all 6 loops.
- Chain 1 to close the bobble (if pattern calls for it).
🧤 Step-by-Step Pattern
Step 1: Make the Yoke (Top Down)
- Ch 51 (Newborn size)
- Row 1 (RS): Dc in 4th ch from hook and across. (48 dc)
- Row 2: Ch 2, turn. Dc in next 6 sts, 2 dc in next st (increase) — repeat across. Use stitch markers to mark where sleeves will go.
- Continue increasing every other row until you reach a total of about 80–90 stitches (depending on size).
Step 2: Divide for Body and Sleeves
- Fold yoke and place markers to divide stitches:
- 18 front / 14 sleeve / 26 back / 14 sleeve / 18 front
- Next Row: Dc across front, ch 3 (underarm), skip sleeve sts, dc across back, ch 3, skip sleeve sts, dc across other front.
Step 3: Begin Bobble Stitch Body
- Row 1 (RS): Dc across.
- Row 2 (WS): Dc 2, bobble, dc 2 – repeat across for even spacing.
- Row 3: Dc across.
- Repeat Rows 2–3 until body measures approx. 6–8 inches from armhole.
Step 4: Edging and Bottom Ribbing
- Switch to single crochet or front post/back post double crochet for a ribbed border.
- Work 4–5 rows for a neat finish.
Step 5: Sleeves (In the Round)
- Attach yarn at underarm.
- Work 1 round of dc evenly around.
- Begin bobble pattern on alternate rounds: dc 2, bobble, dc 2.
- Continue until sleeve is 4–5 inches long.
- Finish with 3 rounds of sc or ribbing.
Step 6: Front Edging & Button Band
- With RS facing, sc evenly up one side, across neckline, and down the other.
- Optional: Add buttonholes every 6–8 stitches on one side (ch 2, skip 2 sts).
- Make 2–3 more rows for a firm edge.
Step 7: Finishing Touches
- Weave in all ends.
- Sew on buttons opposite buttonholes.
- Lightly block the cardigan to even stitches.
🍼 Tips for Success:
- Keep bobbles consistently tight for even texture.
- Try alternating rows of bobbles and plain dc for a more subtle texture.
- Use a stitch marker at the center back to help with symmetry.
Watch video: