 by
by Here is a detailed, easy-to-follow guide on “How to Make a Headband Ready in 2 Hours” that you can use for a project, blog, or assignment.
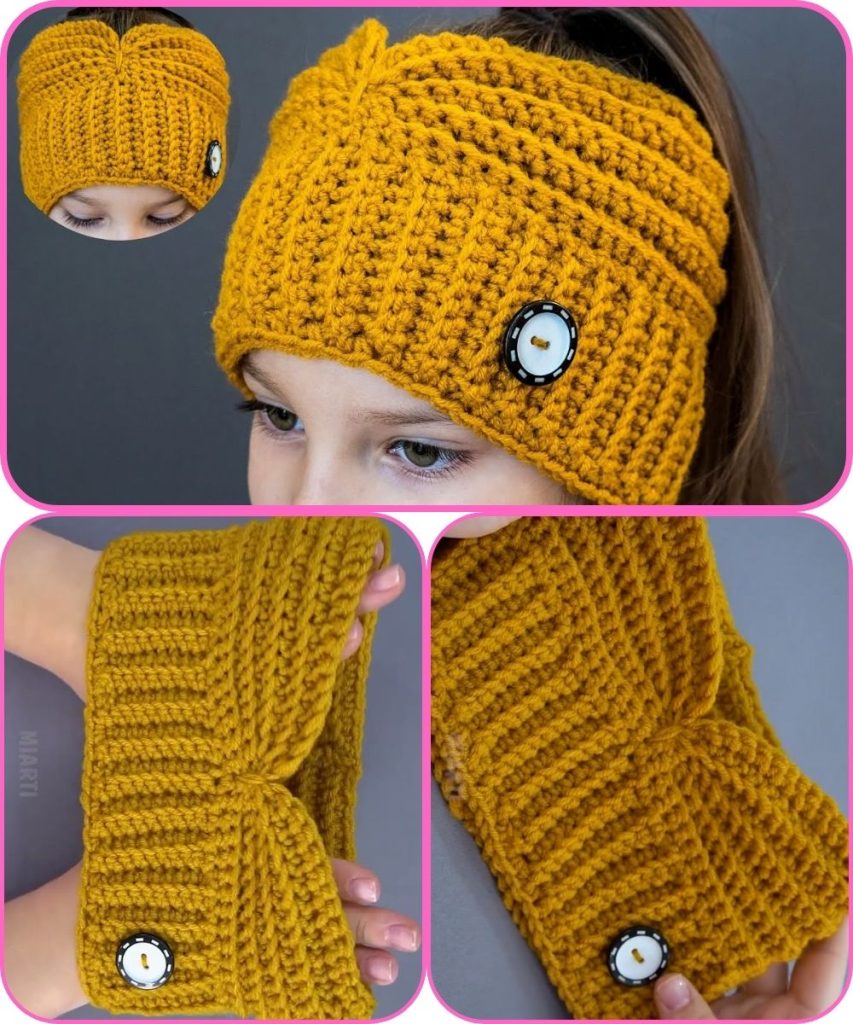
How to Make a Headband Ready in 2 Hours
Making a headband at home is a simple and creative activity that can be completed in just two hours. With basic materials and a little effort, you can design a stylish headband suitable for daily wear, parties, or gifting.
Materials Needed
To begin, gather the following items:
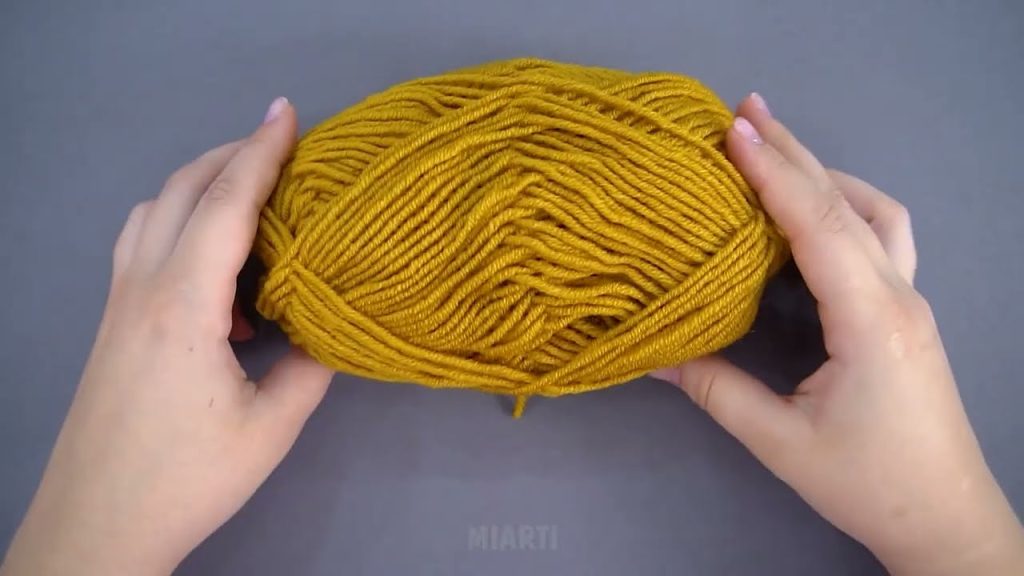
- Fabric (cotton, silk, satin, or elastic fabric)
- Measuring tape or ruler
- Scissors
- Needle and thread or a sewing machine
- Elastic band (optional, for stretch)
- Fabric glue or hot glue gun
- Pins or clips
- Decorative items (bows, beads, flowers, lace, or buttons)
Step-by-Step Process
First 20 Minutes: Planning and Measuring
Start by deciding the type of headband you want—simple, knotted, elastic, or decorative. Measure your head circumference using a measuring tape. Cut the fabric according to the measurement, usually about 18–20 inches long and 3–4 inches wide. If you want a stretchy headband, cut a small piece of elastic (about 4–6 inches).
Next 40 Minutes: Cutting and Stitching
Fold the fabric lengthwise with the inner side facing out. Pin it to keep it steady. Sew along the open edge using a needle or sewing machine, leaving the ends open. Turn the fabric inside out to reveal a neat tube shape. If using elastic, insert it into the tube and sew the ends securely.
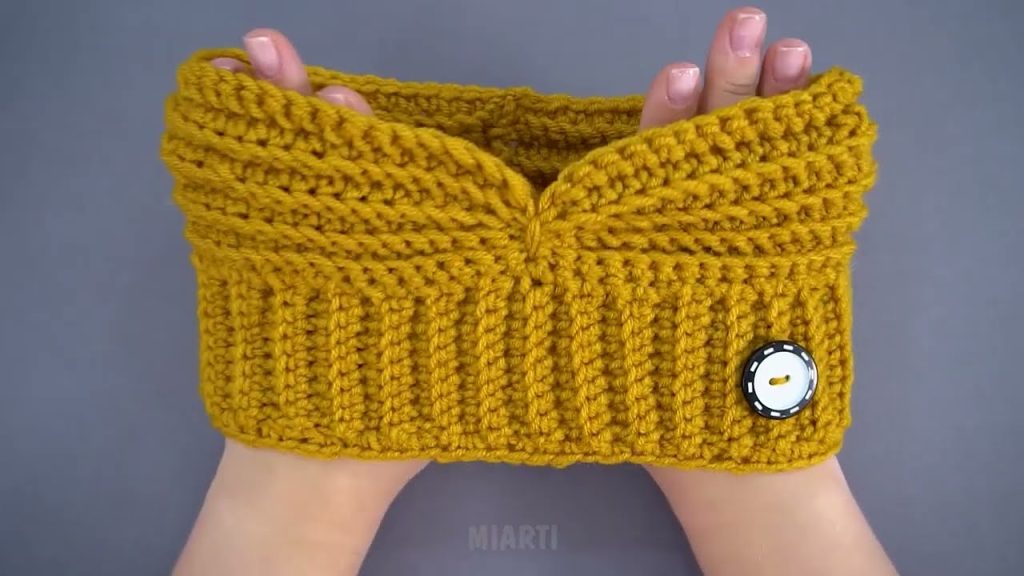
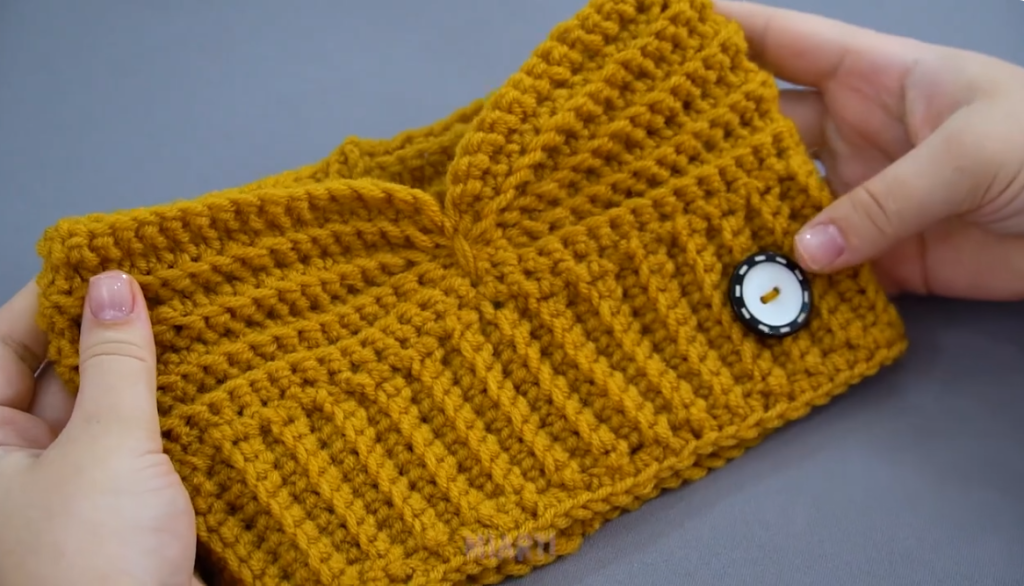
Next 30 Minutes: Shaping the Headband
Join the two ends of the fabric by sewing or gluing them together neatly. Make sure the joint is strong and smooth so it feels comfortable when worn. If you are making a knotted headband, twist the fabric in the center before securing the ends.
Next 20 Minutes: Decorating
This is the fun part! Attach decorations such as bows, flowers, or beads using fabric glue or a hot glue gun. Keep the design balanced and avoid placing decorations where they may cause discomfort.
Final 10 Minutes: Finishing Touches
Check the headband for loose threads or weak joints. Trim any excess fabric or threads. Try the headband on to ensure it fits comfortably and make small adjustments if needed.
Conclusion
In just two hours, you can create a beautiful, handmade headband using simple tools and materials. This quick DIY project not only saves money but also allows you to customize your accessory to match your style. With practice, you can make multiple headbands in even less time.
If you want, I can:
- Simplify this for a school-level answer
- Rewrite it for a blog or social media post
- Add pictures guidance descriptions
- Adjust it for kids or beginners
Watch tutorial: