by
by Sure! Here’s a detailed, beginner-friendly tutorial on how to make easy knitted slippers — the kind you can make with basic stitches, minimal sewing, and no complicated shaping.
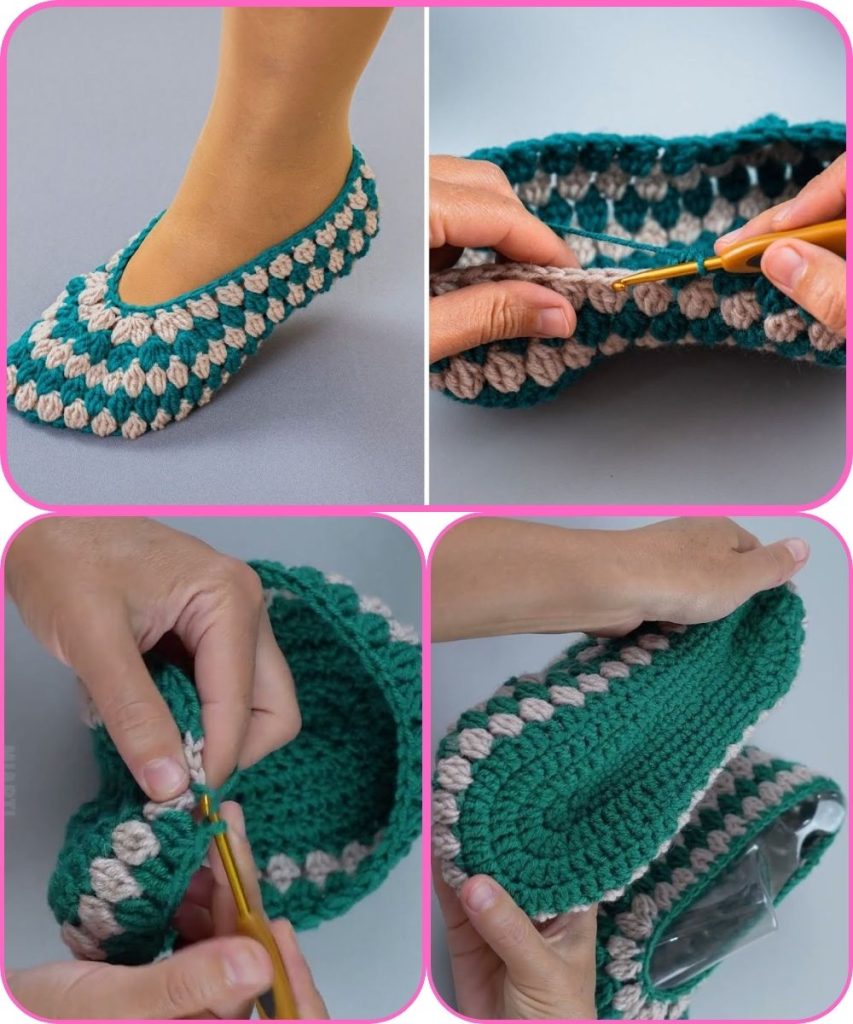
🧶 How to Make Easy Model Knitted Slippers (Beginner Tutorial)
🧵 What You’ll Need
- Yarn: Medium-weight (worsted) yarn, about 100–150 grams (depending on slipper size).
Acrylic or wool blend works best for warmth and stretch. - Knitting needles: Size 4.5–5.5 mm (US 7–9), or size suitable for your yarn.
- Tapestry needle: For sewing the seams.
- Scissors
- Measuring tape
👣 Step 1: Measure Your Foot
Before knitting, measure:
- Foot length — from heel to toe.
- Foot width — around the widest part.
You’ll use these measurements to adjust the number of stitches and rows.

🧶 Step 2: Cast On
- Decide the slipper width:
The slipper is knitted flat (like a rectangle), then folded and sewn into shape. - Cast on stitches:
- For a small size: 28 stitches
- For a medium size: 32 stitches
- For a large size: 36 stitches
(Adjust according to your gauge and yarn thickness.)
You’ll be knitting from the heel to the toe.
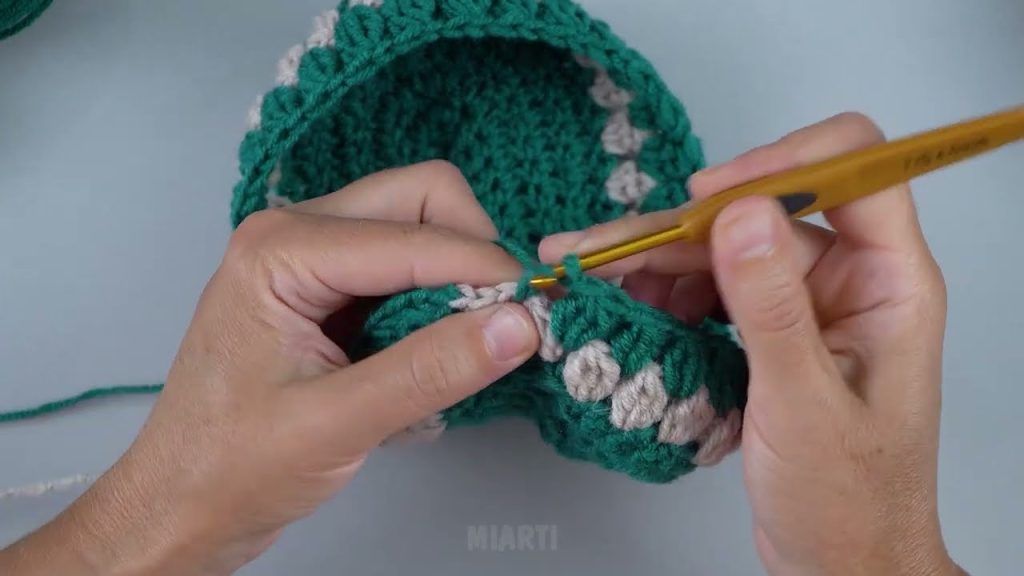
🪡 Step 3: Knit the Main Body
Knit every row to create garter stitch (knit on both sides).
This stitch is stretchy and ideal for slippers.
Continue knitting until the piece measures about:
- 9 in (23 cm) for small
- 10 in (25.5 cm) for medium
- 11 in (28 cm) for large
Tip: The length should be slightly shorter than your foot length, as the slippers stretch when worn.
🧵 Step 4: Shape the Toe (Optional for a Snug Fit)
To make a rounded toe:
- Knit 2 stitches together at the start of each row for 6 rows.
- Cut the yarn, leaving a 12-inch tail.
- Thread the tail through a needle and pass it through all remaining stitches.
- Pull tightly to close the toe and secure with a few stitches.
🧦 Step 5: Sew the Slipper
Now fold and sew:
- Toe seam: Fold the piece in half (right sides together). Sew across the top 2–3 inches for the toe.
- Heel seam: Sew up the back for about 2–3 inches.
- Leave the center (ankle area) open.
Turn the slipper right side out.
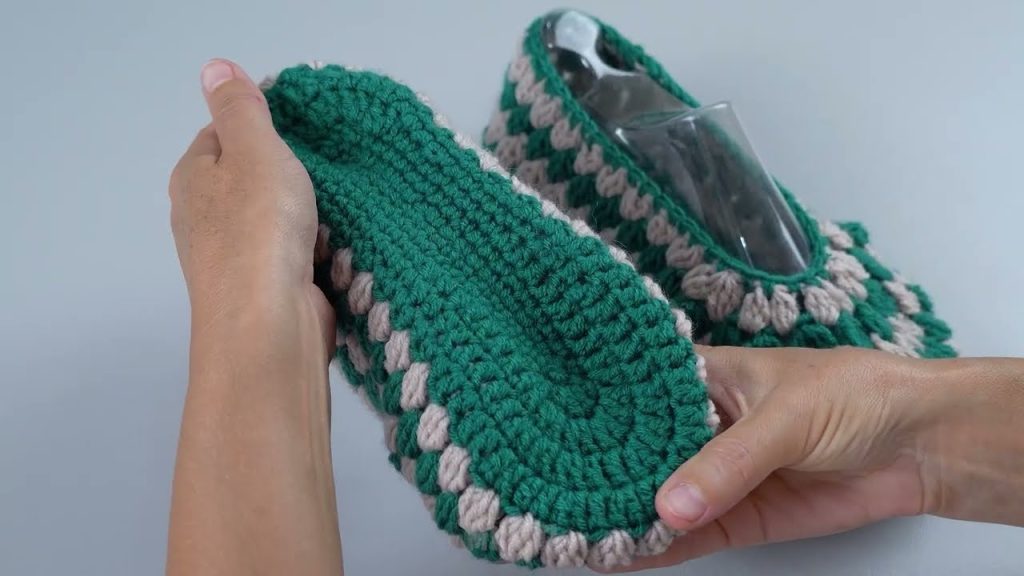
🎀 Step 6: Finishing Touches
- Decorate: Add a pom-pom, button, or crochet edge.
- Stretch: Try it on — it should fit snugly but comfortably.
- Optional: Knit a ribbed edge (K1, P1) for a few rows before finishing to make a cuff.
🧼 Step 7: Care Instructions
- Hand wash or use a gentle machine cycle.
- Lay flat to dry to prevent stretching.
🪄 Tips for Beginners
- Always knit both slippers at the same time (using two balls of yarn or ends of one skein) so they match.
- Garter stitch hides small mistakes well.
- If you want a thicker sole, double up your yarn or sew on felt soles afterward.
🩴 Quick Variation Ideas
- Color Block: Change yarn color halfway through.
- Cuffed Slippers: Knit extra length and fold it down.
- Slipper Boots: Add a ribbed ankle cuff of about 3–4 inches.
Would you like me to include illustrations or step-by-step photos (like a printable pattern sheet or diagram of the folding/sewing part)? It helps beginners visualize the slipper assembly really well.
Watch tutorial: