by
by Absolutely! I can give you a detailed step-by-step guide on how to make an easy crochet granny square wallet. I’ll include materials, stitches, and assembly tips so even if you’re a beginner, you can follow along.
Materials Needed
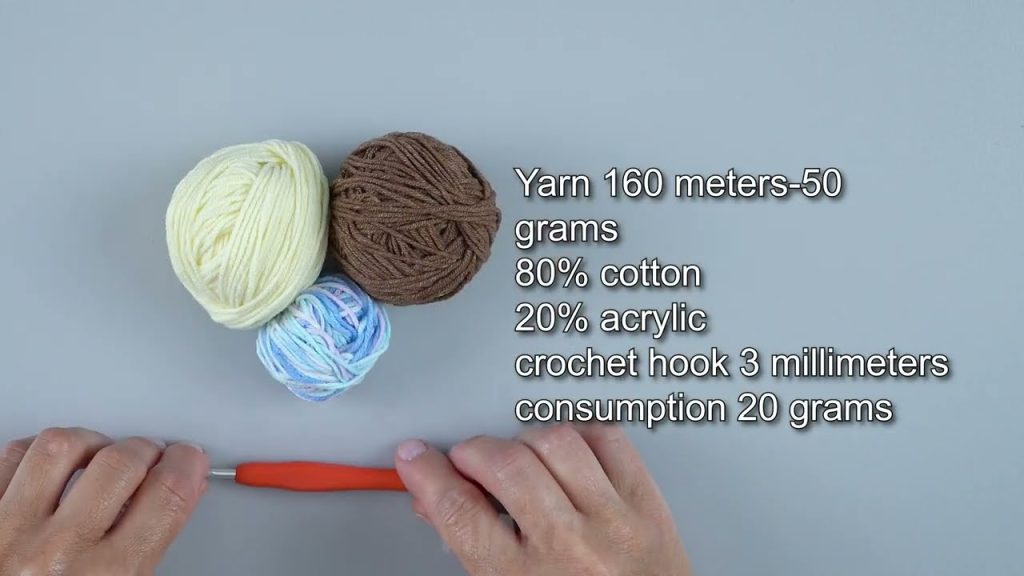
- Yarn: Medium weight (worsted, #4) in your favorite colors
- Crochet hook: Size H/8 (5 mm) or the size recommended for your yarn
- Scissors
- Tapestry needle (for weaving in ends and sewing pieces together)
- Button, snap, or zipper (optional for closure)
- Lining fabric and needle/thread (optional, for a sturdier wallet)
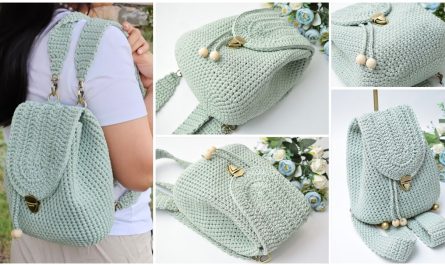
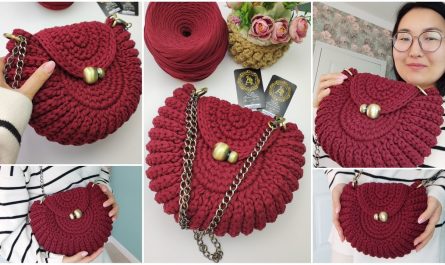
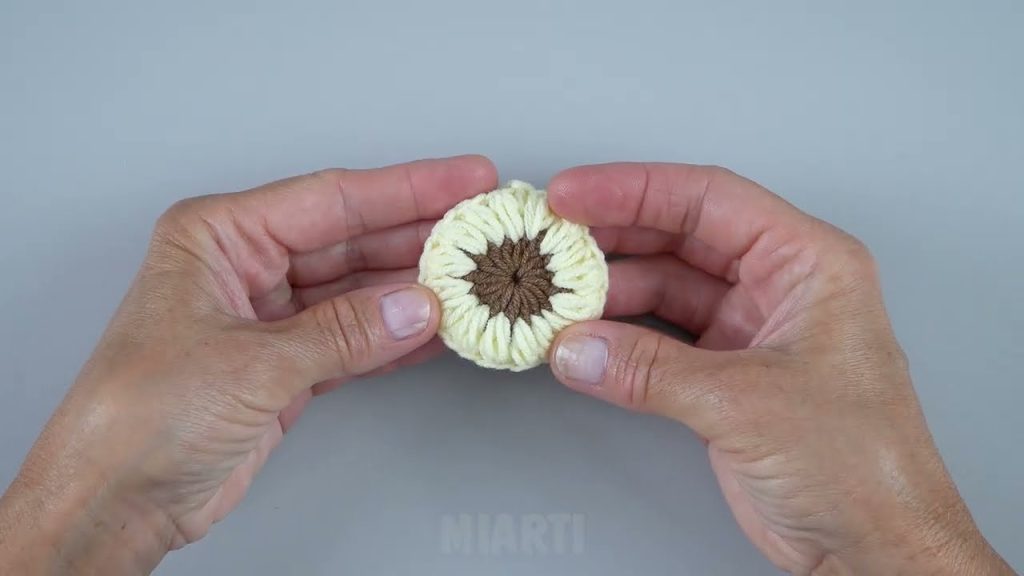
Step 1: Make a Granny Square
The wallet will be made from 2 or 3 granny squares depending on size. Here’s a simple granny square pattern:
Basic Granny Square Pattern
- Magic ring: Make a loop and chain 3 (counts as first double crochet).
- Round 1: Work 2 double crochets (dc) into the ring, chain 2, 3 dc into the ring, chain 2 repeat 3 times. Join with slip stitch to the top of the first chain-3.
- Round 2: Slip stitch into the first chain-2 space, chain 3, 2 dc in same space, chain 2, 3 dc in same space.
- 3 dc, chain 2, 3 dc in next corner space around. Join with slip stitch to top of first chain-3.
- Round 3: Repeat Round 2 for larger square. You can make it as big as you want your wallet to be.
- Fasten off and weave in ends.
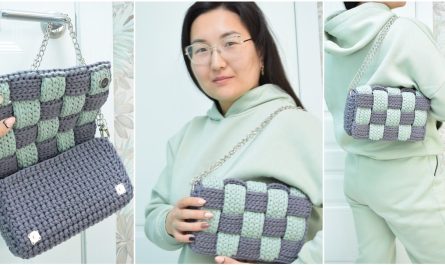
Tip: For a colorful wallet, use a different color for each round.
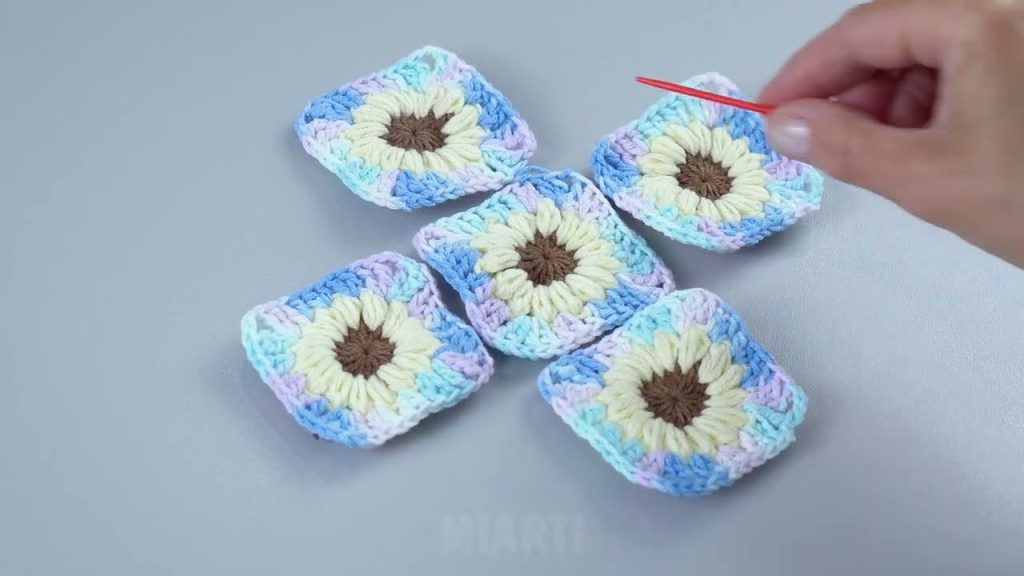
Step 2: Make 2 Squares for the Wallet
- You need 2 granny squares of the same size—one for the front and one for the back of the wallet.
- Optional: Make a smaller square for a front pocket.
Step 3: Join the Squares
There are multiple ways to join squares:
Method 1: Single Crochet Seam
- Place the squares right sides together.
- Insert your hook through both squares and single crochet along the edges.
- Leave the top open for the wallet opening.
Method 2: Whip Stitch (for a neater look)
- Use a tapestry needle to sew around 3 sides, leaving the top open.
- Make sure your stitches are tight so nothing falls out.
Step 4: Add a Wallet Flap (Optional)
- You can fold the top edge over or crochet an extra rectangle flap to cover the wallet opening.
- Attach the flap to the back square with single crochet along the edge.
Step 5: Add Closure
- Button: Sew a button on the front and chain a loop on the flap.
- Snap: Sew a snap closure.
- Zipper: If you want a zippered wallet, sew a zipper along the top opening before joining sides.
Step 6: Add a Lining (Optional for sturdiness)
- Cut a piece of fabric slightly smaller than the wallet.
- Sew it inside with a running stitch or glue fabric glue.
- This will make your wallet more durable and protect coins/cards.
Step 7: Weave in Ends
- Use your tapestry needle to tuck all loose ends inside the wallet.
- Make sure there are no yarn tails sticking out.
Step 8: Enjoy Your Handmade Wallet
- Your crochet granny square wallet is done!
- Customize it with buttons, beads, or patches to make it uniquely yours.
Tips for Beginners
- Keep your tension consistent—too tight or too loose can change wallet size.
- If using multiple colors, carry the yarn along the edges for a neat look.
- Granny squares can be made in any size, so experiment to find your perfect wallet dimension.
If you want, I can also draw a step-by-step diagram showing how the squares are joined and folded into a wallet, which makes it much easier to visualize for beginners.
Watch tutorial: