by
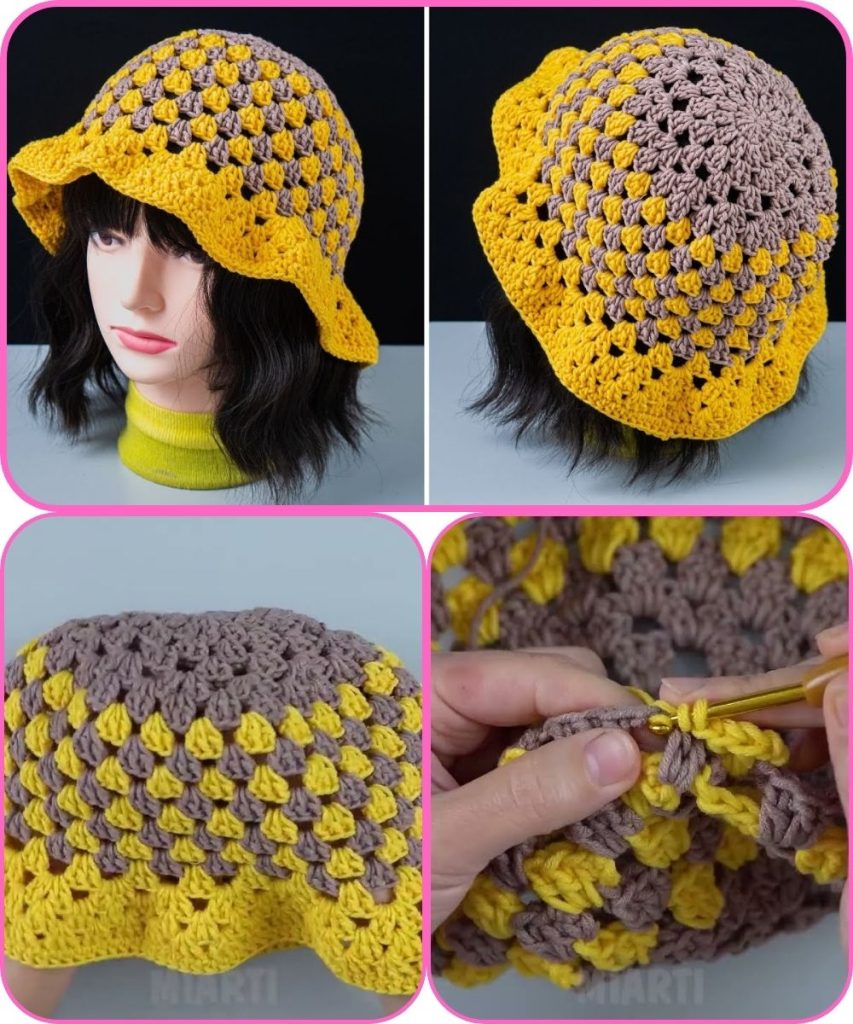
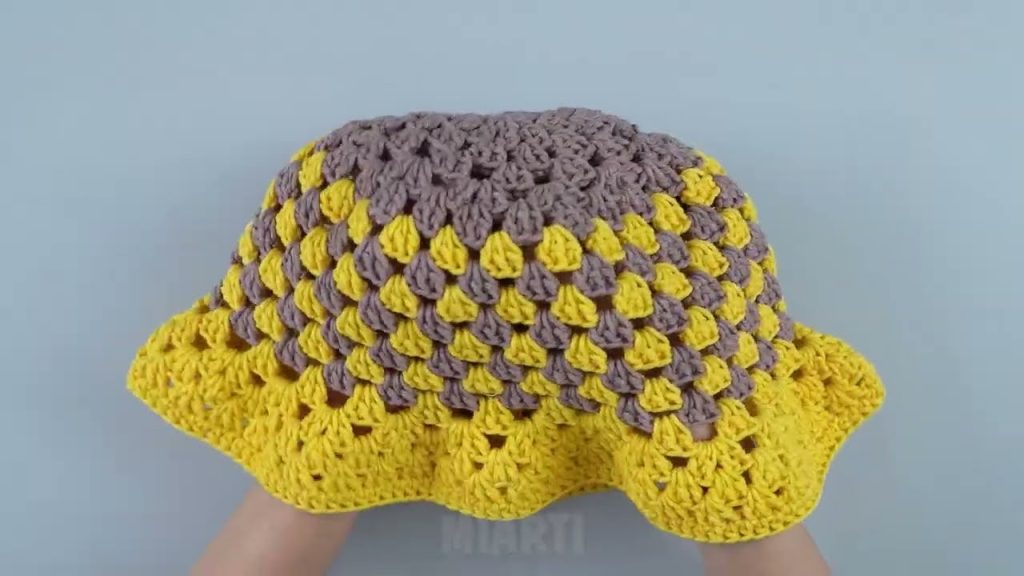
by Absolutely! I can guide you step by step on making an easy crochet granny square summer bucket hat. This style is perfect for summer—light, colorful, and fun to wear. Here’s a detailed breakdown:
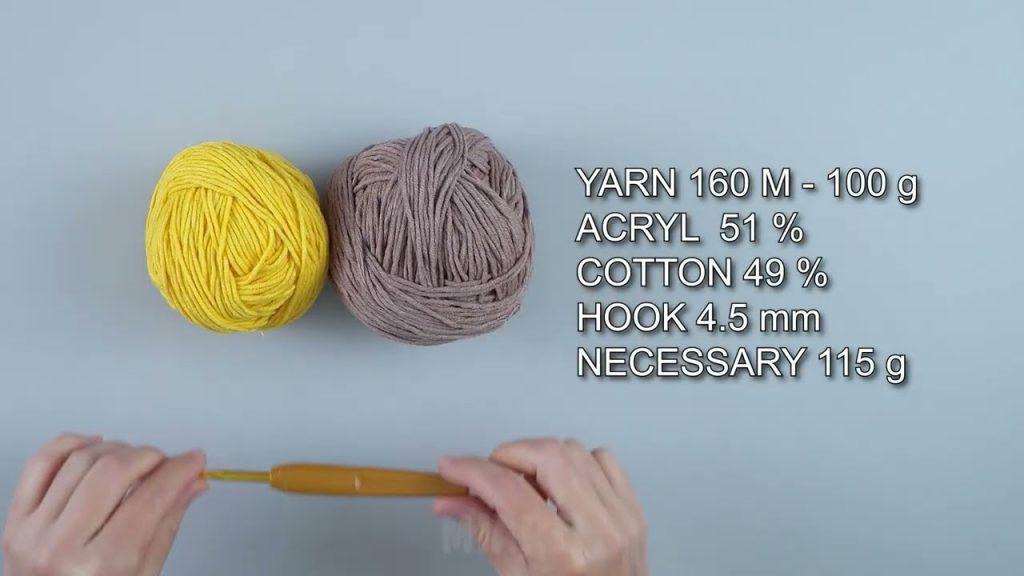
Materials Needed
- Yarn: Lightweight cotton yarn (worsted weight or DK weight is perfect for summer hats). Choose multiple colors if you want colorful granny squares.
- Crochet Hook: Usually 4 mm (G) or the size recommended on your yarn label.
- Scissors
- Yarn Needle (for weaving in ends)
- Stitch Markers (optional, but helpful for rounds)
Step 1: Make Granny Squares
The bucket hat is built from small granny squares. Each square will later be joined to form the hat.
Basic Granny Square Pattern
- Start with a magic ring or chain 4 and slip stitch to form a ring.
- Round 1: Chain 3 (counts as first double crochet), then 2 dc into the ring, chain 2 (corner), 3 dc into the ring, chain 2 repeat 2 more times. Slip stitch to top of chain 3 to close. You now have 4 groups of 3 dc separated by chain 2 corners.
- Round 2: Slip stitch into the first corner space, chain 3, 2 dc, chain 2, 3 dc into the same corner. Then in each corner space, 3 dc, chain 2, 3 dc. Slip stitch to close.
- Round 3: Repeat Round 2 until your square reaches about 3–4 inches (depending on your head size).
You can make as many squares as needed to form the hat’s crown and brim. For an adult hat, around 9-12 squares is typical.
Step 2: Join Granny Squares
Once your squares are ready:
- Arrange them in a 3×3 (or as needed) pattern for the hat crown.
- Joining Options:
- Slip Stitch Join: Place squares wrong sides together and slip stitch through both edges.
- Whip Stitch Join: Use yarn needle to sew squares together for a cleaner finish.
Make sure you leave an opening at the top if you are forming the crown in a circular way.
Step 3: Shape the Hat Crown
- Once squares are joined, check if the top forms a circular/oval shape that fits your head.
- If needed, add extra rounds of dc around the joined squares to make the crown more circular.
Step 4: Crochet the Brim
- Attach yarn to the bottom edge of the crown.
- Round 1 (Brim Start): Crochet 1 dc in each stitch around.
- Round 2 (Increase Brim): To make it flare, increase evenly—e.g., 1 dc in first stitch, 2 dc in next stitch around.
- Round 3+: Continue dc around the brim, adding increases every few stitches until the brim reaches desired width (usually 2–3 inches for a summer hat).
- Optional: For a floppy summer style, you can use half double crochet (hdc) for the brim or alternate dc/chain spaces for a lacy effect.

Step 5: Finishing
- Weave in all loose ends with a yarn needle.
- Block the hat lightly if desired (wet it slightly and shape it, then let dry).
Tips for a Perfect Summer Granny Square Hat
- Use cotton yarn for breathability.
- Keep color changes consistent to create patterns.
- A slightly loose stitch makes the hat airy and comfy.
- You can add a chin strap or tie using yarn for kids or windy days.
If you want, I can also draw a step-by-step visual diagram showing the granny squares forming the bucket hat, which makes it super easy to follow.
Watch tutorial: