 by
by Sure! Here’s a detailed, easy-to-follow guide on how to make a fun patterned crochet DIY bag in about 2 hours, perfect for beginners or anyone looking for a quick and satisfying project.
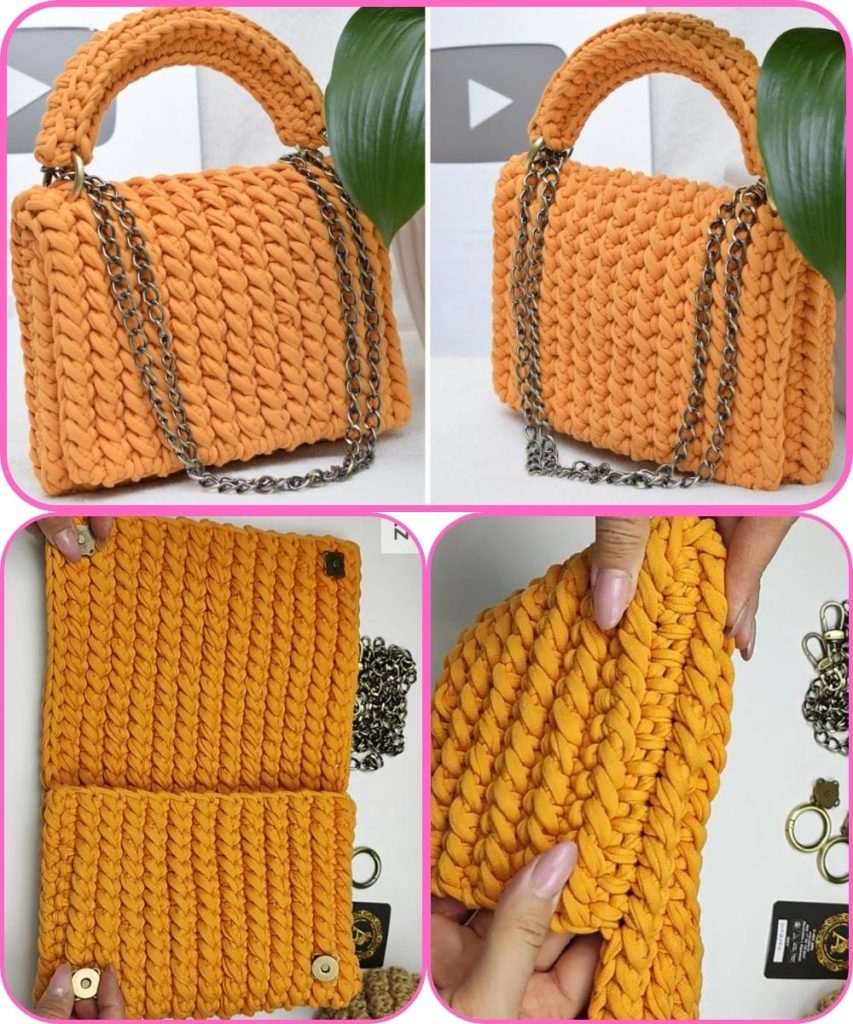
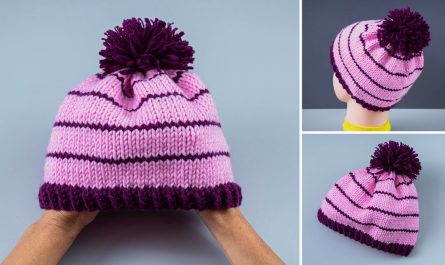
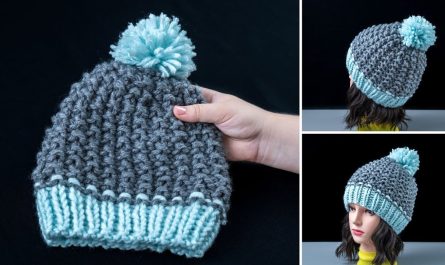
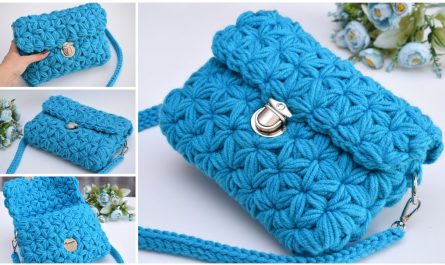
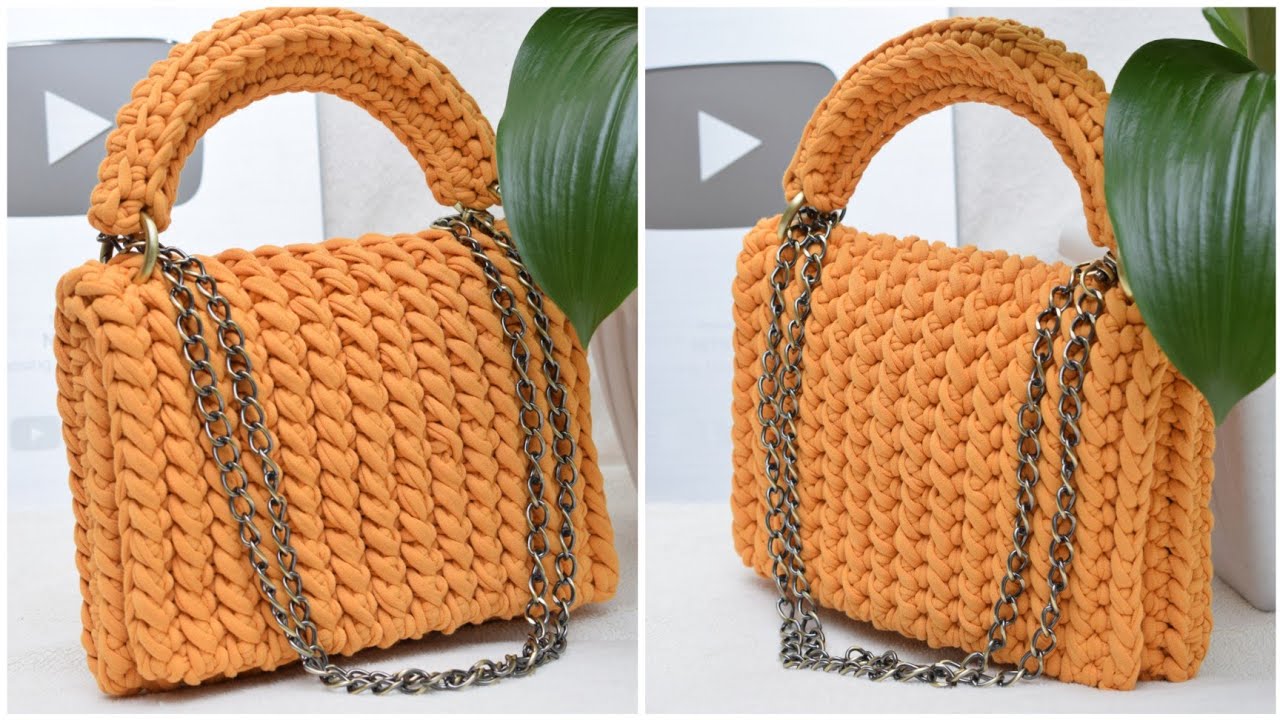
🧶 How to Make a Fun Pattern Easy-to-Crochet DIY Bag (in 2 Hours)
🕓 Time:
About 2 hours (depending on crochet speed)
🪡 Skill Level:
Beginner to Intermediate
🧵 Materials You’ll Need:
- Yarn: 2 colors of medium-weight (worsted weight) cotton yarn
(e.g., Color A for base and Color B for pattern/stripes) - Crochet Hook: 5 mm (H-8)
- Scissors
- Yarn Needle (for weaving in ends)
- Stitch Markers (optional)
- Bag Handles (optional): wooden rings, rope handles, or crocheted handles
🧩 Pattern Overview:
You’ll crochet the bag from the bottom up, using simple stitches and a fun color pattern.
The pattern creates a striped or checkered effect using double crochet and chain stitches.
🪄 Step-by-Step Instructions
🧶 Step 1: Make the Base (Flat Bottom)
- Foundation Chain:
Chain 35 (you can adjust for desired width). - Row 1:
In the 2nd chain from the hook, make 1 single crochet (sc). Continue with 1 sc in each chain across (total 34 sc).
Chain 1, turn. - Rows 2–8:
Work 1 sc in each stitch across. Chain 1 and turn each row.
This creates a sturdy rectangular base.
🎨 Step 2: Build the Body with a Fun Pattern
- Round 1 (Forming sides):
Work single crochet evenly around the entire rectangle, making 3 sc in each corner to keep edges smooth.
Join with a slip stitch to the first sc.
You now work in rounds. - Round 2:
Switch to Color B. Chain 2 (counts as first double crochet).
Pattern: [1 dc in next stitch, chain 1, skip next stitch] repeat around.
Join with slip stitch to top of first dc. - Round 3:
Switch back to Color A.
Chain 1. Work 1 sc in each dc and in each chain-1 space around. Join with slip stitch. - Repeat Rounds 2–3
Alternate colors every 2 rounds until your bag reaches about 9 inches tall.
This creates a fun checkered or striped look!
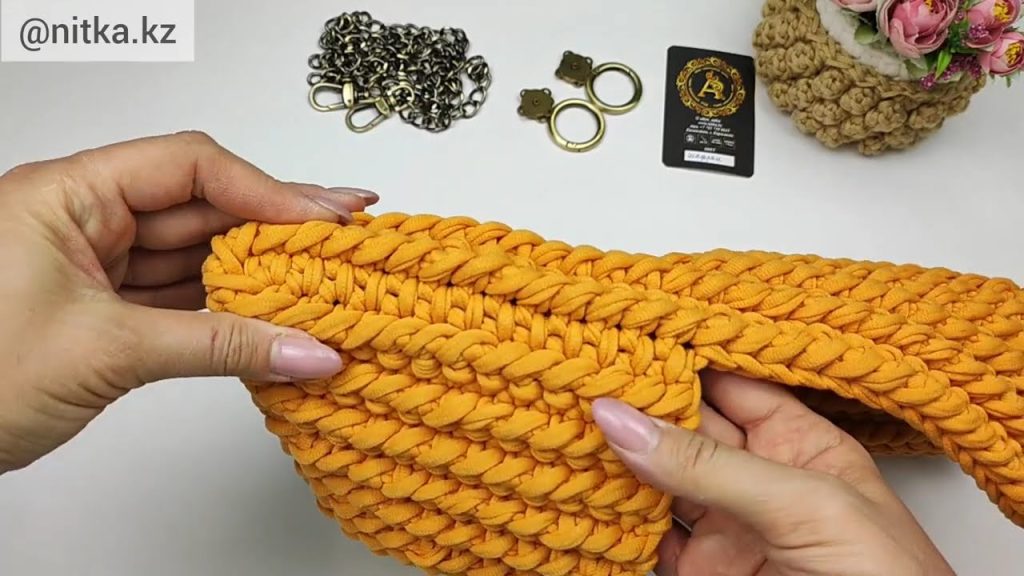
👜 Step 3: Make the Handles
You can choose one of these handle styles:
Option 1: Crochet Handles
- Chain 45 (for each handle).
- Row 1: Sc in each chain across, fasten off.
- Attach one handle to each side of the bag with a yarn needle.
Option 2: Pre-Made Handles
Sew or crochet around wooden rings or rope handles to the top of the bag.
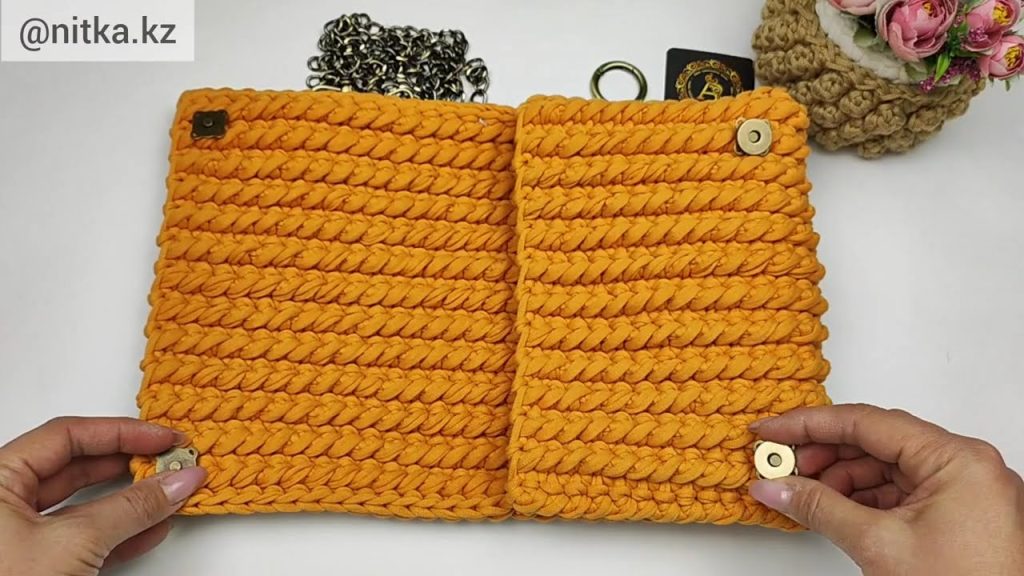
✂️ Step 4: Finishing Touches
- Use your yarn needle to weave in all loose ends neatly.
- (Optional) Add lining fabric inside the bag for a professional finish.
- Add tassels, pom-poms, or a button flap if you like extra decoration.
🌈 Customization Ideas
- Use three or more colors for a rainbow stripe effect.
- Try a granny-square pattern for a patchwork look.
- Add texture: Use puff stitches or bobble stitches in the pattern rounds.
- Add a drawstring closure: Crochet a long chain and weave it through the top round.
🧺 Quick Summary
| Step | Task | Time |
|---|---|---|
| 1 | Crochet base rectangle | 20 min |
| 2 | Build patterned body | 60 min |
| 3 | Add handles | 20 min |
| 4 | Finish & weave ends | 10 min |
Total: ~2 hours
Would you like me to include a simple visual chart or pattern diagram (like a grid showing the stitch layout) to make it easier to follow? I can make that for you next.
Watch tutorial: