 by
by Absolutely! Let’s break this down into a detailed, beginner-friendly tutorial for crocheting a beanie hat. I’ll cover materials, basic stitches, step-by-step instructions, and helpful tips.
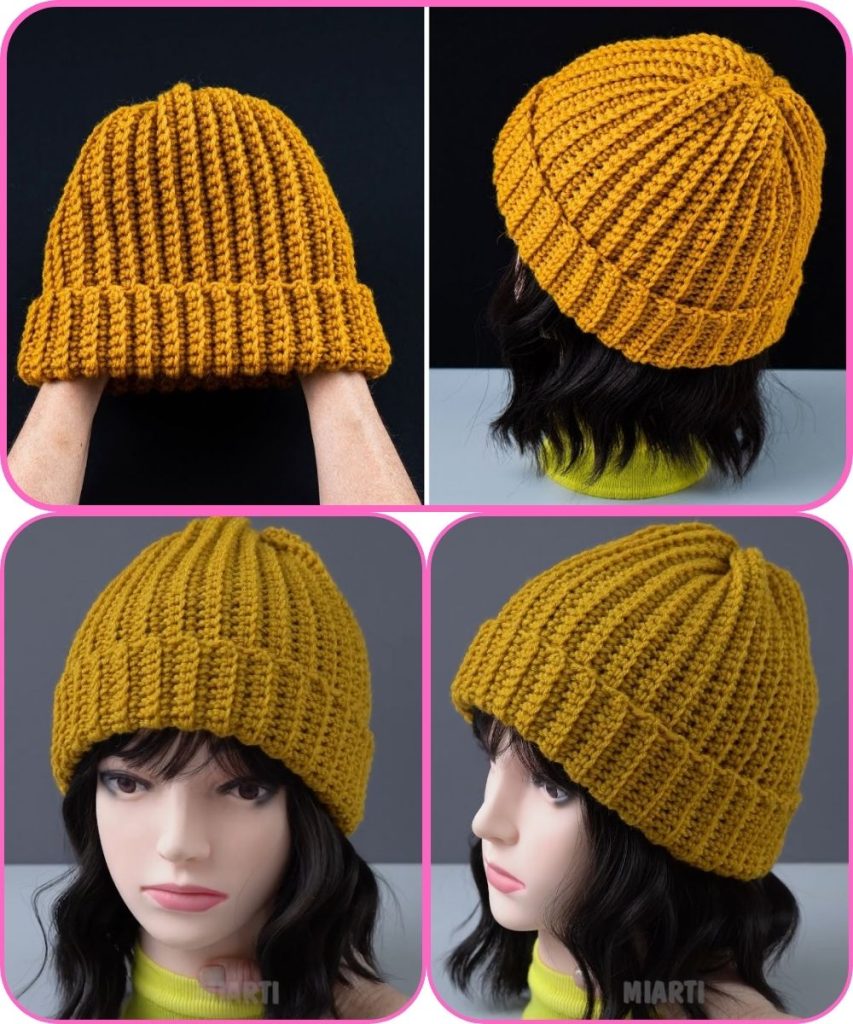
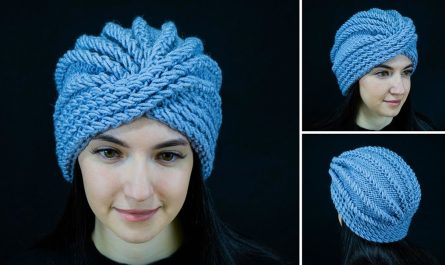
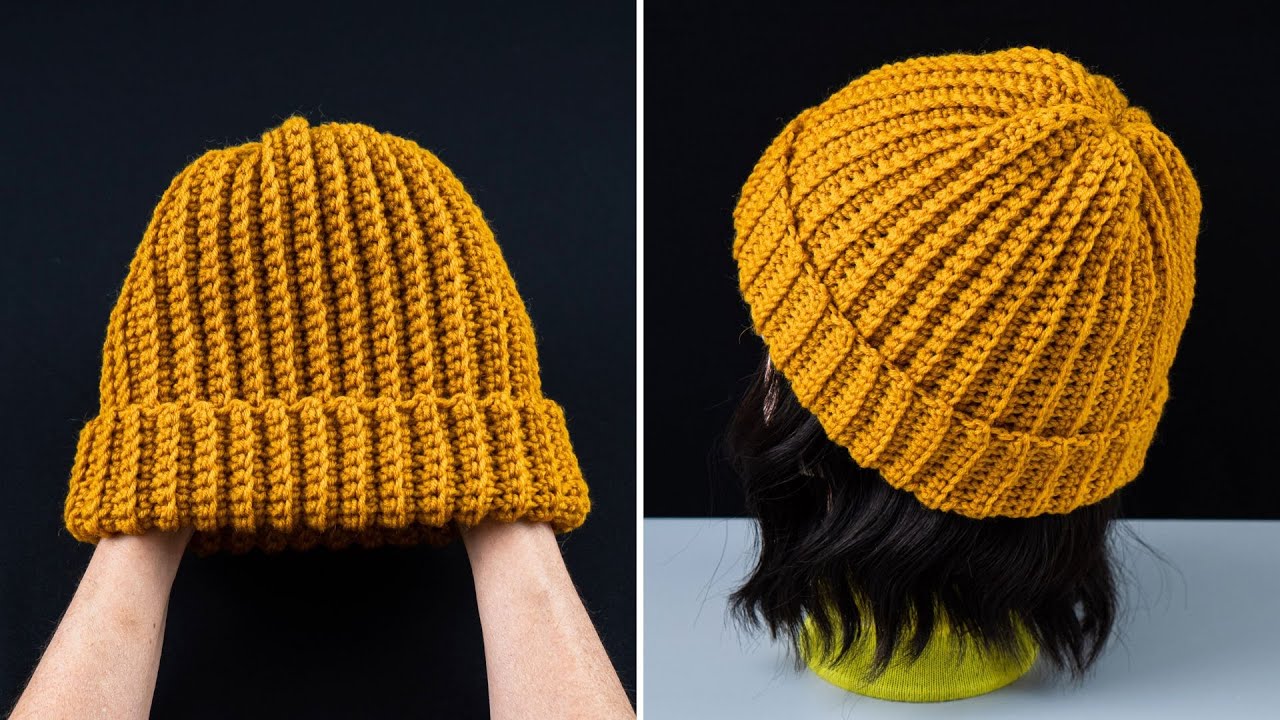
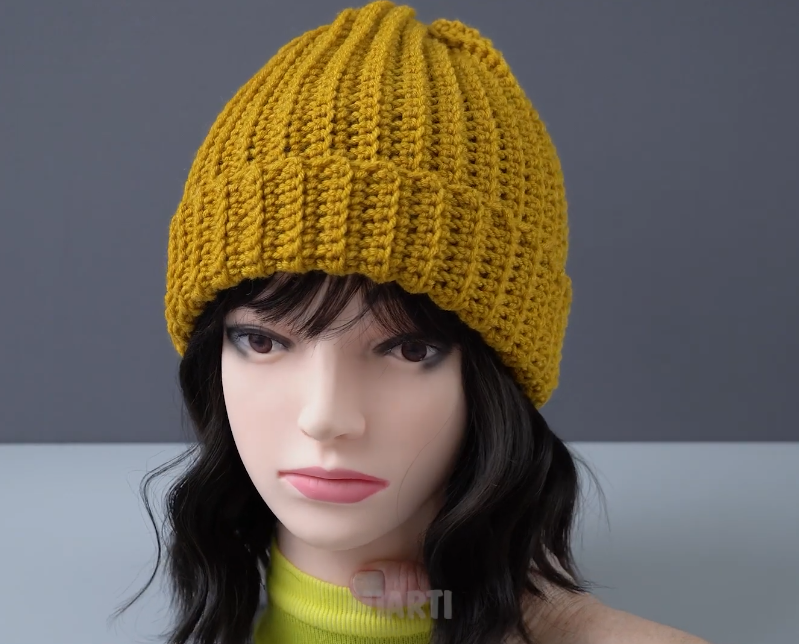
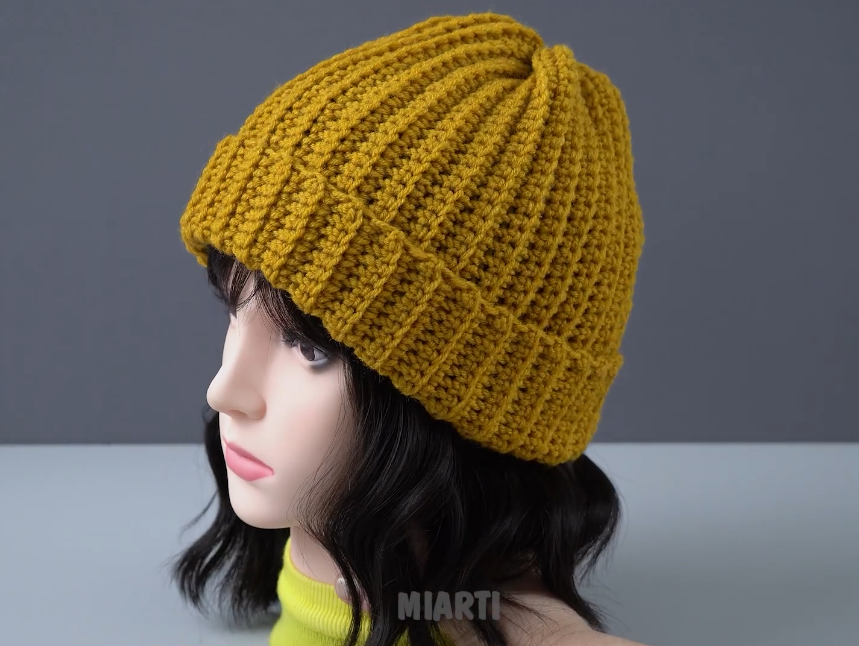
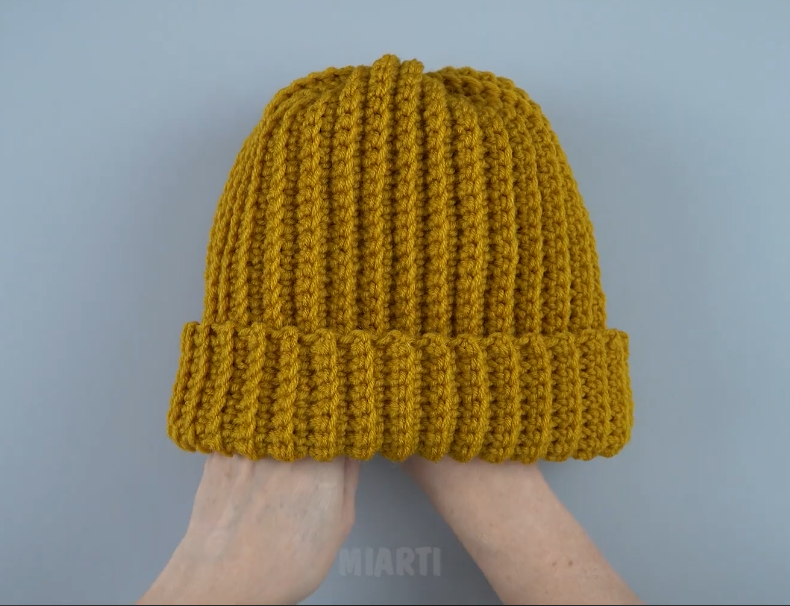
How to Crochet a Beanie Hat – Easy Tutorial for Beginners
Materials Needed
- Yarn: Medium weight (worsted) yarn is perfect for beginners.
- Crochet hook: Size H/8 (5 mm) or as recommended on your yarn label.
- Scissors
- Tapestry needle: For weaving in ends.
- Stitch markers (optional): Helps keep track of rounds.
Basic Stitches You’ll Use
- Chain (ch)
- Slip stitch (sl st)
- Single crochet (sc)
- Double crochet (dc) – optional if you want a taller, looser hat.
Tip: If you’re brand new, practice these stitches a few times before starting your beanie.
Step-by-Step Instructions
Step 1: Make a Magic Ring
- Form a loop with your yarn and pull the yarn through to make a ring.
- This is the center of your beanie crown.
Step 2: Crochet the Crown
- Chain 2 (counts as first stitch if using dc)
- Crochet 8 stitches into the magic ring (use dc or sc depending on thickness you want)
- Pull the tail to close the center tightly.
- Join with a slip stitch to the first stitch.
Tip: Using a magic ring avoids a hole in the top.
Step 3: Increase Rounds
- Round 2: 2 stitches in each stitch around (16 stitches total)
- Round 3: 1 stitch in next stitch, 2 in next stitch repeat around (24 stitches)
- Round 4: 1 stitch in next 2 stitches, 2 in next stitch repeat around (32 stitches)
- Continue increasing evenly until your circle is large enough to fit the top of your head (measure from crown to forehead, usually ~6-7 inches for adult).
Step 4: Crochet the Sides
- Once the crown is wide enough, stop increasing.
- Crochet evenly around without increasing until the beanie reaches desired length (usually 7-9 inches from top).
- Use single crochet for a tight, warm hat, or double crochet for a softer, stretchier fit.
Step 5: Finish the Hat
- Slip stitch to join the last round.
- Cut the yarn, leaving a 6-inch tail.
- Use a tapestry needle to weave in the ends neatly.
Optional Additions
- Ribbed edge: Use front post/back post stitches for a stretchy brim.
- Pom-pom: Attach a yarn pom-pom to the top for a fun touch.
- Color changes: Switch colors after a few rounds for stripes.
Tips for Beginners
- Gauge: Check your gauge by measuring width after a few rounds; adjust hook size if needed.
- Tension: Keep stitches even; not too tight, not too loose.
- Practice rounds: Start with a small swatch to get comfortable.
If you want, I can also make a super simple diagram showing exactly where to increase each round, which makes it much easier to visualize for beginners.
Watch tutorial: