 by
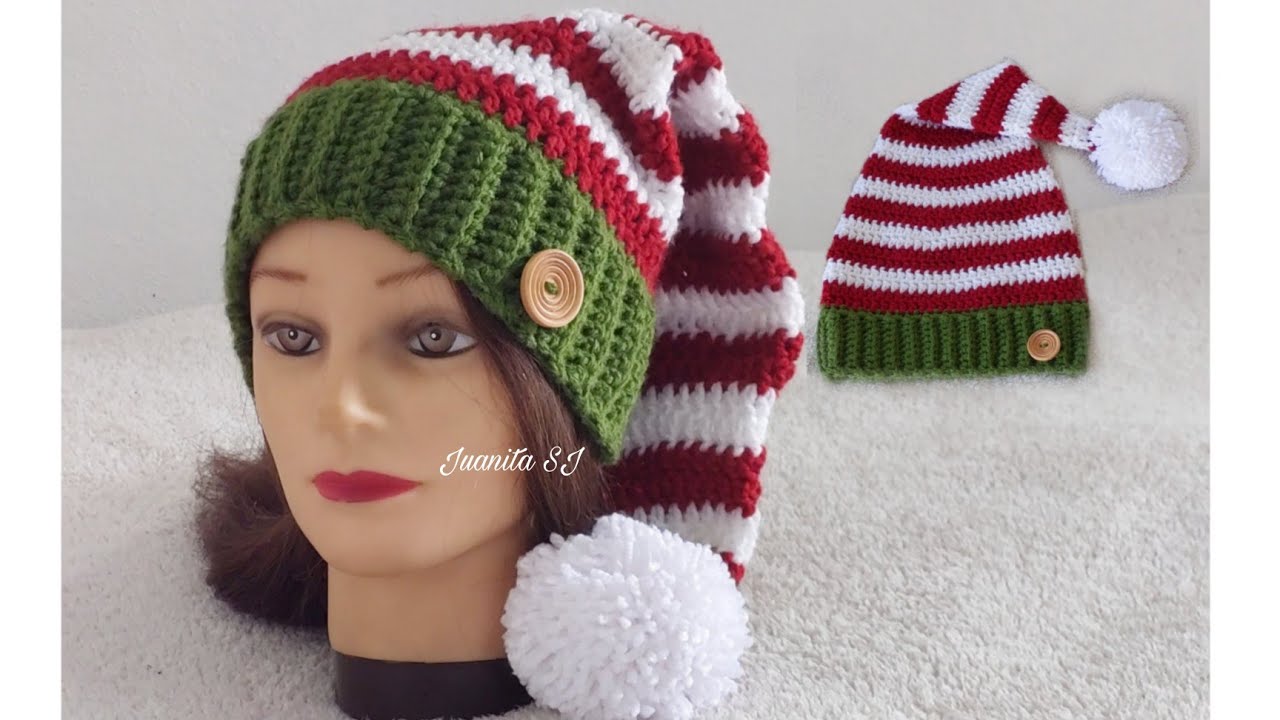
by Absolutely! 🧶 Let’s go step by step through how to make a crochet elf or goblin hat, from choosing materials to adding finishing touches. This guide is suitable for beginners to intermediate crocheters and includes both the pointed elf hat and how to adjust it for a goblin-style look.
🧝♂️ How to Make a Crochet Elf or Goblin Hat (Step by Step)
🌟 What You’ll Need
Materials:
- Worsted weight yarn (size 4) — in green, red, or any fantasy color
- Crochet hook (size H/5mm or size recommended on yarn label)
- Stitch marker
- Yarn needle
- Scissors
- Optional: small bells, felt, or buttons for decoration
Skill Level: Easy to Intermediate
Stitches Used:
- Chain (ch)
- Slip stitch (sl st)
- Single crochet (sc)
- Half double crochet (hdc)
- Double crochet (dc)
- Increase (inc)
- Decrease (dec)

🧶 Step 1: Choose Your Size
You can make this hat for any age. Here’s a general size guide for circumference:
| Size | Head Circumference | Hat Height |
|---|---|---|
| Baby | 14–16″ (36–41 cm) | 6–7″ (15–18 cm) |
| Child | 17–20″ (43–51 cm) | 8–9″ (20–23 cm) |
| Teen/Adult | 21–23″ (53–58 cm) | 10–12″ (25–30 cm) |
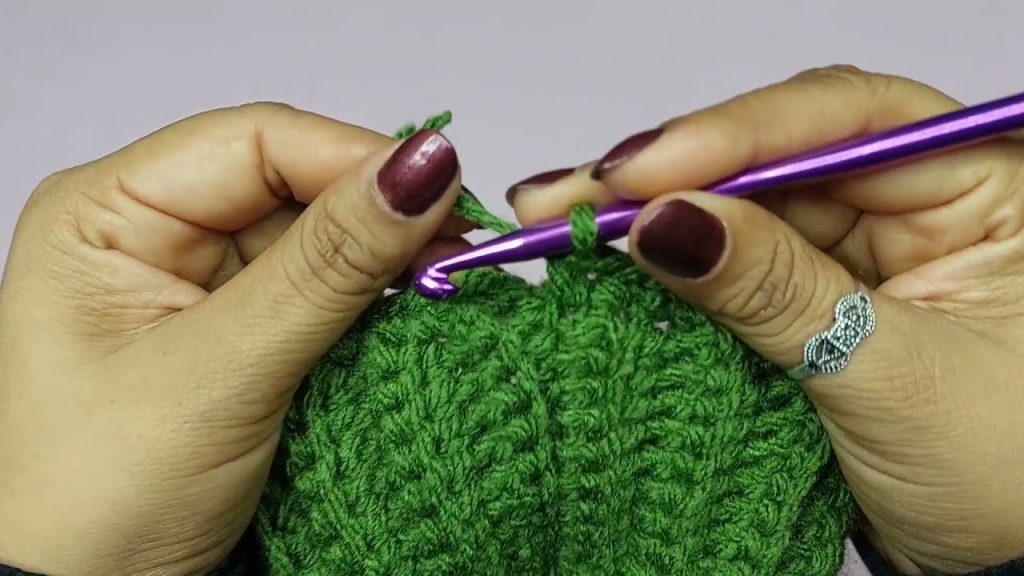
🪄 Step 2: Make the Magic Ring and Start the Tip
- Magic Ring: Create a magic ring (or ch 3 and sl st to form a ring).
- Round 1: 4 sc into the ring. Pull tight. (4 sts)
- Round 2: sc in each st around. (4 sts)
- Round 3: 1 sc in next st, inc in next st repeat around. (6 sts)
- Continue increasing slowly — every 2–3 rounds add 2 stitches evenly spaced.
- This keeps the hat tall and pointy instead of widening too fast.
Continue this until the tip measures about 4–5 inches (10–13 cm).
🎩 Step 3: Shape the Body of the Hat
You can now make the hat grow to the right width for your chosen size.
Example (Adult Size)
Keep increasing evenly:
- Round 10: 1 sc in next 2 sts, inc in next → repeat (24 sts)
- Round 15: 1 sc in next 3 sts, inc in next → repeat (30 sts)
- Round 20: 1 sc in next 4 sts, inc in next → repeat (36 sts)
- Continue until the base of the hat fits around your head (check the size chart above).
Once the circumference matches, stop increasing and work even rounds (1 sc in each st) until the hat reaches the desired length (usually 10–12 inches).
👂 Step 4: Add the Brim (Optional)
You can make the brim in several ways:
Simple Ribbed Brim
- Switch to hdc or dc stitches.
- Crochet in back loops only (BLO) for 3–5 rounds.
- This makes a stretchy, ribbed edge that hugs your head.
Folded Brim
Make an extra 2–3 inches of length and fold the edge up for a cozy look.
🧙♀️ Step 5: (Optional) Add Goblin or Elf Ears
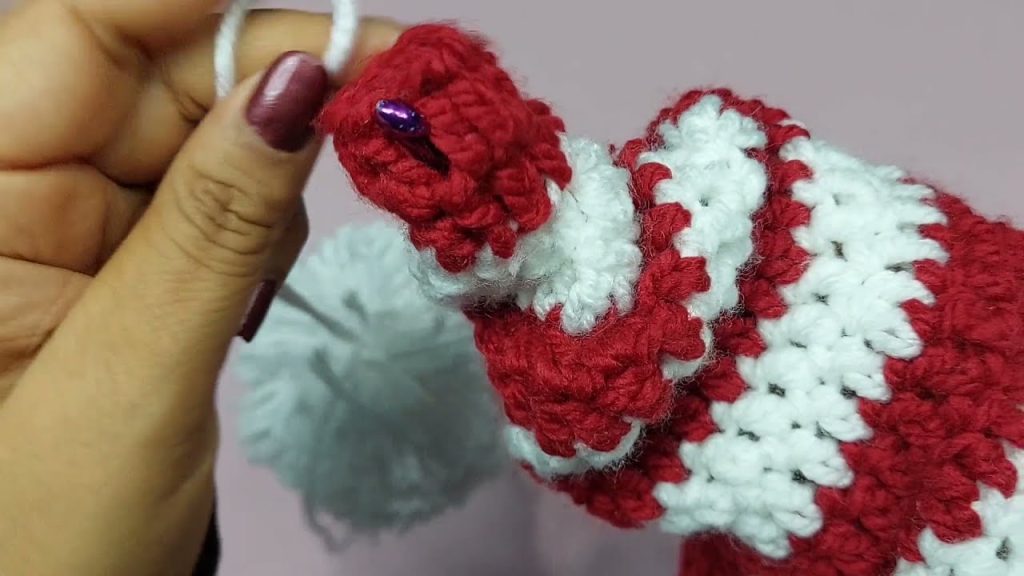
Elf Ears (Pointy)
- Ch 8.
- Row 1: sc in 2nd ch from hook, sc across (7 sts).
- Row 2: sc2tog at start and end of row (decrease both ends).
- Repeat Row 2 until 1 st remains.
- Fasten off, leave a long tail.
- Make two ears and sew to the sides of the hat about 2 inches above the brim.
Goblin Ears (Wider, Bent)
- Ch 10.
- Row 1: hdc in 2nd ch from hook and across.
- Row 2–4: work even in hdc.
- Row 5: dec 1 st at each end.
- Continue until a triangle shape forms, but bend the tip and tack it down with a stitch so it looks “floppy.”
- Sew on as with elf ears.
🎀 Step 6: Finishing Touches
- Add a bell to the tip of the hat with a few stitches.
- Add pom-poms or tassels for a festive look.
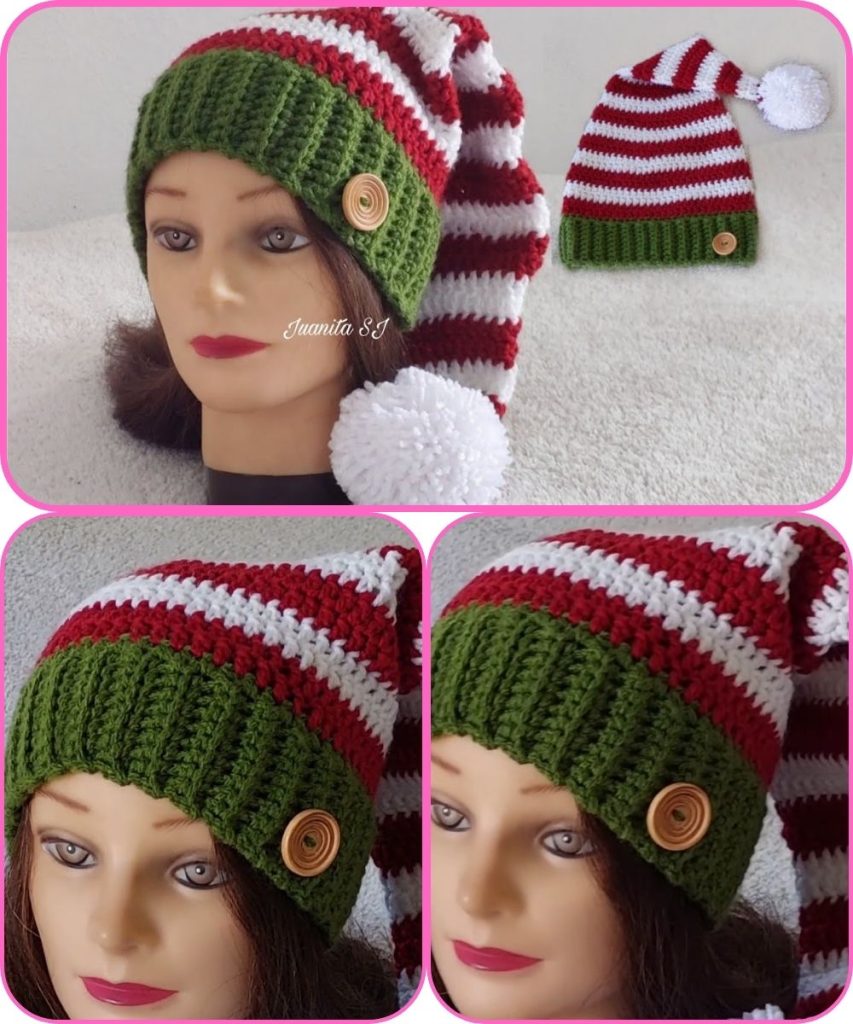
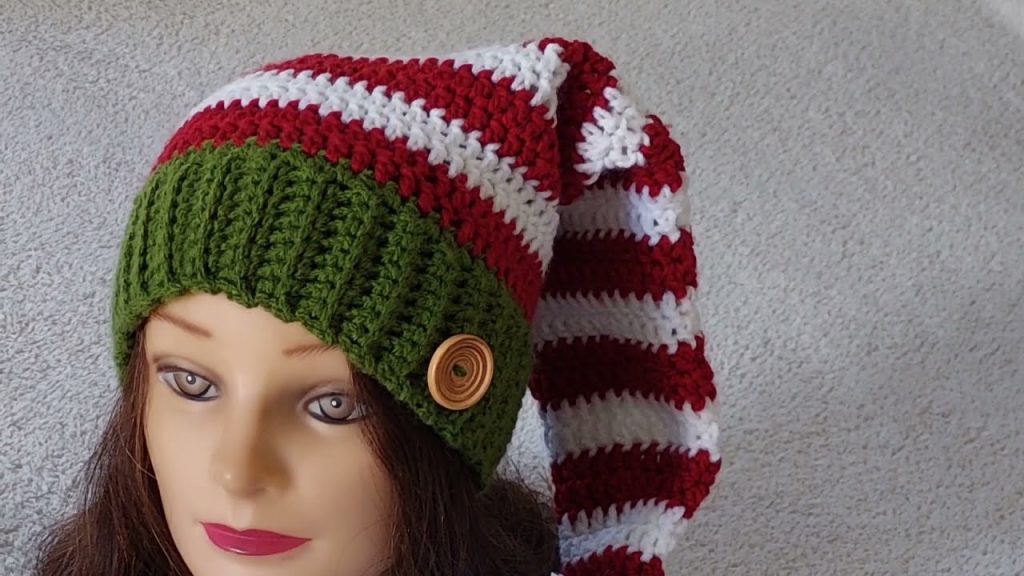
- Use contrasting colors for stripes (e.g., red and green for elves, green and brown for goblins).
🧵 Step 7: Weave In Ends
Use your yarn needle to weave in all loose ends securely on the inside of the hat.
🧚 Optional: Striped or Textured Pattern
- Striped Elf Hat: Alternate 2 rows each of red and green yarn.
- Textured Goblin Hat: Try alternating rows of sc and dc for a bumpy effect.
✅ Tips
- Try on the hat as you go to check size and fit.
- For a longer “fantasy” look, make the hat’s point up to 18 inches before widening.
- Use soft, non-itchy yarn (like acrylic or cotton blends).
Would you like me to include a written crochet pattern (with row-by-row instructions) or a chart diagram for the elf/goblin hat next?
I can make one that’s easy to follow and printable.
Watch tutorial: