 by
by Absolutely! Here’s a detailed step-by-step tutorial on how to make simple crochet slippers for beginners. I’ll keep it clear, beginner-friendly, and include tips to avoid common mistakes.
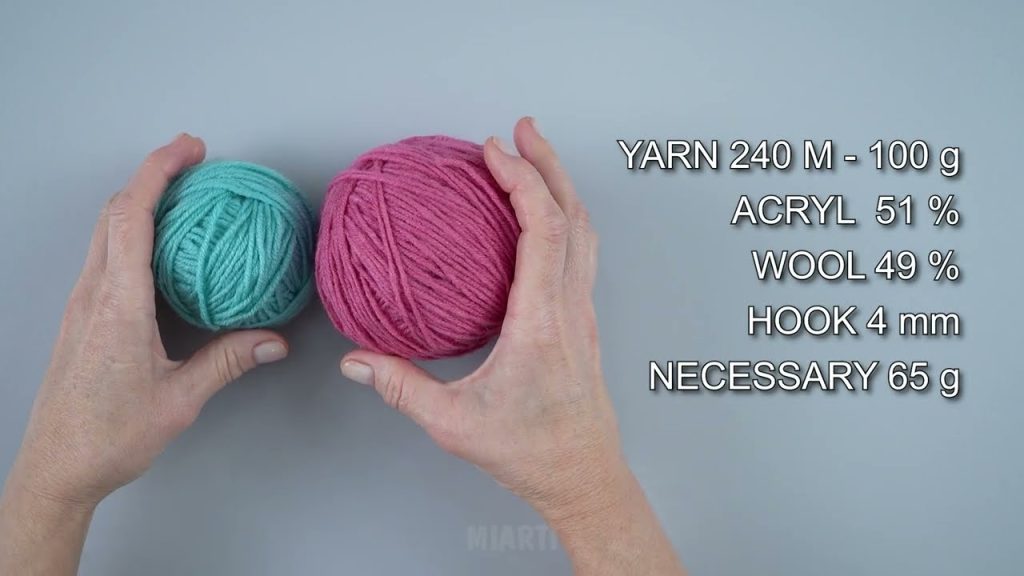
Materials You’ll Need
- Yarn: Medium-weight (worsted) yarn works best for cozy slippers. Acrylic or cotton blends are good for beginners.
- Crochet Hook: Size recommended on your yarn label, usually 5mm (H-8) or 6mm (J-10) for medium-weight yarn.
- Scissors: For cutting yarn.
- Tapestry Needle: For weaving in ends.
- Measuring Tape: Optional, but useful to check slipper size.
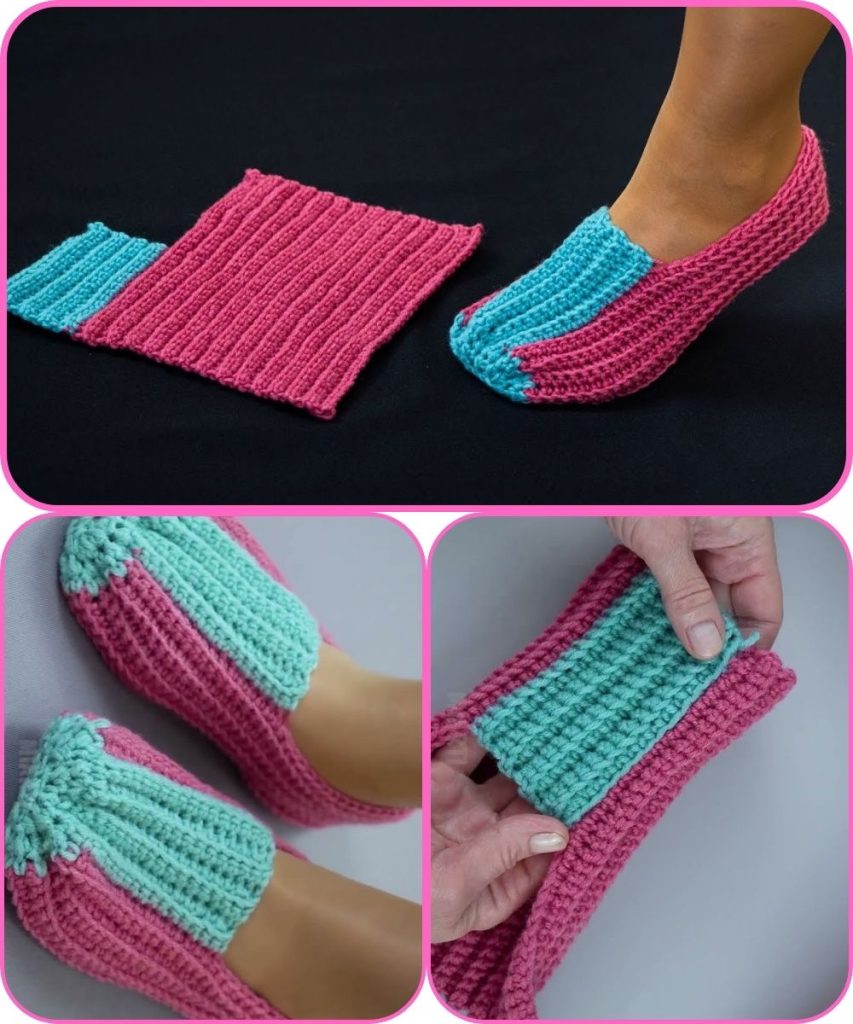
Step 1: Make the Sole
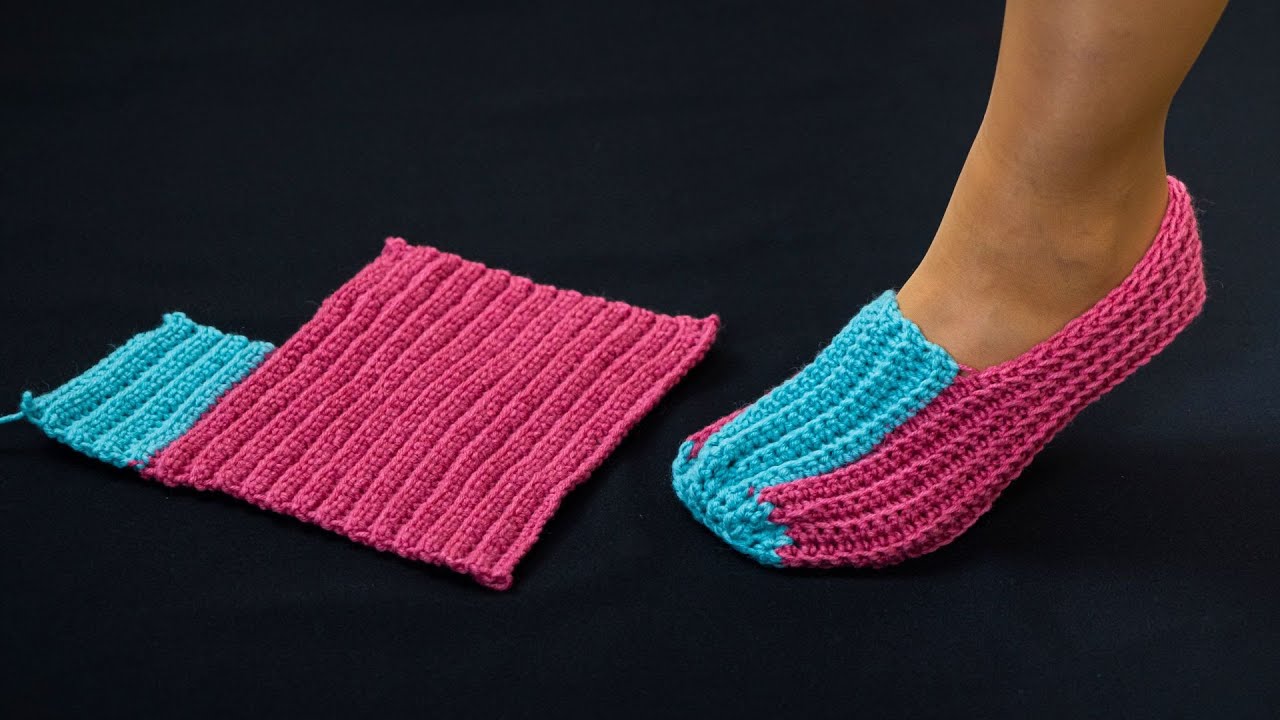
The sole is the base of the slipper, and for beginners, a simple oval shape works perfectly.
- Start with a Chain:
- Chain 10–12 (depending on your foot size; more chains = larger slippers).
- Round 1 (Working around the chain):
- Single crochet (sc) in the 2nd chain from hook.
- Single crochet in each chain across until the last chain.
- In the last chain, make 3 sc (to turn around the end).
- Continue along the other side of the foundation chain with sc in each chain.
- Make 2 sc in the last stitch to join the round.
- Slip stitch (sl st) to the first sc to close the round.
- Round 2 (Increase for shape):
- Single crochet in each stitch, adding increases at the curved ends (2 sc in 1 stitch) to make an oval shape.
- Repeat until the sole reaches the desired foot length.
💡 Tip: Keep trying the sole on your foot or measure it for comfort before moving on.
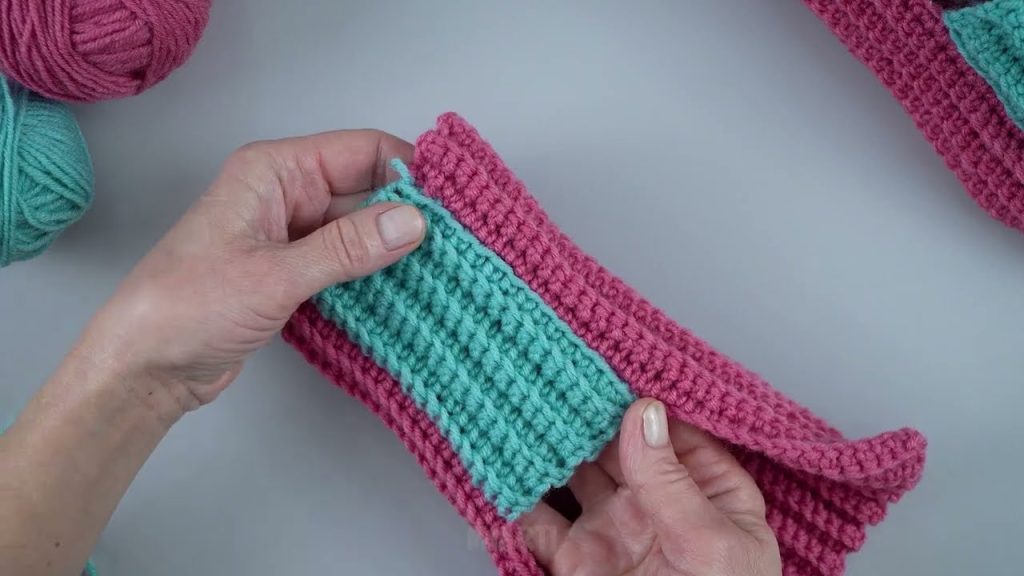
Step 2: Make the Upper Part
The upper part covers the top of your foot. You can do a simple single crochet strip.
- Start at the Toe Area:
- Attach yarn to the front of the sole (the toe part).
- Chain 1, then single crochet evenly across the sole where you want the top of your slipper.
- Work in Rows:
- Single crochet in each stitch across, then chain 1 and turn.
- Repeat until the upper covers enough of the foot comfortably. Usually 4–6 rows for a simple design.
- Optional – Shape the Top:
- You can decrease stitches at the ends to taper the top slightly, or leave it straight for a simple look.
Step 3: Make the Heel
- Attach yarn at the back of the sole (heel area).
- Single crochet around the heel edge to connect the sides of the upper to the back.
- Continue a few rounds until the heel fits snugly but not too tight.
Step 4: Finish the Slipper
- Fasten off the yarn.
- Use a tapestry needle to weave in all loose ends.
- Check for loose stitches and adjust if necessary.
Step 5: Optional Embellishments
- Add a pom-pom at the front.
- Use a contrasting color for the sole or upper edge.
- Add a button or bow for decoration.
Tips for Beginners
- Keep your tension even; too tight makes it hard to work, too loose makes slippers floppy.
- Use stitch markers to mark the beginning of rounds.
- Try on the slipper as you go for a custom fit.
- Stick to single crochet for simplicity. Once comfortable, you can try half-double or double crochet for texture.
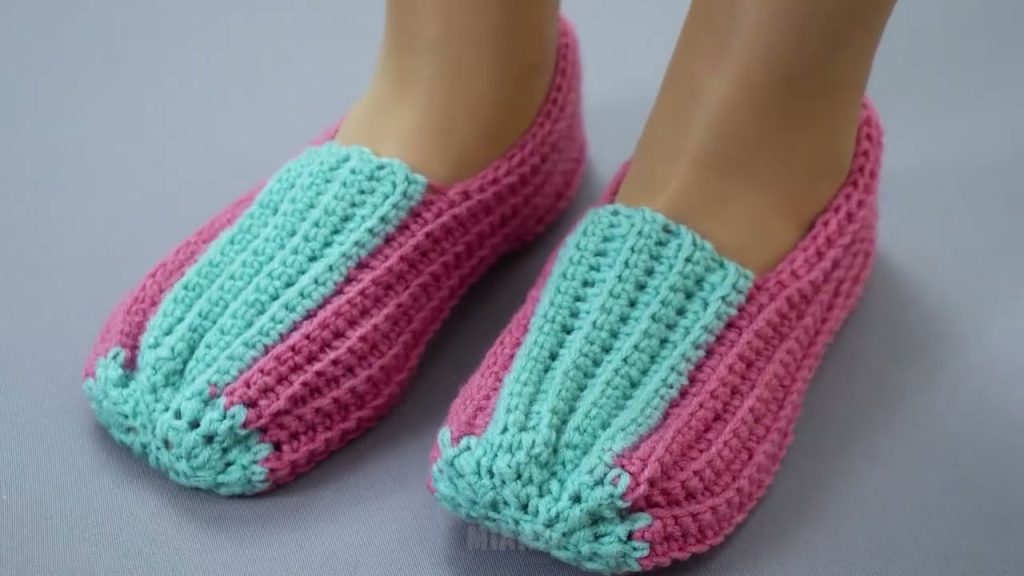
✅ Summary
You can make a beginner-friendly crochet slipper in a few hours with just basic single crochet, increases for shaping, and rows for the upper. Start with one slipper and adjust for fit, then make the second one!
If you want, I can draw a simple step-by-step diagram showing the sole, upper, and heel construction—it makes it super easy to follow visually.
Watch tutorial: