 by
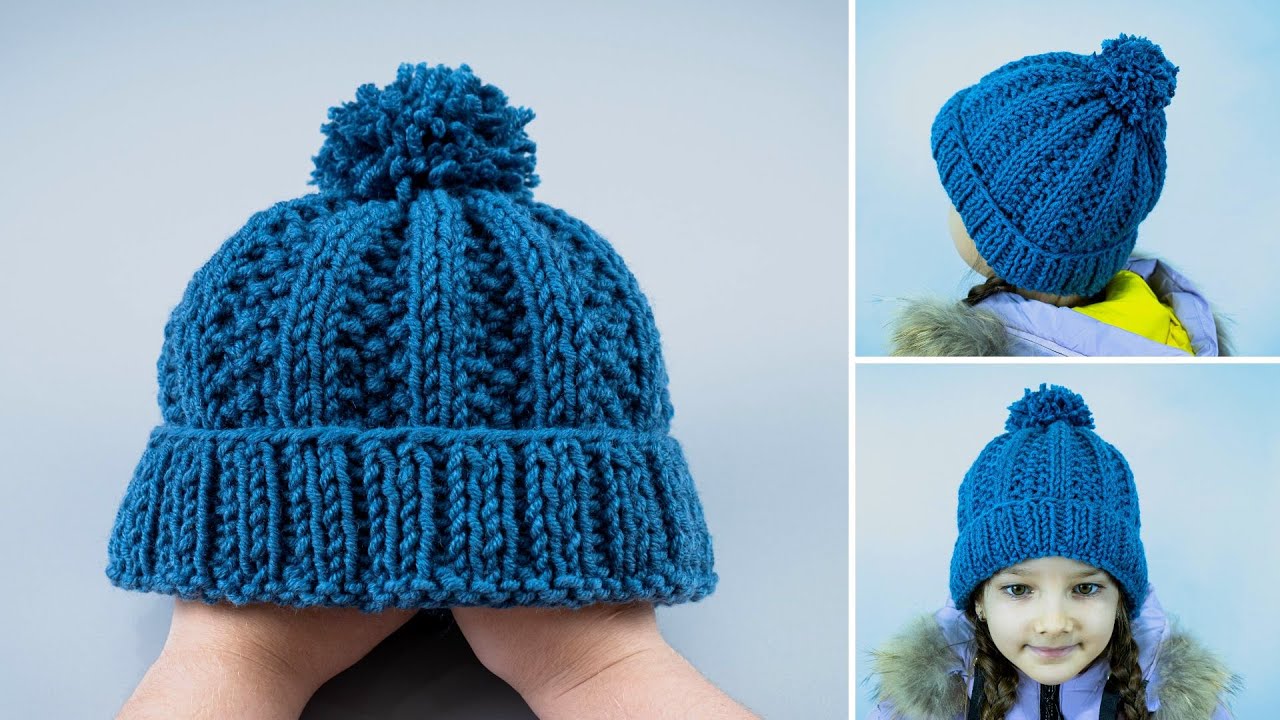
by Here’s a detailed, beginner-friendly guide for making a simple knitted hat. This is perfect for first-time knitters—no complicated patterns or shaping required 🧶🎩
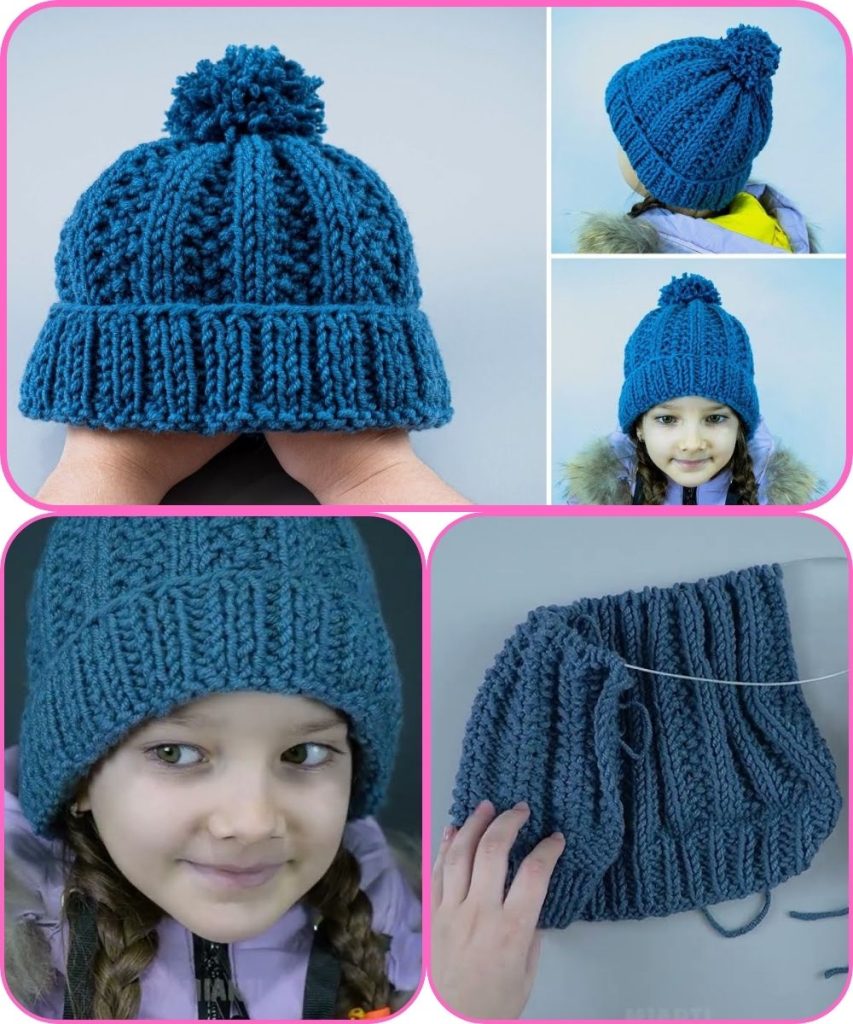
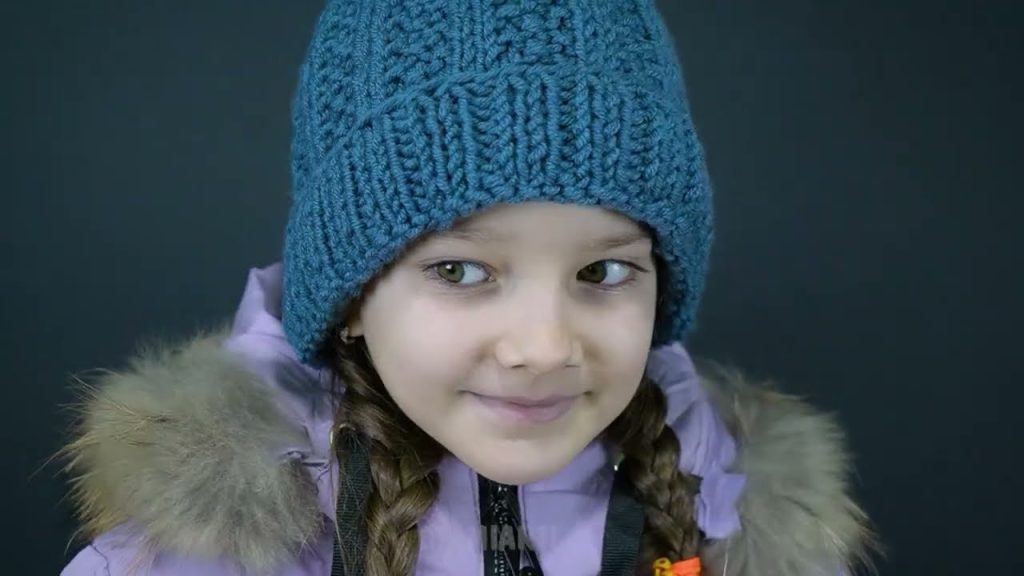
How to Make a Simple Knitting Hat
(Beginner Friendly)
Skill Level
Beginner (works with basic knit and purl stitches)
Finished Size
- Adult Medium: Fits most heads (20–22 inches / 51–56 cm)
- Can be adjusted for smaller or larger sizes (notes included below)
Materials Needed
- Yarn: Medium weight yarn (Category 4 / worsted weight)
- Knitting needles:
- 16-inch (40 cm) circular needles, size US 8 (5 mm)
- Optional: double-pointed needles (DPNs) for top decreases
- Stitch marker
- Yarn needle
- Scissors
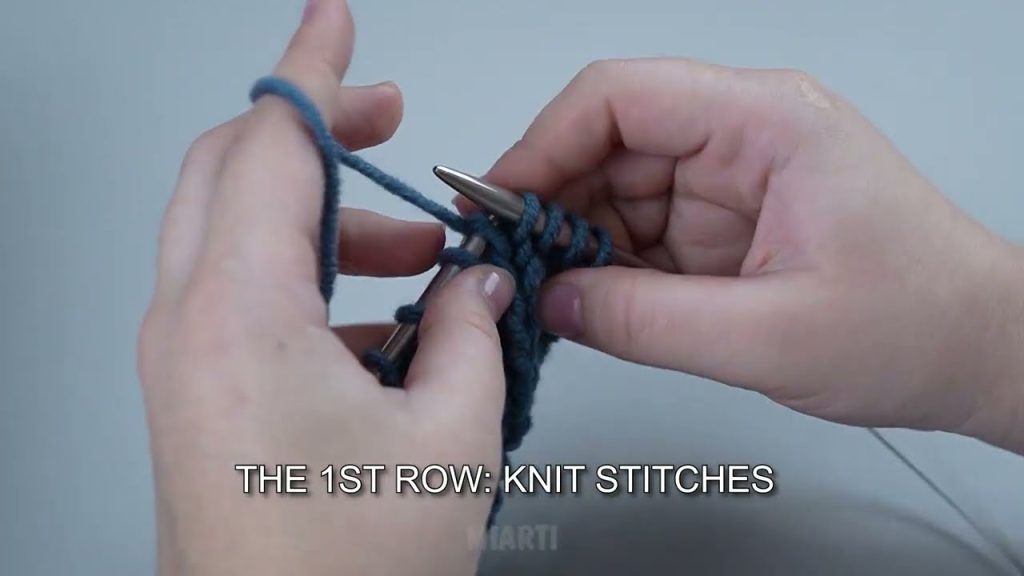
Basic Knitting Skills Used
- Casting on
- Knit stitch (k)
- Purl stitch (p)
- Knitting in the round
- Decreasing (k2tog)
- Binding off
Knitting Abbreviations
- k – knit
- p – purl
- k2tog – knit two together (decrease)
- st(s) – stitch(es)
Simple Stitch Pattern
Ribbing (K1, P1) – stretchy and perfect for beginners
- Works well for the hat’s brim and keeps it snug
Step-by-Step Instructions
Step 1: Cast On
- Cast on 80 stitches using your preferred method
- Place a stitch marker to mark the beginning of the round
- Make sure stitches aren’t twisted before joining in the round
Step 2: Knit the Brim
- Work in K1, P1 ribbing for about 2 inches (5 cm)
- Round example: K1, P1 repeat around
The ribbed brim ensures a snug, comfortable fit
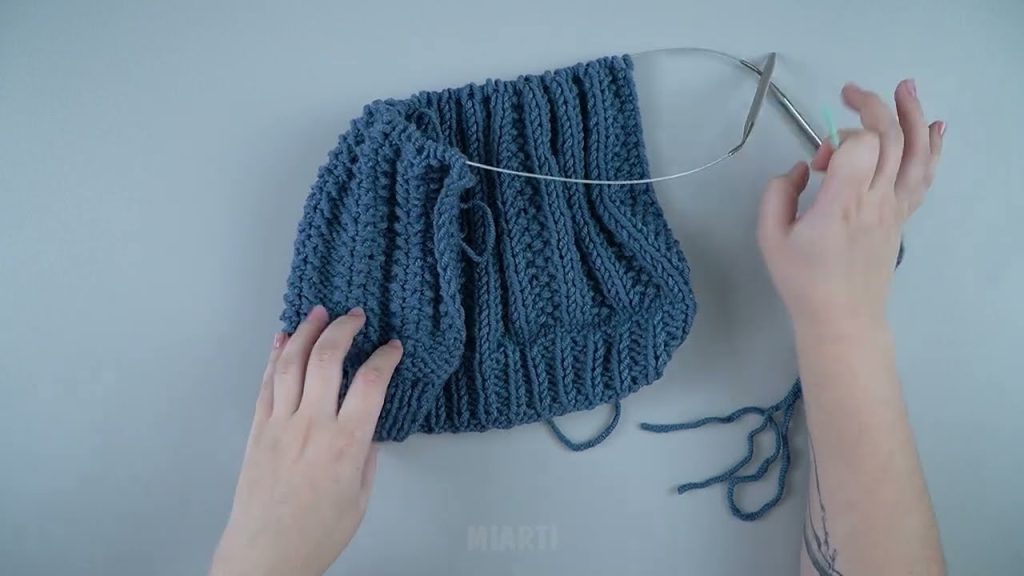
Step 3: Knit the Body of the Hat
- Continue in K1, P1 ribbing (or switch to plain knit stitches for a smooth look)
- Knit until the hat measures about 6.5–7 inches (16–18 cm) from the cast-on edge
Step 4: Shape the Crown (Top)
Start decreasing to shape the top:
- Round 1: K2tog, K6 repeat around (70 sts)
- Round 2: Knit all stitches
- Round 3: K2tog, K5 repeat around (60 sts)
- Round 4: Knit all stitches
- Continue decreasing this way, reducing one stitch between decreases each time, until 10–12 stitches remain
Step 5: Finish the Hat
- Cut the yarn, leaving a 6-inch tail
- Thread the tail through a yarn needle and pull through remaining stitches
- Pull tight to close the top
- Weave in all loose ends
Adjusting the Size
- Smaller hat: Cast on 72 stitches
- Larger hat: Cast on 88 stitches
- Make sure the cast-on number is divisible by 2 for K1, P1 ribbing
Beginner Tips
- Use light-colored yarn to easily see stitches
- Keep your tension even but relaxed
- Count stitches often to avoid mistakes
- Don’t worry if it’s not perfect—practice makes perfect!
Optional Customizations
- Try striped yarn for a fun look
- Use two colors and switch halfway
- Add a pom-pom on top for flair
- Make a long beanie style by knitting longer before decreasing
🎉 Congratulations! You’ve just made a simple, cozy knitted hat that even a beginner can complete.
If you want, I can also make a super-short, printable beginner pattern with stitch counts and rounds clearly listed so it’s even easier to follow.
Watch tutorial: