 by
by Here is a clear, detailed, step-by-step guide you can use for a project description or tutorial on How to Make a Dream Handbag using a Three-Dimensional Crochet Pattern. You can adjust the size, yarn, or style to match your own design.
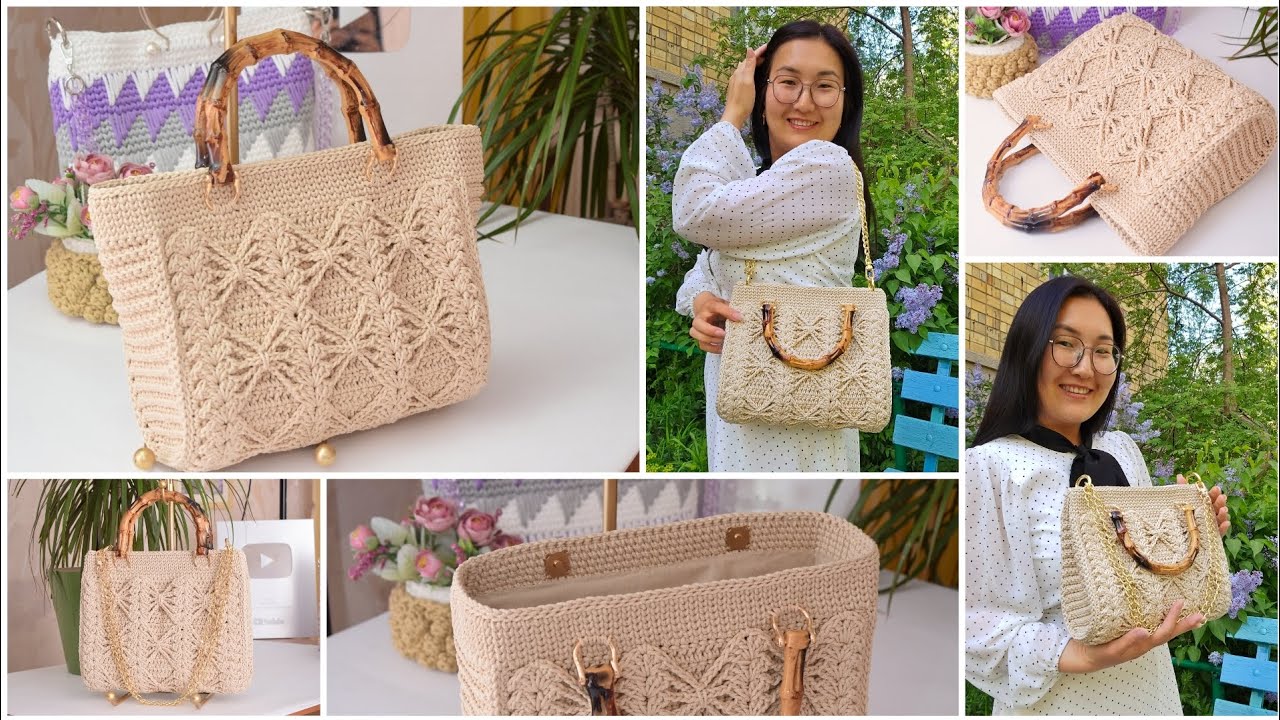
How to Make a Dream Handbag
Incredible Three-Dimensional Crochet Pattern (Step-by-Step)
Creating a dream handbag with a three-dimensional crochet pattern is a fun and rewarding project. This design stands out because of its textured surface, strong structure, and handmade elegance. Follow these steps carefully to achieve a beautiful and durable result.
Materials Needed
- Medium to thick yarn (cotton, polyester cord, or t-shirt yarn works best)
- Crochet hook (size depends on yarn, usually 4–6 mm)
- Stitch markers
- Scissors
- Yarn needle
- Bag handles or strap (optional)
- Fabric lining (optional but recommended)
Step 1: Create the Base of the Handbag
- Start with a magic ring or chain 6 and join with a slip stitch.
- Crochet single crochets into the ring to form a flat circle.
- Increase evenly in each round to expand the base.
- Continue until the base reaches your desired handbag width.
💡 Tip: A firm base helps the bag keep its shape.
Step 2: Build the Side Walls
- Stop increasing stitches.
- Crochet in the back loop only for one round—this creates a sharp edge between the base and sides.
- Continue crocheting in rounds to build the height of the bag.
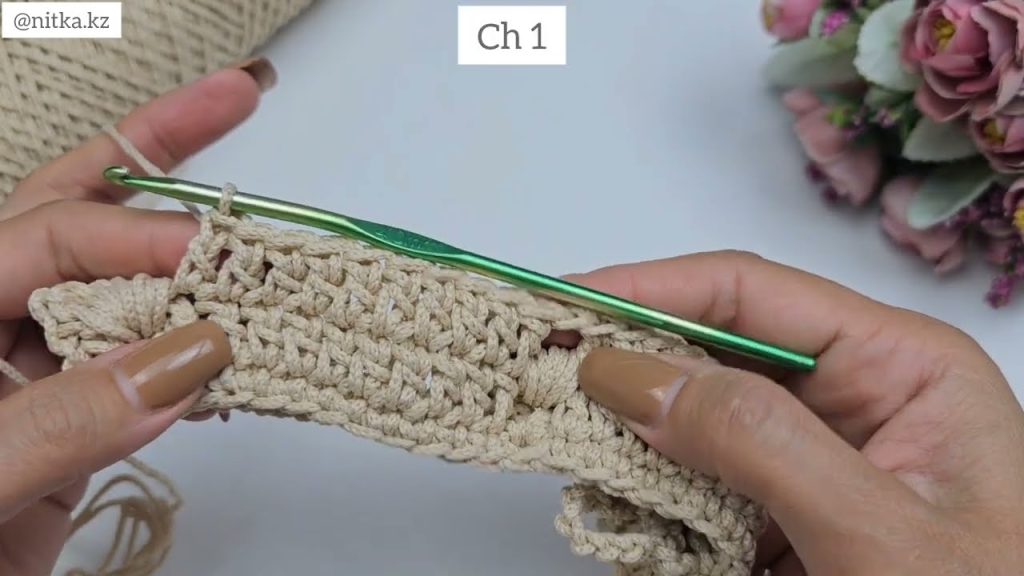
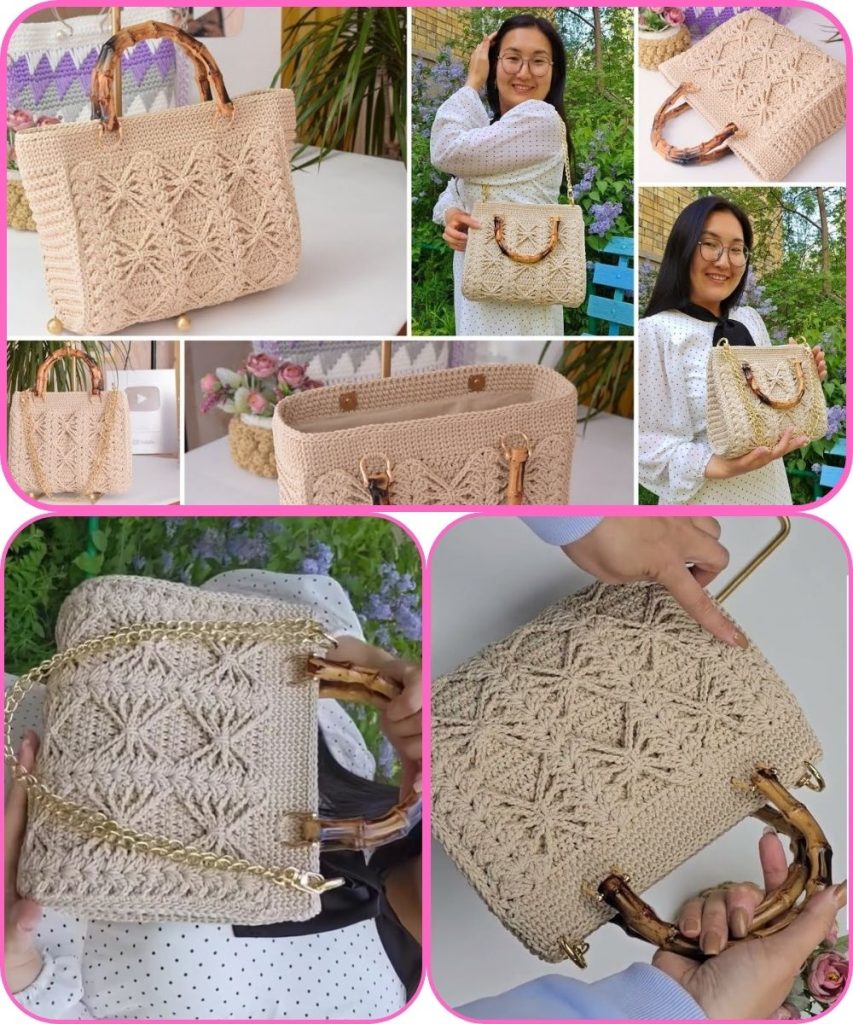
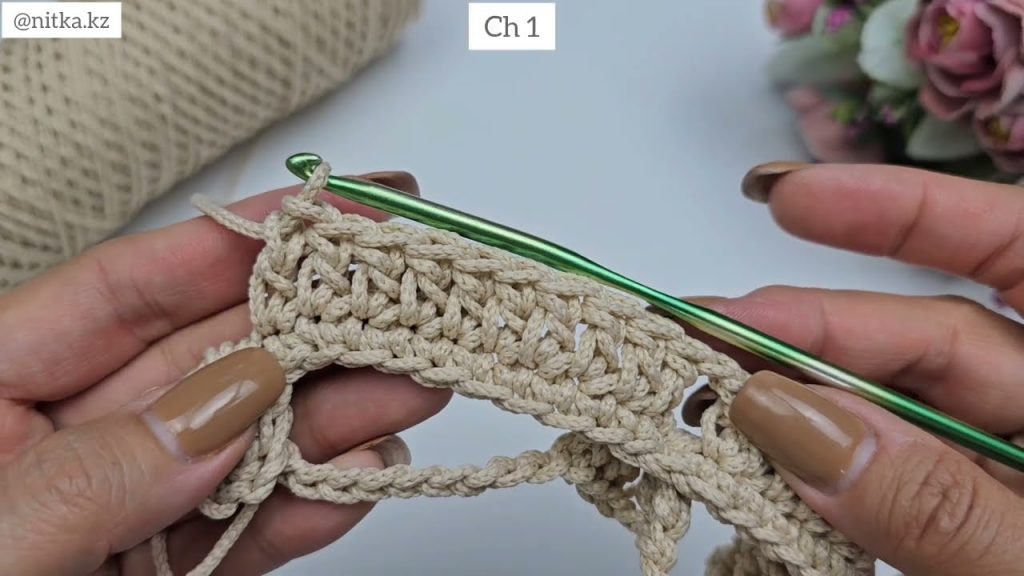
Step 3: Add the Three-Dimensional Pattern
- Use textured stitches such as:
- Puff stitches
- Popcorn stitches
- Front-post double crochet
- Repeat the pattern consistently around the bag.
- Use stitch markers to track pattern repeats.
✨ This step gives the handbag its “dream” look and depth.
Step 4: Shape and Reinforce
- Adjust tension to keep stitches even.
- Add a few rounds of tight single crochet at the top.
- This strengthens the opening and improves durability.
Step 5: Attach Handles or Strap
- Attach pre-made handles with slip stitches or sewing.
OR - Crochet your own strap:
- Chain to desired length
- Work rows of single crochet for strength
- Secure both ends firmly to the bag.
Step 6: Optional Lining
- Cut fabric to match the bag’s interior.
- Hand-sew the lining inside using small, neat stitches.
- This prevents stretching and protects belongings.
Step 7: Finishing Touches
- Weave in all loose ends
- Block the bag lightly if needed
- Add buttons, clasps, or decorative elements
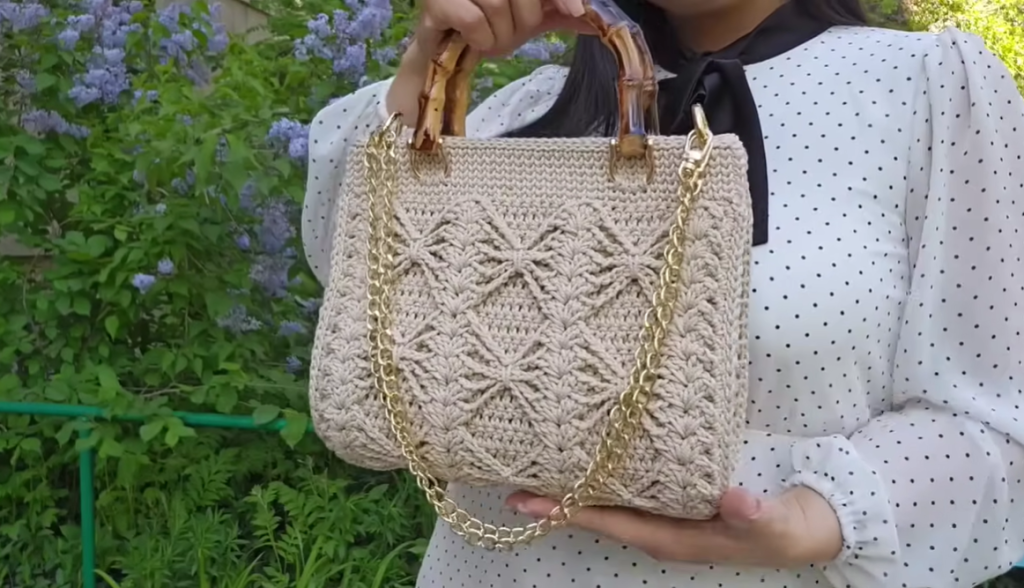
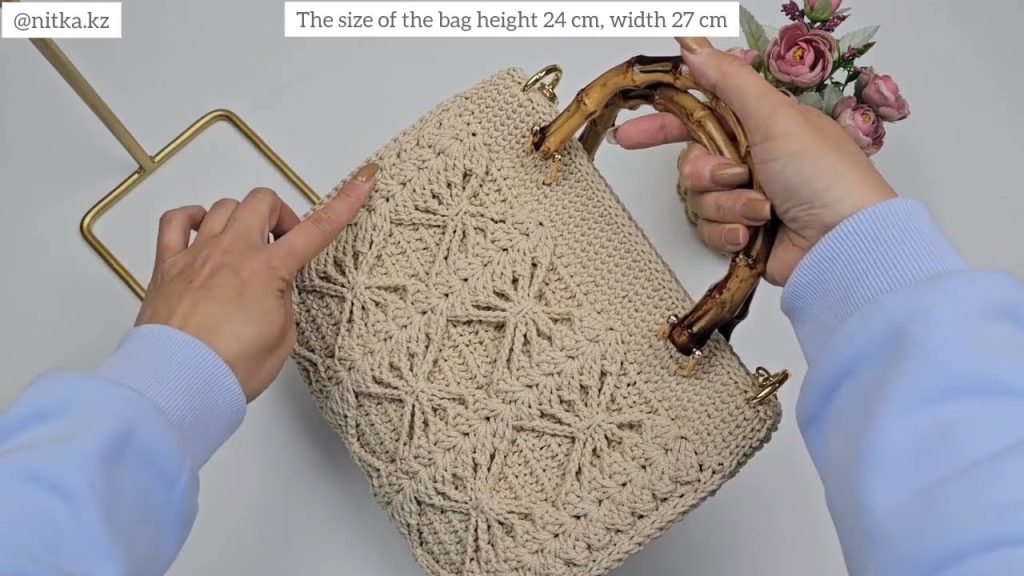
Final Result
Your dream handbag is now complete—featuring a stunning three-dimensional crochet pattern, strong structure, and a unique handmade charm. Perfect for everyday use or as a special gift.
If you want, I can:
- Simplify this for beginners
- Turn it into a blog post or school project
- Add images suggestions or stitch diagrams
Watch tutorial: