 by
by Absolutely! Here’s a clear, beginner-friendly, and detailed guide to making a simple crochet beret that works up quickly and easily. 🧶✨
This style uses basic stitches and simple increases, so it’s perfect even if you’re fairly new to crochet.
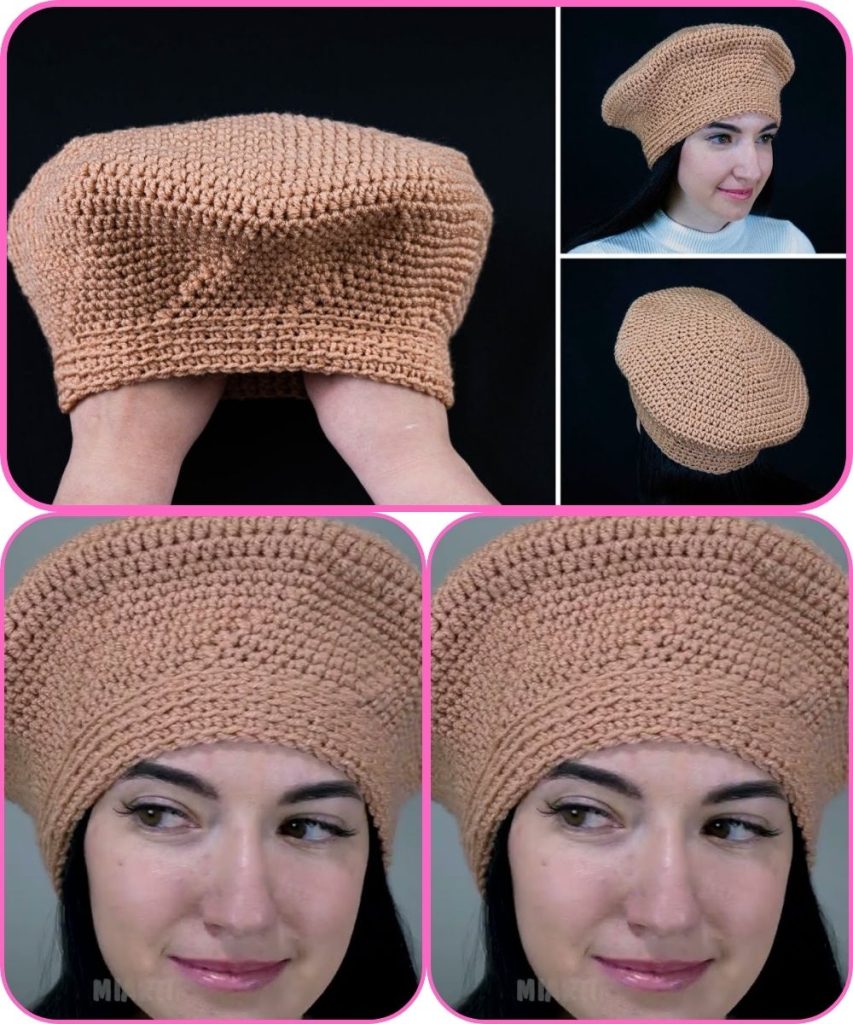
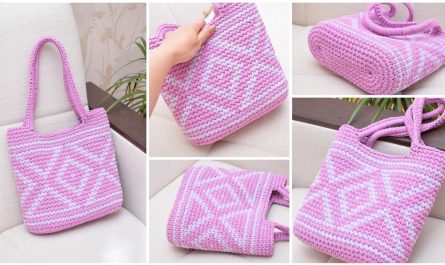
How to Make a Simple Crochet Beret
Quick, Easy & Beginner-Friendly
A crochet beret is a classic, stylish accessory that’s surprisingly easy to make. This design is worked in the round from the center outward, using basic stitches and minimal shaping. You can finish one in about 1–2 hours, depending on your speed.
Materials Needed
- Yarn: Medium weight (Category 4 / worsted)
(Soft acrylic or wool blends work best) - Hook: 5.0 mm (H/8) crochet hook
- Scissors
- Yarn needle (for weaving in ends)
Crochet Skills Used
- Magic ring (or chain ring)
- Chain (ch)
- Double crochet (dc)
- Slip stitch (sl st)
- Increase (2 dc in same stitch)
- Working in rounds
Abbreviations (US Terms)
- ch – chain
- dc – double crochet
- sl st – slip stitch
- st(s) – stitch(es)
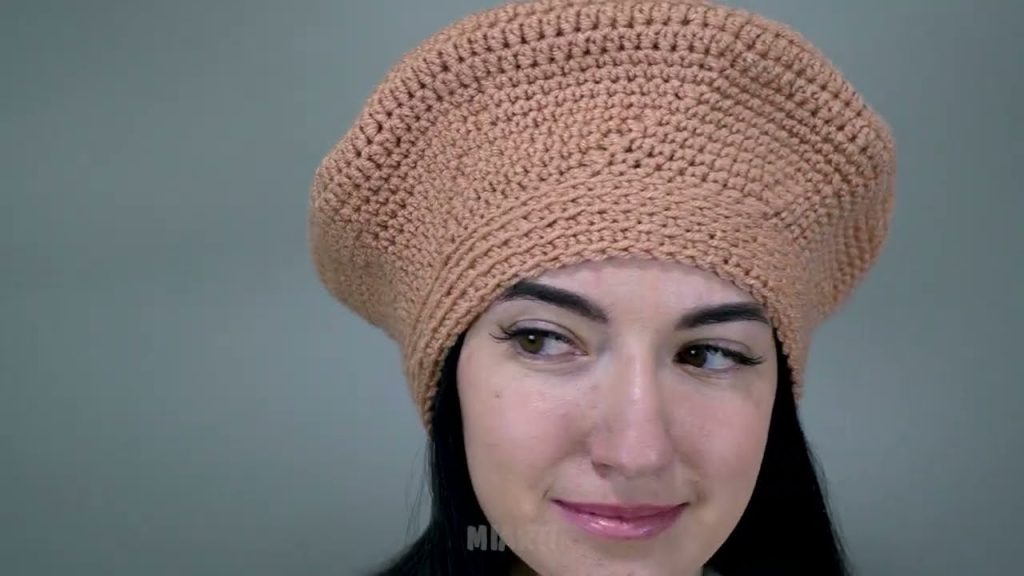
Finished Size
- Fits an average adult head (21–23 inches)
- Easy to adjust by adding or removing rounds
Step-by-Step Instructions
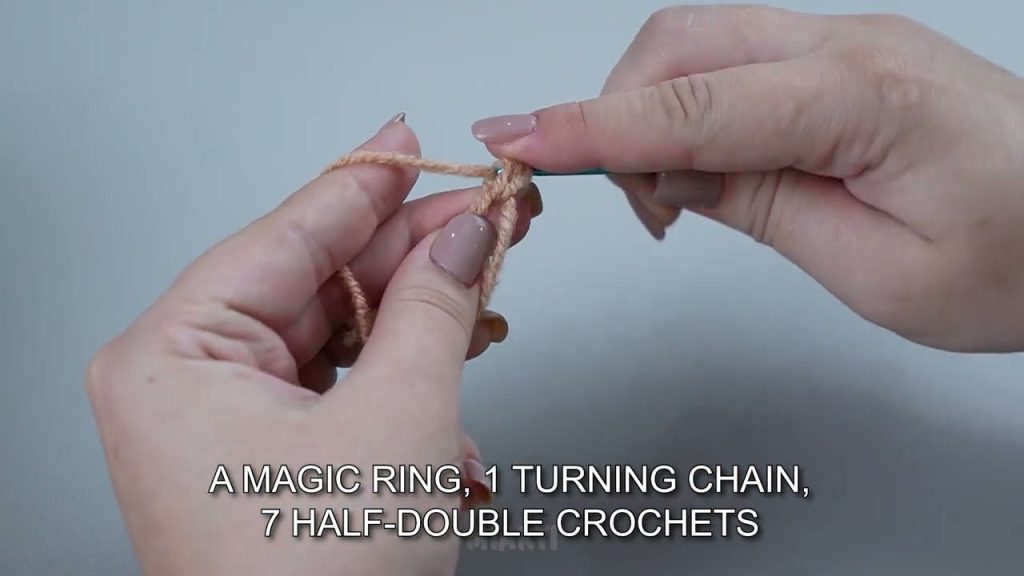
Round 1: Center of the Beret
- Make a magic ring
- Ch 3 (counts as first dc)
- Work 11 dc into the ring
- Sl st to the top of ch-3 (12 sts)
💡 If you prefer: Ch 4, join with sl st to form a ring, then work into the ring.
Round 2: Increase Round
- Ch 3
- Work 2 dc in each stitch around
- Sl st to join (24 sts)
This creates the flat circular base.
Round 3: Continue Increasing
- Ch 3
- 1 dc in next st, 2 dc in next st — repeat around
- Sl st to join (36 sts)
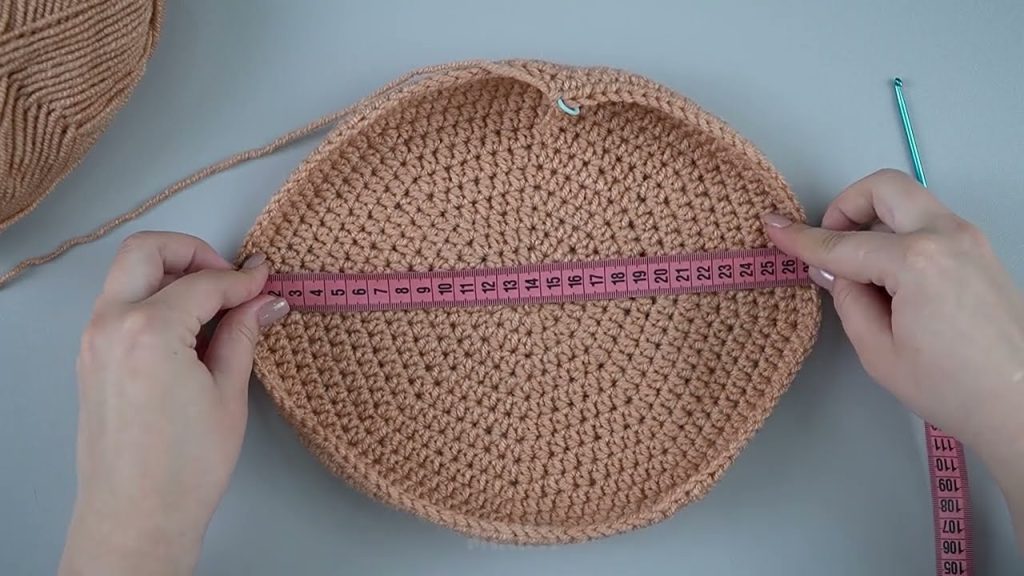
Round 4: Shape the Beret
- Ch 3
- 1 dc in next 2 sts, 2 dc in next st — repeat around
- Sl st to join (48 sts)
Your work should now look like a flat circle.
Round 5: Final Increase (Optional for Slouchier Look)
- Ch 3
- 1 dc in next 3 sts, 2 dc in next st — repeat around
- Sl st to join (60 sts)
➡️ Stop here for a snug beret
➡️ Add this round for a looser, slouchy style
Rounds 6–8: Create the Sides
- Ch 3
- Dc in each stitch around
- Sl st to join
These rounds help the beret curve downward naturally.
Round 9: Shape the Band
- Ch 1
- Work single crochet (sc) or half double crochet (hdc) evenly around
- Sl st to join
This tightens the opening so the beret stays on your head.
Finish
- Fasten off
- Weave in all ends with a yarn needle
- Lightly stretch and shape if needed
🎉 Your crochet beret is complete!
Customization Tips
- Smaller size: Use fewer increase rounds
- Larger size: Add another increase round
- Texture: Try half double crochet or back-loop only stitches
- Style: Add a small stem on top or a crochet flower
If you want, I can also:
- Simplify this into a short pattern
- Adjust it for kids or babies
- Turn it into a PDF-style pattern
- Add pictures or stitch diagrams (described)
Watch tutorial: