 by
by Here’s a clear, beginner-friendly, and original detailed guide you can use for a blog post, school project, or tutorial.
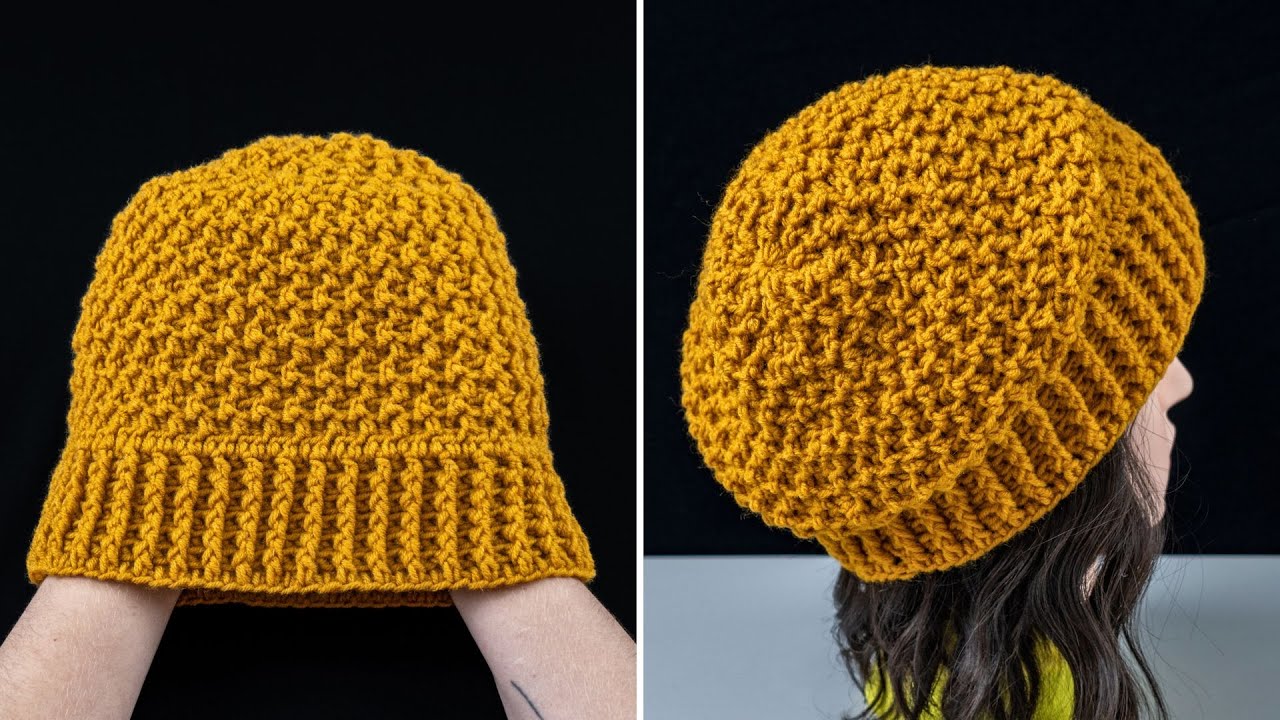
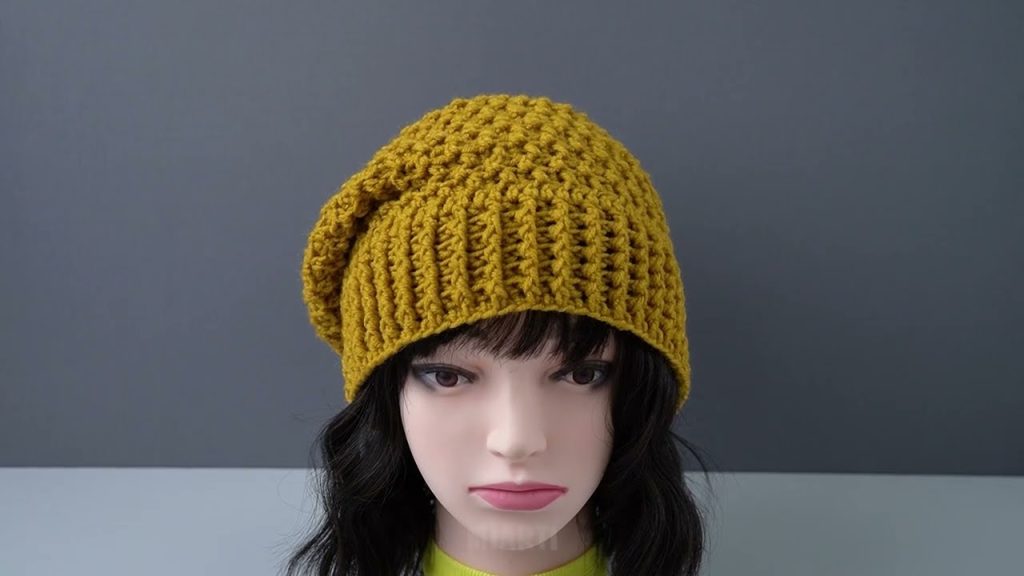
How to Make a Very Easy Crochet Hat (with an Interesting Stitch Pattern)
Crocheting a hat is one of the best beginner projects because it’s practical, quick to finish, and fun to customize. This very easy crochet hat uses a simple but eye-catching stitch pattern that looks textured and stylish without being complicated. Even if you’re new to crochet, you can confidently make this hat by following the steps below.
Materials Needed
- Yarn: Medium weight yarn (Category 4 / worsted weight)
- Hook: 5.0 mm or 5.5 mm crochet hook
- Scissors
- Yarn needle (for weaving in ends)
Tip: Choose soft acrylic or cotton yarn for comfort and easy care.
Skill Level
Beginner-friendly
You only need to know:
- Chain (ch)
- Slip stitch (sl st)
- Single crochet (sc)
- Double crochet (dc)
Stitch Pattern Used
The hat uses a simple textured stitch made by alternating single crochet and double crochet stitches. This pattern creates a lovely, slightly raised texture that looks much more advanced than it really is.
Pattern repeat:
- 1 single crochet
- 1 double crochet
Repeat across the round
This stitch pattern is easy to remember and works up quickly.
Step 1: Start with a Magic Ring
- Make a magic ring.
- Crochet 10 double crochets into the ring.
- Pull the ring tight and join with a slip stitch.
This forms the top of the hat.

Step 2: Increase for the Crown
To shape the hat, you’ll increase stitches in each round:
- Round 2: 2 double crochets in each stitch (20 stitches)
- Round 3: 1 double crochet, 2 double crochets in next stitch (repeat around)
- Round 4: 2 double crochets, 2 double crochets in next stitch (repeat around)
Keep increasing until the circle is wide enough to cover the top of your head.
Step 3: Begin the Stitch Pattern
Once the crown is the right size, stop increasing.
- Crochet 1 single crochet, 1 double crochet around.
- Continue this stitch pattern in every round.
- Do not increase anymore—this will form the sides of the hat.
The texture will become more visible as the hat grows longer.
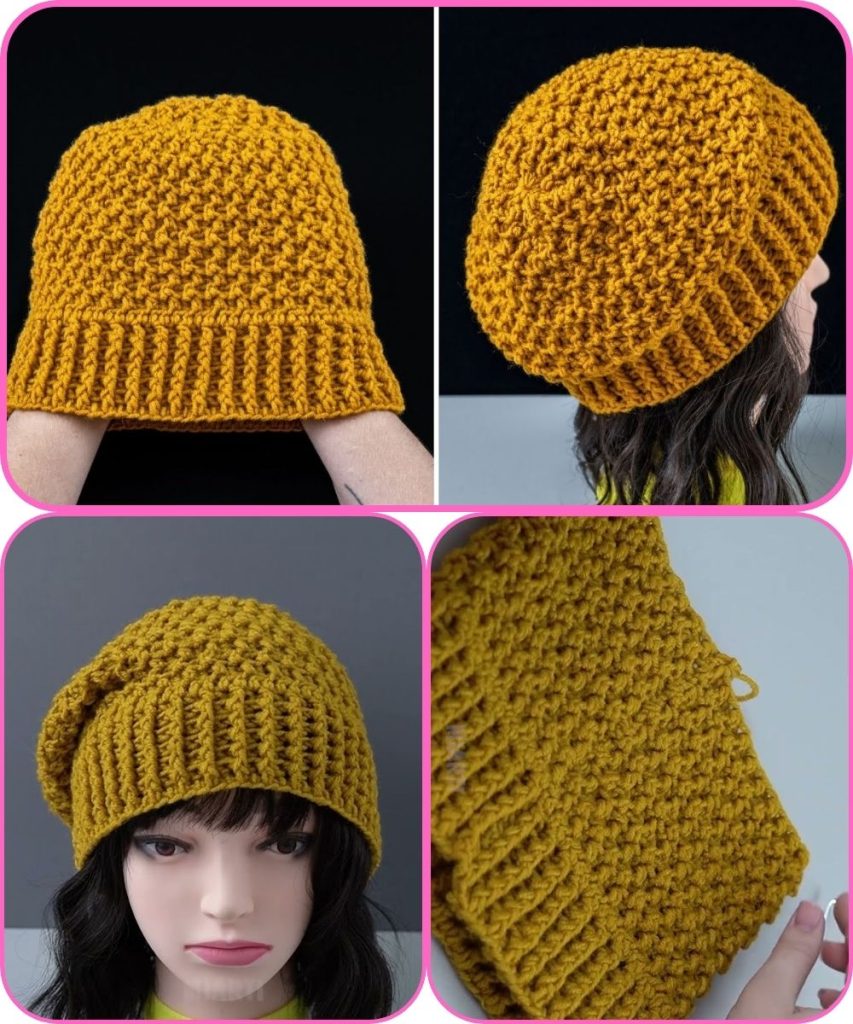
Step 4: Adjust the Length
Keep crocheting until the hat reaches your desired length:
- Short length for a fitted hat
- Longer length for a slouchy hat
Try it on as you go to check the fit.

Step 5: Finish the Hat
- End with a slip stitch.
- Cut the yarn, leaving a small tail.
- Use a yarn needle to weave in all loose ends.
Your crochet hat is now complete!
Why This Hat Is Perfect for Beginners
- Uses basic stitches only
- No complicated counting
- Easy to customize size and color
- Quick project with beautiful results
Customization Ideas
- Add a pom-pom on top
- Change colors every few rows
- Fold up the brim for extra warmth
- Use chunky yarn for a cozier look
This very easy crochet hat proves that simple stitches can still create an interesting and stylish pattern. It’s a great project for beginners and makes a wonderful handmade gift.
If you want, I can also:
- Simplify it even more for total beginners
- Rewrite it for a blog or YouTube description
- Create a kid-size or adult-size version
Watch tutorial: