 by
by Sure! Here’s a detailed guide on how to make a crochet bag with a new, easy, and wonderful design — perfect for beginners or intermediate crocheters looking for a fresh project.
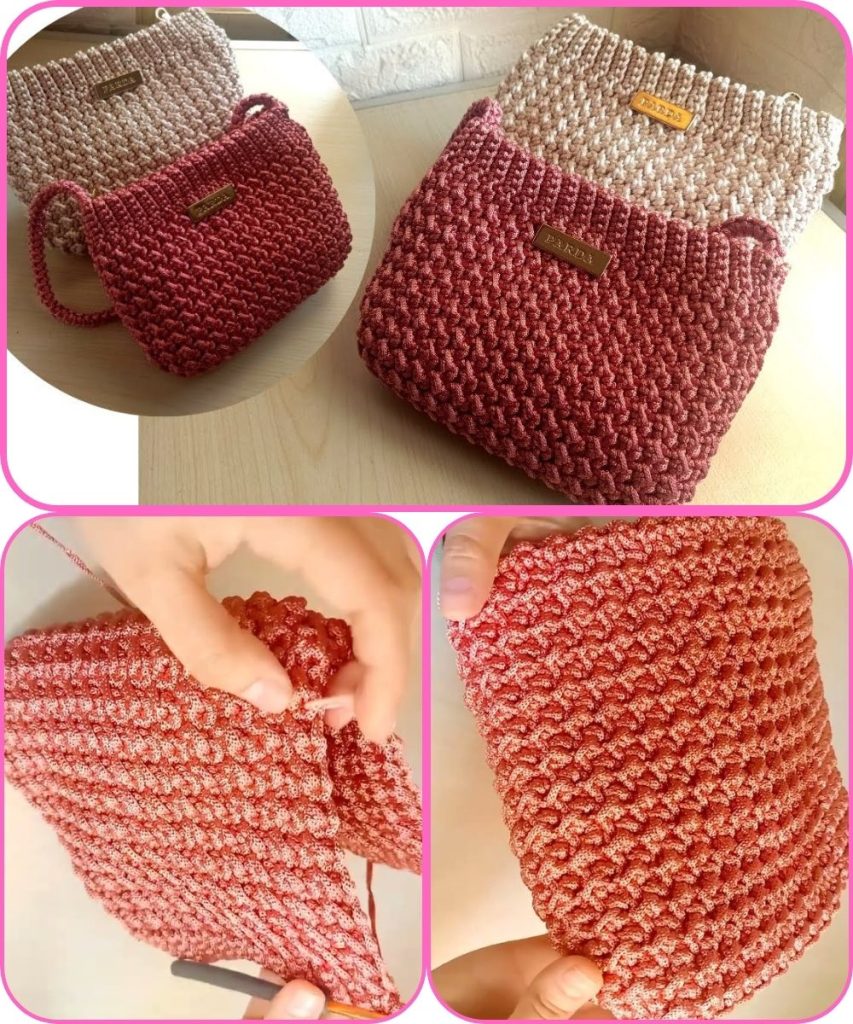
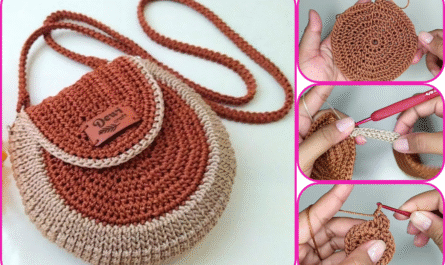
👜 Crochet Bag Tutorial: The Easy & Wonderful “Wavy Shell Tote” Design
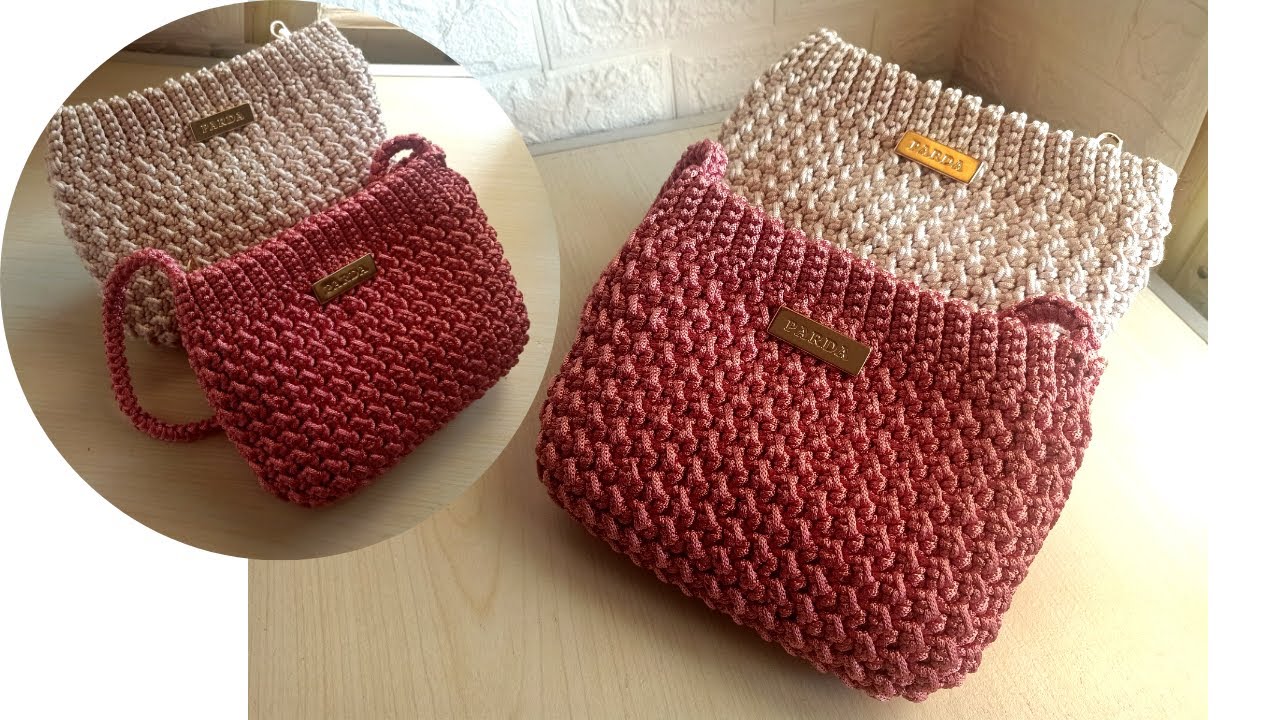
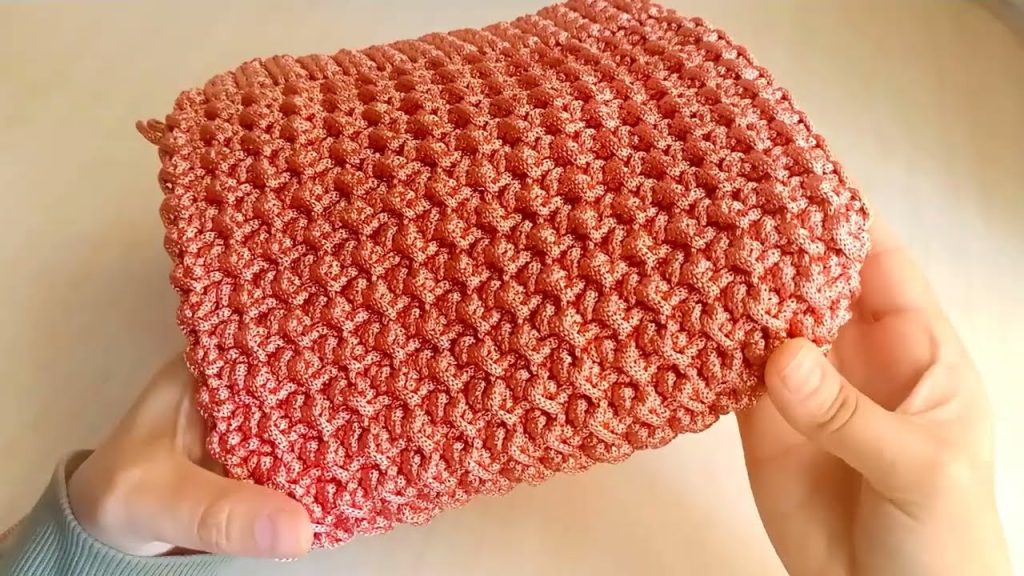
This bag features a wavy shell stitch pattern that gives it a stylish and unique texture. It’s ideal as a tote for everyday use.
🧶 Materials You’ll Need
- Yarn: Worsted weight cotton yarn (2-3 skeins depending on size)
- Suggested: Lily Sugar’n Cream or Paintbox Cotton Aran
- Hook: 4.5 mm or 5 mm crochet hook (US size 7 or H-8)
- Scissors
- Yarn needle
- Stitch markers (optional)
- Optional: Lining fabric and magnetic snap for closure
✨ Stitches & Abbreviations
- ch – chain
- sc – single crochet
- dc – double crochet
- sl st – slip stitch
- st(s) – stitch(es)
- shell – 5 dc in the same stitch
- sk – skip
Skill level: Easy/Beginner-friendly
🪡 Step-by-Step Instructions
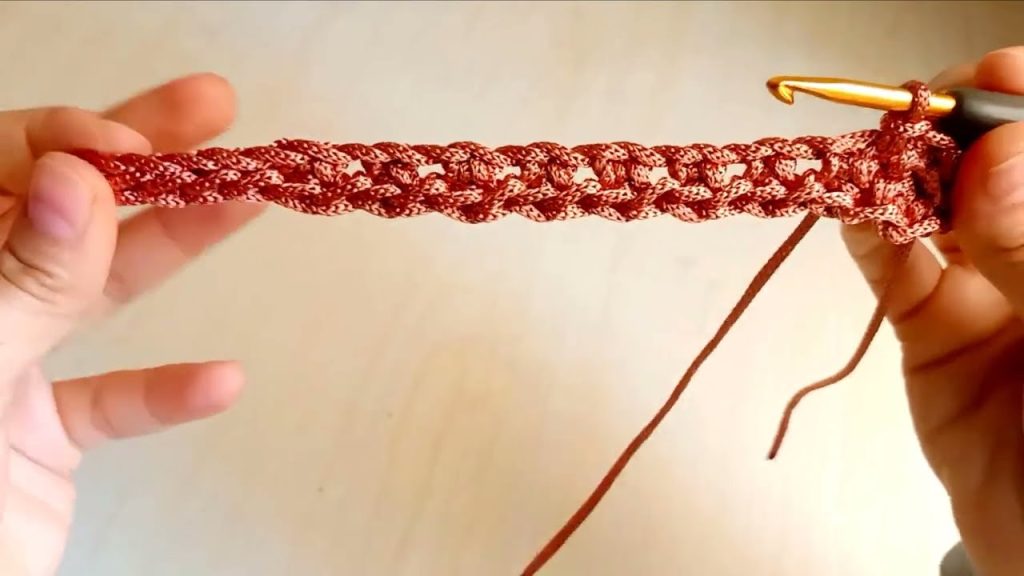
🧺 Step 1: Crochet the Base
We’ll start with an oval base using single crochets.
Foundation Chain:
- Ch 21
Round 1:
- Sc in 2nd ch from hook and in each of the next 18 ch
- 3 sc in last ch (this is the curve)
- Now working on the other side of the chain, sc in next 18 sts
- 2 sc in last st (which is the first ch you worked into)
- Join with sl st to first sc. (Total: 42 sts)
Round 2:
- Ch 1, 2 sc in first st, sc in next 18 sts, 2 sc in each of next 3 sts (on the curve), sc in next 18 sts, 2 sc in last 2 sts
- Join with sl st
Round 3: Repeat similar increases to make the base larger, about 3-5 rounds total until desired size.
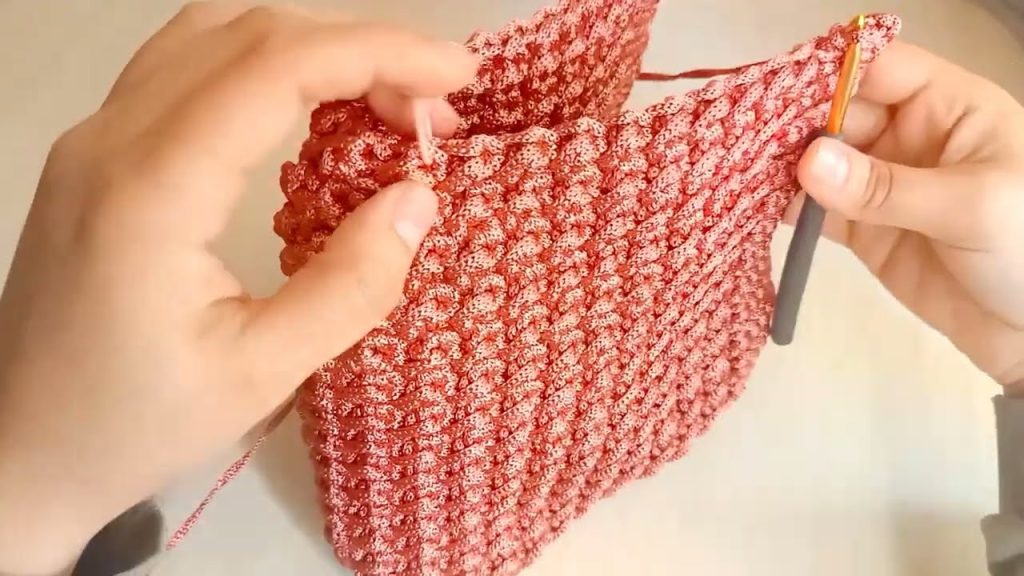
🪷 Step 2: Create the Body Using Shell Stitch
Now we switch to shell stitch to build the body of the bag.
Round 1 (Transition Round):
- Ch 3 (counts as dc), dc in each stitch around
- Join with sl st to top of ch-3
Round 2 (Start Shell Pattern):
- Ch 1, sc in same st
- Sk 2 sts, shell (5 dc) in next st, sk 2 sts, sc in next st – repeat around
- End with sl st to first sc
Round 3:
- Sl st into next 2 dc to position your hook in the center of the previous shell
- Ch 1, sc in center of shell
- Shell in next sc, sc in center of next shell – repeat around
- Continue this for 12–15 rounds, or until the bag is your desired height
🎒 Step 3: Shaping the Top & Handles
Top Round (Straighten Top Edge):
- Do one round of dc in each st around to level the edge
- Optional: Add one round of sc for a cleaner finish
🧷 Step 4: Add Handles
You can crochet handles directly into the bag or attach separate ones.
Crocheted Handles:
- After finishing the top round:
- Mark two points on each side of the bag for handle placement
- Ch 50 (or desired handle length), skip about 10 stitches, sl st to next marked st
- Repeat for the second side
Next Round:
- Sc in each stitch and across handle chains
- Do 1–2 rounds to make handles stronger
🎀 Optional: Add Lining or Closure
Lining:
- Cut a fabric piece slightly larger than your bag
- Fold and sew edges, insert inside the bag, and hand-sew using a needle and thread
Closure:
- Sew a magnetic snap or button to the inside top of the bag
✅ Final Tips
- Block the bag if needed (especially cotton yarn) to shape it nicely.
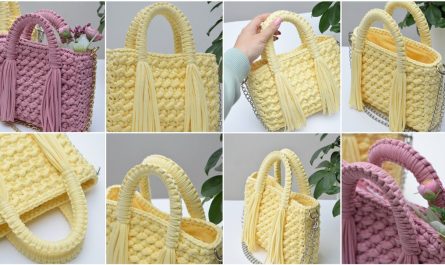
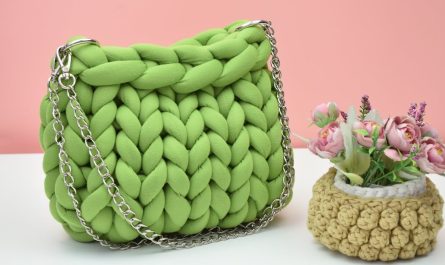
- Choose a solid color for elegance, or use color changes to make stripes.
- You can also add tassels, wooden rings, or buttons for embellishment.
📸 Inspiration Ideas
If you’d like, I can generate images of this “Wavy Shell Tote” design to help visualize it. Just ask!
Watch video: