 by
by Here is a clear, detailed, beginner-friendly guide you can use for a blog post, school project, or pattern description.
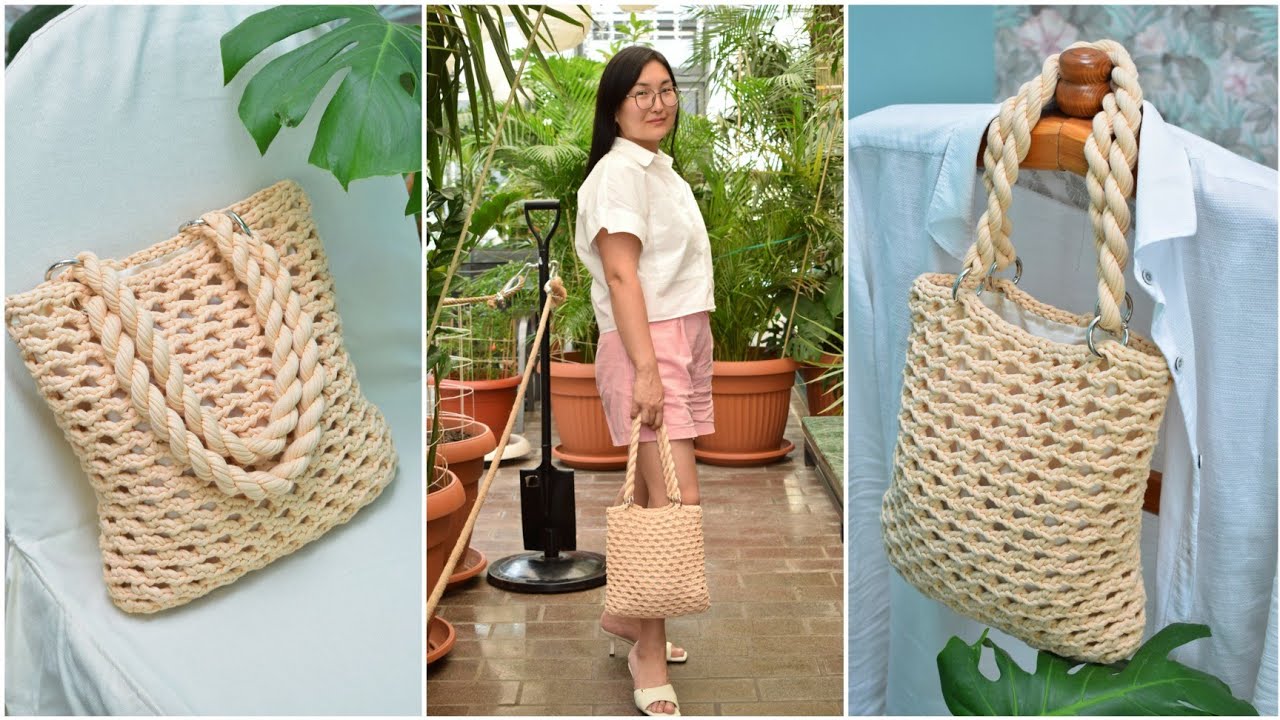
How to Crochet a Light and Roomy Mesh Bag
Crochet Pattern + Sewn Lining + Twisted Handles
This light and roomy crochet mesh bag is perfect for everyday use, shopping, or beach trips. The open mesh design keeps the bag lightweight and flexible, while the sewn fabric lining adds strength and prevents small items from falling through. Twisted crochet handles give the bag a sturdy and stylish finish.
Materials Needed
Crochet Supplies
- Medium-weight cotton yarn (worsted weight is ideal)
- Crochet hook (usually 4.5 mm–5.5 mm, depending on yarn)
- Scissors
- Stitch markers (optional)
- Yarn needle
Lining Supplies
- Lightweight cotton fabric
- Sewing needle or sewing machine
- Matching thread
- Pins
- Measuring tape

Crochet Stitches Used
- Chain (ch)
- Slip stitch (sl st)
- Single crochet (sc)
- Double crochet (dc)
Step 1: Crochet the Base
- Start with a foundation chain that matches the desired width of your bag.
- Work single crochet stitches across the chain to create a solid base.
- Continue crocheting in rows or rounds until the base reaches the desired length.
- This solid base helps support the bag’s weight.
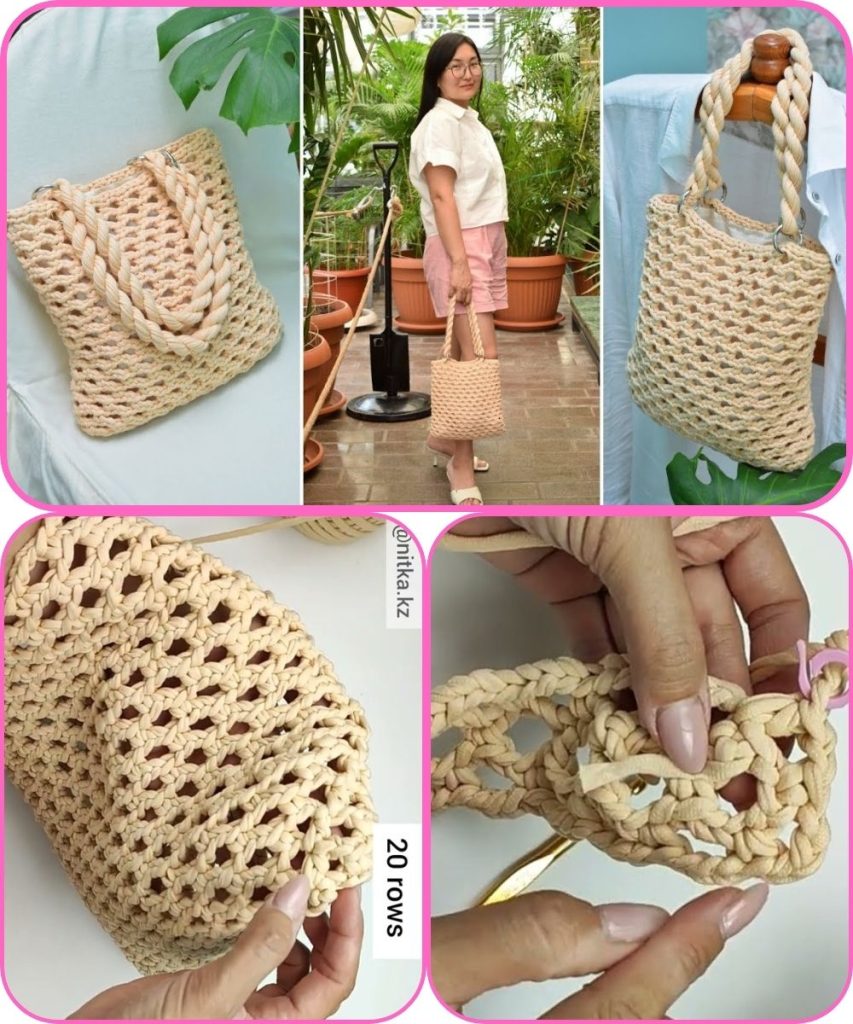
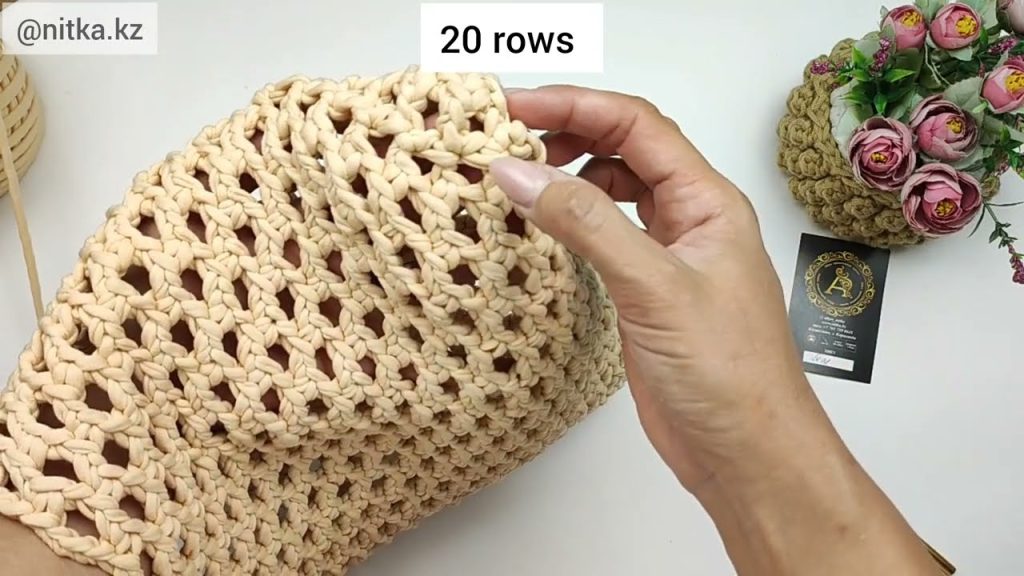
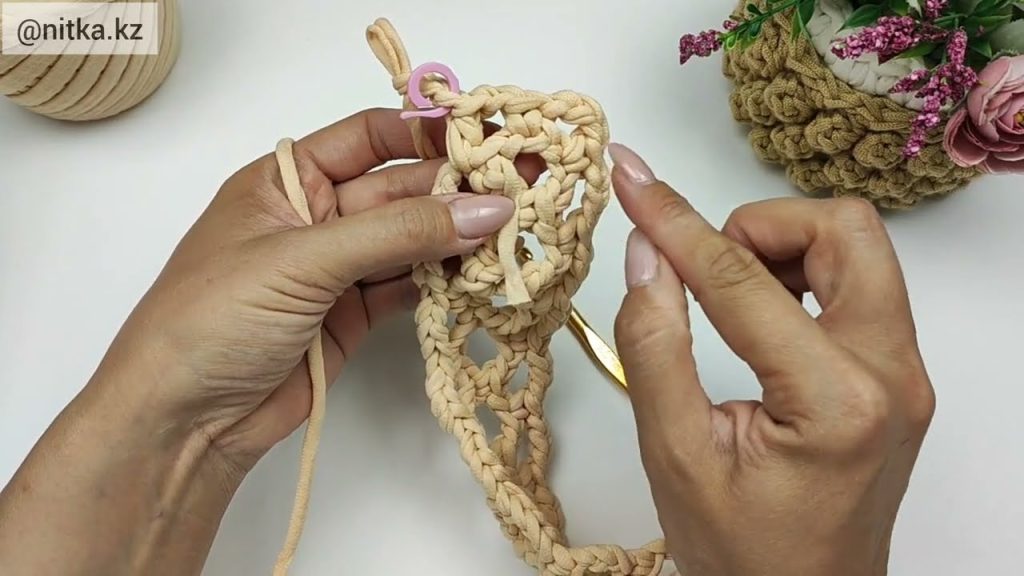
Step 2: Create the Mesh Body
- Switch to a mesh stitch pattern, such as:
- Chain stitches combined with double crochet stitches.
- Example mesh pattern:
- Chain 3, skip 2 stitches, double crochet in the next stitch.
- Repeat this pattern evenly around the bag.
- Continue crocheting upward until the bag reaches your desired height.
- Keep the tension relaxed so the bag remains light and flexible.
Step 3: Shape the Top Edge
- Once the height is complete, crochet one or two rounds of single crochet.
- This strengthens the top edge and prepares it for attaching the handles and lining.
Step 4: Make the Twisted Crochet Handles
- Crochet long strips using single crochet stitches.
- Each strip should be long enough to comfortably fit over your shoulder.
- Twist each strip tightly in one direction.
- Fold the twisted strip in half and let it twist naturally around itself.
- Secure the ends with slip stitches or sewing.
- Attach the handles firmly to opposite sides of the bag.
Step 5: Sew the Fabric Lining
- Measure the inside of the bag and cut fabric slightly larger.
- Fold and sew the fabric pieces together, leaving the top open.
- Turn the lining right-side out.
- Insert the lining into the crochet bag.
- Fold the top edge of the fabric inward for a clean finish.
- Hand-sew the lining to the inside top edge of the bag using small, neat stitches.
Step 6: Final Touches
- Secure all loose yarn ends.
- Check that the handles and lining are firmly attached.
- Gently block the bag if needed to even out stitches.
Finished Result
You now have a lightweight, roomy mesh crochet bag with:
- A breathable open design
- A durable fabric lining
- Strong, stylish twisted handles
This bag is practical, reusable, and perfect for daily use while showing off your crochet skills.
If you want, I can also:
- Simplify this for beginners
- Turn it into a printable pattern
- Add stitch counts and sizing options
- Rewrite it in a more casual or professional tone
Watch tutorial: