 by
by Here’s a clear, beginner-friendly guide you can use for an assignment, blog post, or personal learning. It’s written so even someone who has never crocheted before can follow it 😊
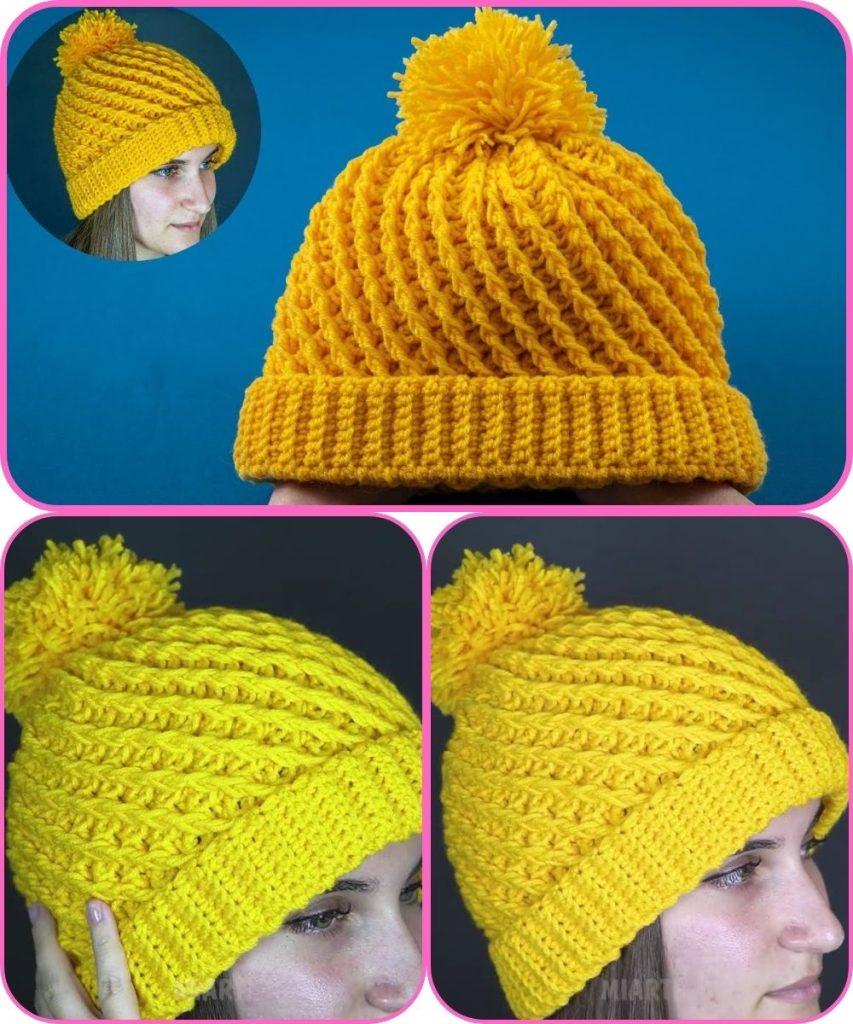
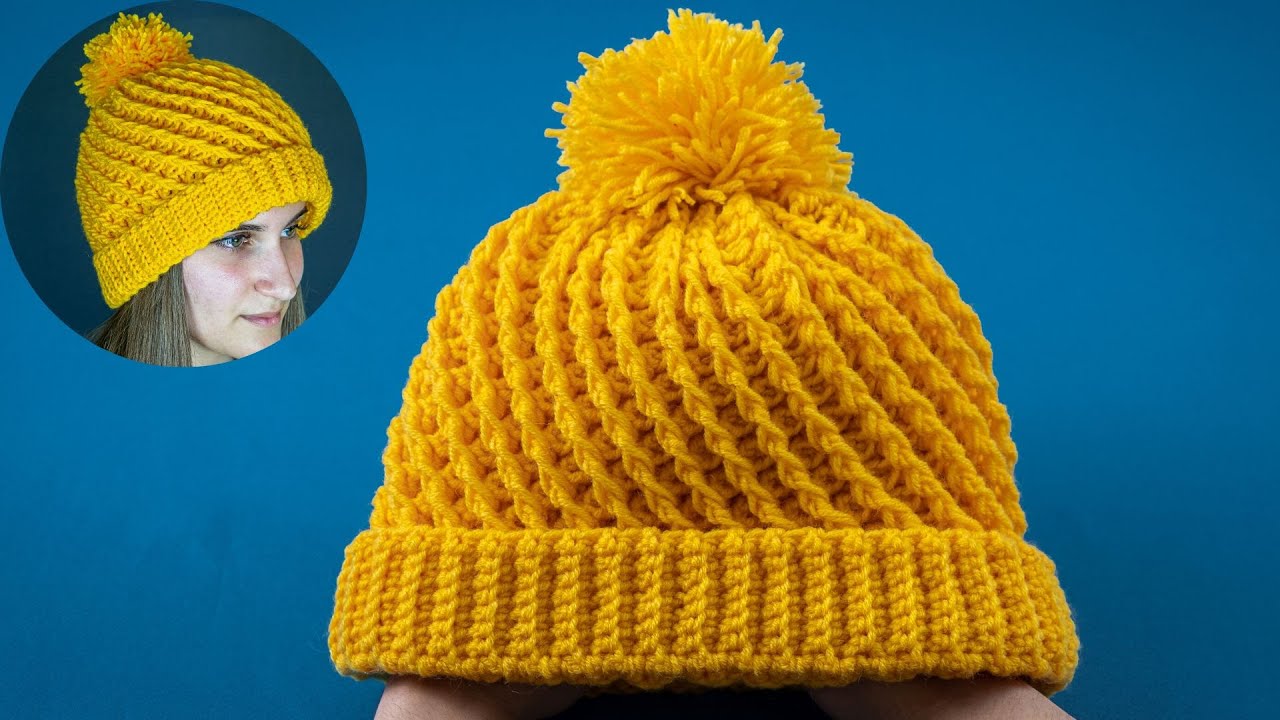
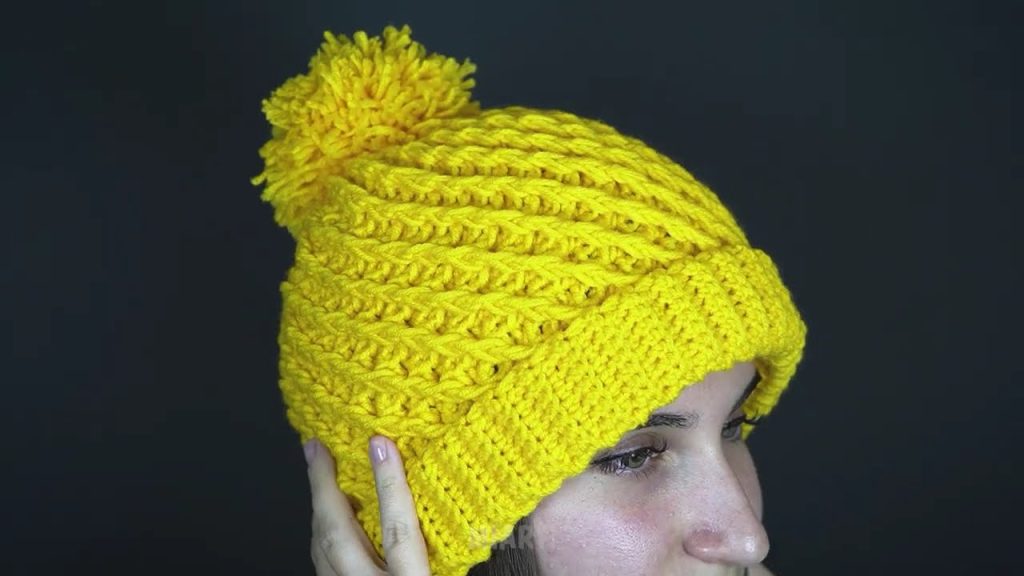
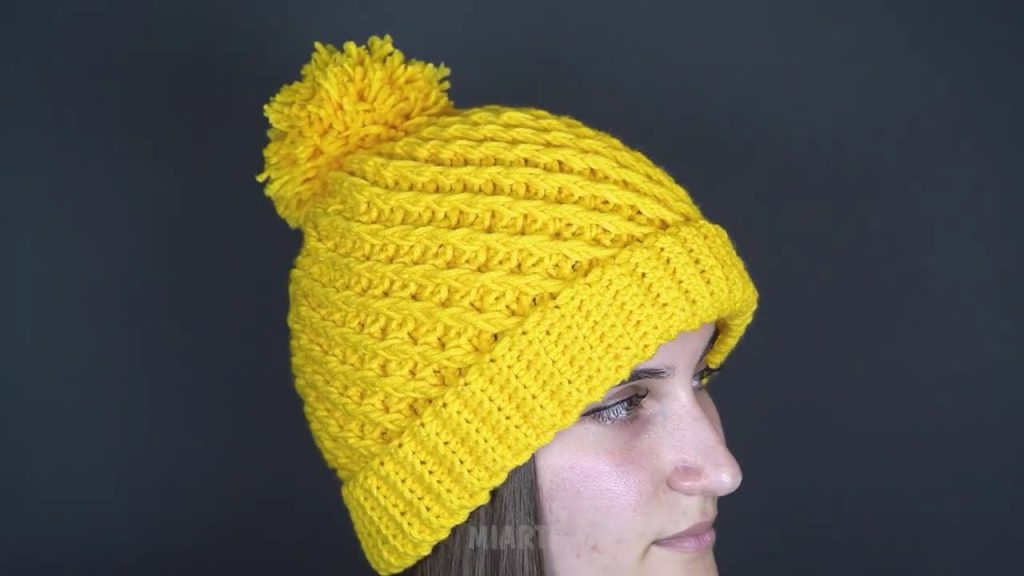
How to Make a Very Simple Crochet Hat (Beginner-Friendly)
Crocheting a hat is a great first project because it’s small, useful, and teaches basic stitches. This simple crochet hat is made using easy techniques, and you don’t need any special skills or expensive tools. If you can hold a hook and yarn, you can make this hat!
Materials You Will Need
Before you start, gather these simple supplies:
- Yarn: Medium-weight yarn (often called size 4 yarn). Acrylic yarn is best for beginners because it’s smooth and easy to work with.
- Crochet Hook: Size 5 mm (H/8) hook is perfect for beginners.
- Scissors: Any regular pair will do.
- Yarn Needle (optional): Helpful for weaving in ends, but not required.
Basic Crochet Stitches Used
You only need to know two very basic stitches for this hat:
- Chain stitch (ch): Used to start your project
- Single crochet (sc): The main stitch for the hat
These stitches are easy to learn and commonly taught first to beginners.
Step-by-Step Instructions
Step 1: Make a Slip Knot and Chain
- Start by making a slip knot and placing it on your crochet hook.
- Chain 4 stitches.
- Join the last chain to the first chain with a slip stitch to form a small ring.
Step 2: Crochet the Top of the Hat
- Crochet 6 single crochet stitches into the center of the ring.
- Do not pull tight—keep your stitches relaxed.
- Place a stitch marker or a small piece of yarn to mark the beginning of each round.
Step 3: Increase the Rounds
To make the hat wider, you will slowly add more stitches each round:
- Round 2: Make 2 single crochet stitches in each stitch (12 stitches total).
- Round 3: Alternate between 1 single crochet, then 2 single crochet in the next stitch.
- Continue increasing in this pattern until the circle is wide enough to cover the top of your head.
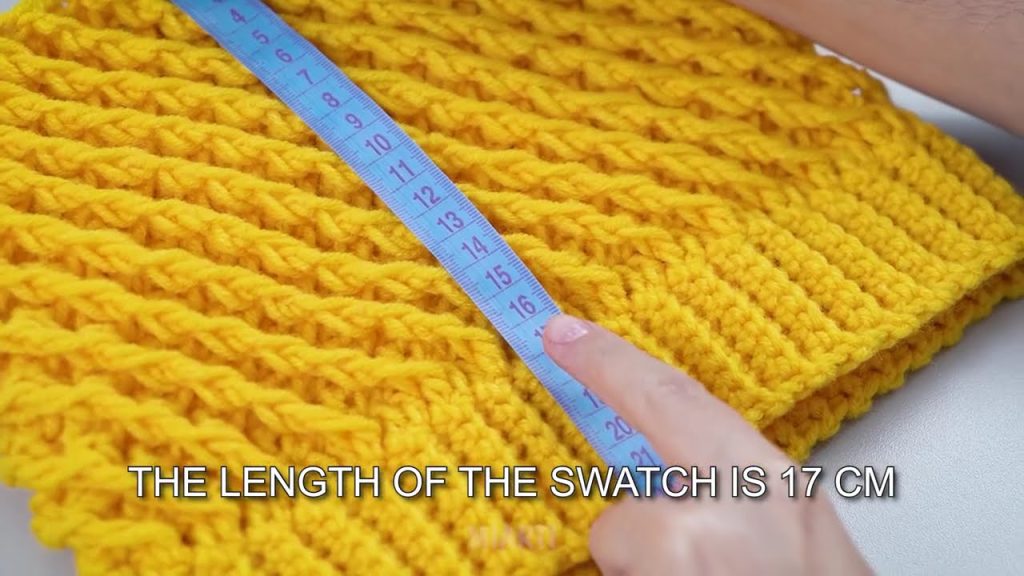
For most people, the circle should be about 6–7 inches wide.
Step 4: Build the Sides of the Hat
- Once the top is wide enough, stop increasing.
- Crochet 1 single crochet in each stitch, going around in rounds.
- Keep going until the hat reaches the desired length (about 7–9 inches).
This part shapes the hat and makes it fit snugly.
Step 5: Finish the Hat
- Cut the yarn, leaving a small tail.
- Pull the yarn through the last loop to secure it.
- Use your fingers or a yarn needle to weave in loose ends.
Your simple crochet hat is now complete!
Helpful Beginner Tips
- Go slow: Crocheting is easier when you don’t rush.
- Practice first: Try a few rows on scrap yarn before starting the hat.
- Count your stitches: This helps keep the hat even.
- Don’t worry about mistakes: Everyone makes them—just undo a few stitches and try again.
Why This Hat Is Perfect for Beginners
- Uses basic stitches only
- No complicated patterns or counting
- Works up quickly
- Can be customized with colors, stripes, or a pom-pom later
With a little patience and practice, you’ll have a handmade crochet hat you can be proud of. Once you finish one, you’ll probably want to make another! 🧶✨
If you want, I can also:
- Simplify this for a younger grade
- Turn it into a short paragraph
- Add pictures descriptions or diagrams
- Adjust it for kids or adults
Watch tutorial: