 by
by Here is a detailed, clear guide you can use for a project, assignment, blog post, or craft instructions.

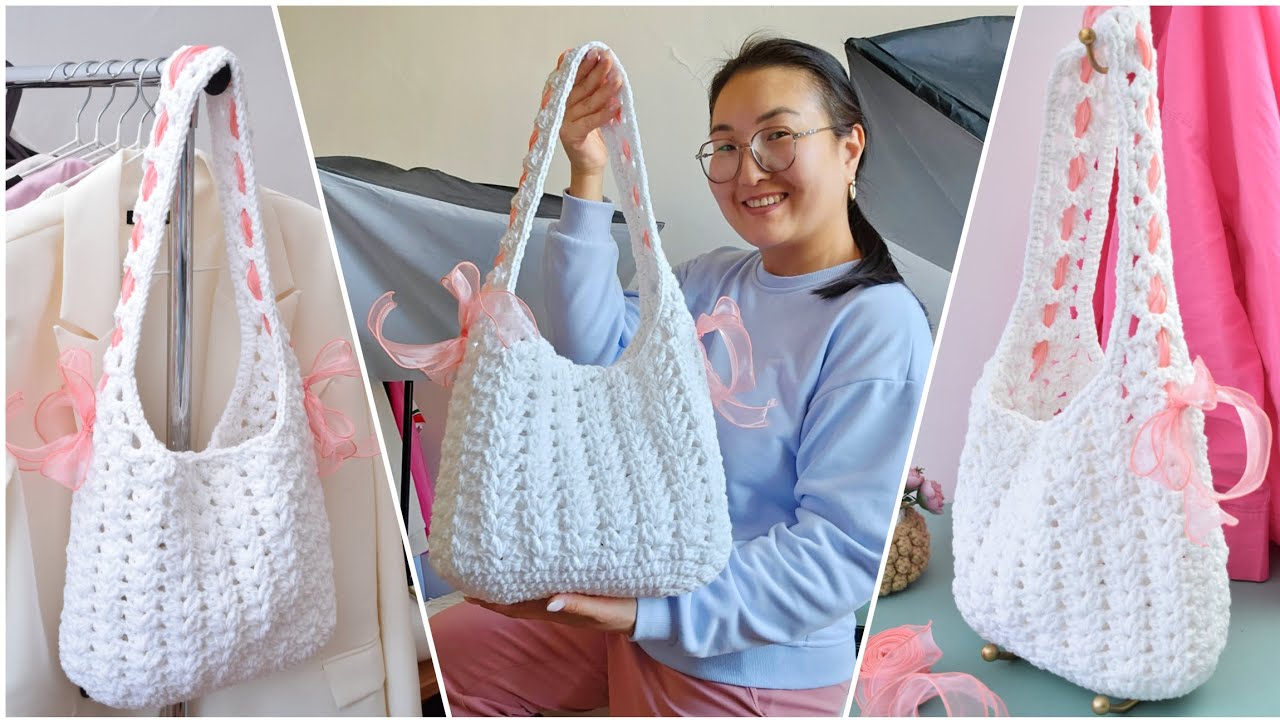
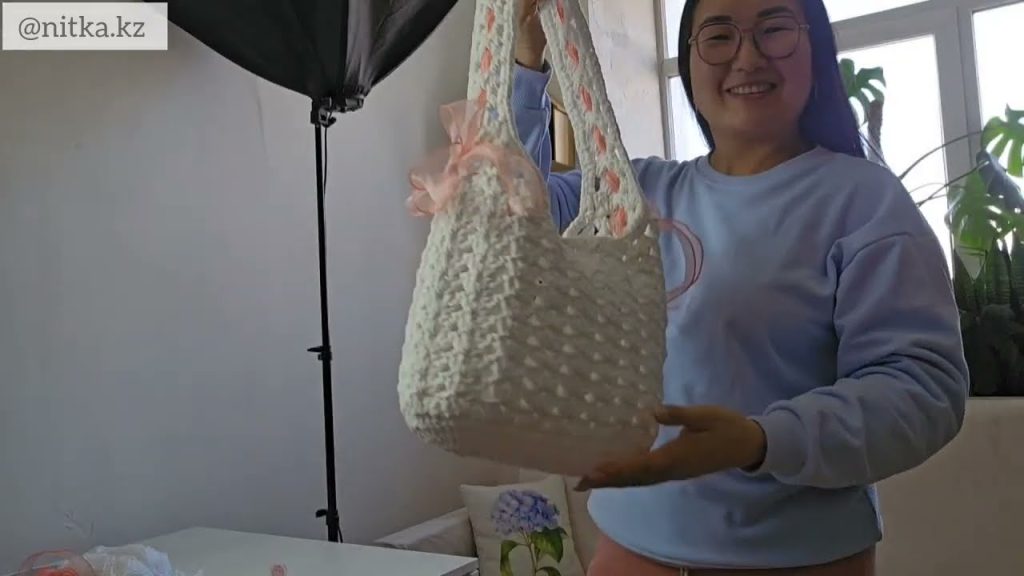
How to Make a Delicate Summer Bag with Ribbon and Bows
A delicate summer bag made with ribbons and bows is a charming accessory that is both practical and decorative. This type of bag is perfect for warm seasons because it is lightweight, colorful, and customizable. With simple materials and basic crafting skills, you can create a beautiful handmade bag that reflects your personal style.
Materials Needed
To begin, gather the following materials:
- Strong fabric (cotton, linen, or canvas work well)
- Decorative ribbons (satin, organza, or lace)
- Small bows (pre-made or handmade)
- Needle and thread or a sewing machine
- Scissors
- Measuring tape
- Pins
- Fabric glue (optional)
- Lining fabric (optional for extra durability)
Step 1: Design and Measurements
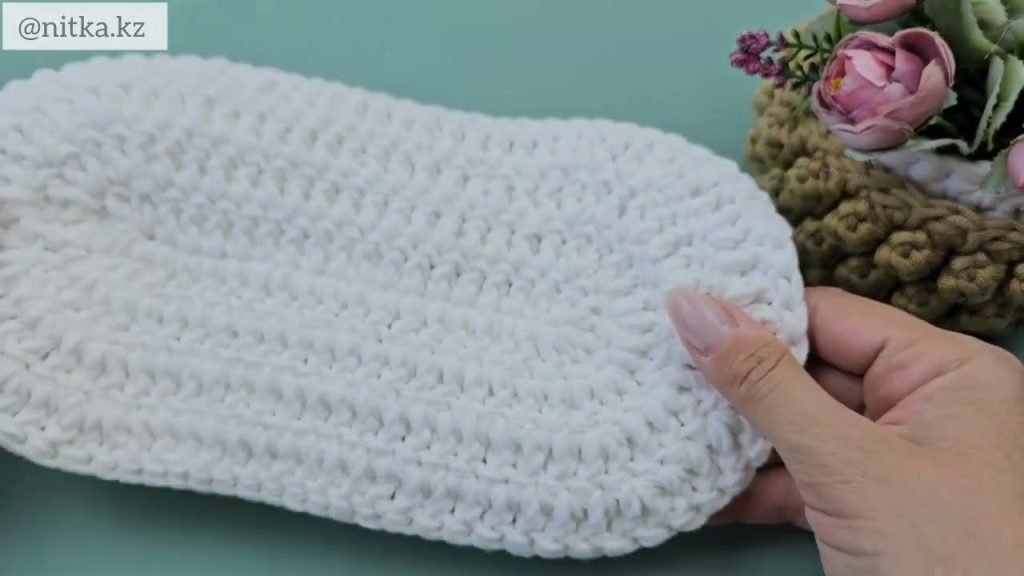
Decide on the size and shape of your summer bag. A small tote or drawstring bag is ideal. Measure and cut two equal pieces of fabric for the front and back of the bag. If you want a lining, cut two additional pieces from the lining fabric.
Step 2: Preparing the Ribbons
Choose ribbons that match your summer theme—pastel colors, floral patterns, or soft neutrals work beautifully. Cut the ribbons to the desired length. These can be used as:
- Decorative trims on the bag
- Handles or straps
- Drawstring closures
Press the ribbons flat if needed to give a neat finish.
Step 3: Attaching the Ribbons
Pin the ribbons onto the front fabric piece in your chosen design. You can sew them straight across, diagonally, or in vertical lines. Carefully stitch them in place, or use fabric glue for light decorative ribbons. Make sure they are secure and evenly placed.
Step 4: Adding the Bows
Bows add a soft, elegant touch to the bag. Attach small bows to the center, corners, or near the top of the bag. Sew them on firmly so they do not come loose. For a delicate look, avoid overcrowding—simple placement looks more refined.
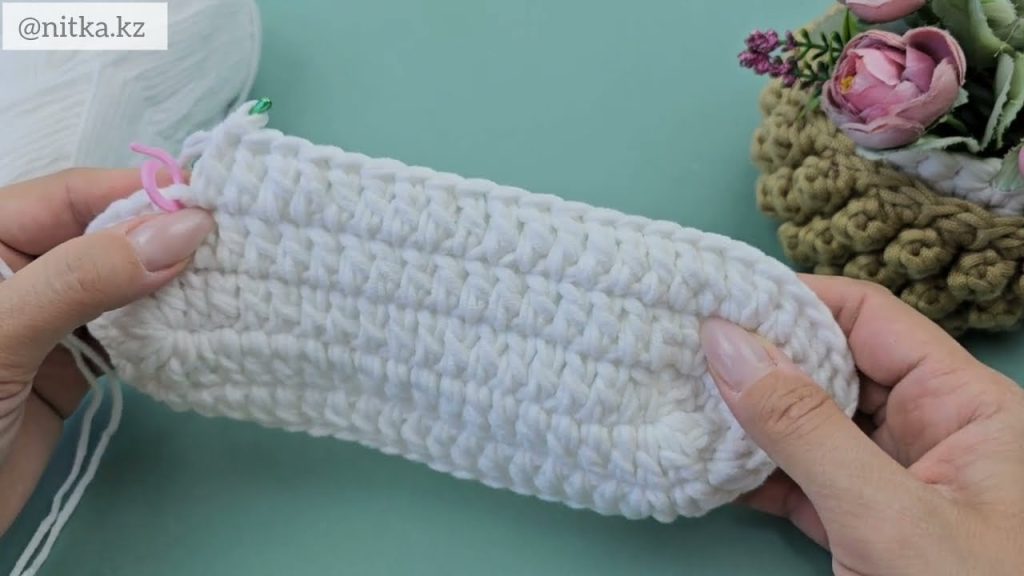
Step 5: Sewing the Bag Together
Place the front and back pieces of fabric together with the right sides facing inward. If using a lining, sew the lining pieces separately. Stitch along the sides and bottom, leaving the top open. Turn the bag right-side out once sewn.
Step 6: Making the Handles or Straps
You can use ribbon, fabric strips, or braided material for the handles. Sew each end securely to the inside top edges of the bag. Make sure the handles are evenly aligned and strong enough to carry light items.
Step 7: Finishing Touches
Fold and stitch the top edge of the bag for a clean finish. If desired, add extra details such as lace trim, small buttons, or embroidery. Check all seams and decorations to ensure they are secure.
Final Result
Your delicate summer bag with ribbons and bows is now complete. This handmade accessory is perfect for casual outings, picnics, or as a thoughtful gift. Each bag can be unique depending on the colors, ribbons, and bow designs you choose.
If you want, I can:
- Simplify this for a school project
- Rewrite it as an essay or article
- Add illustrations ideas
- Adjust it for beginners or kids
Watch tutorial: