 by
by Absolutely! Let’s make a step-by-step, detailed tutorial for creating an original knitted beret. I’ll break it down carefully, including materials, sizing, techniques, and tips to make it uniquely yours.
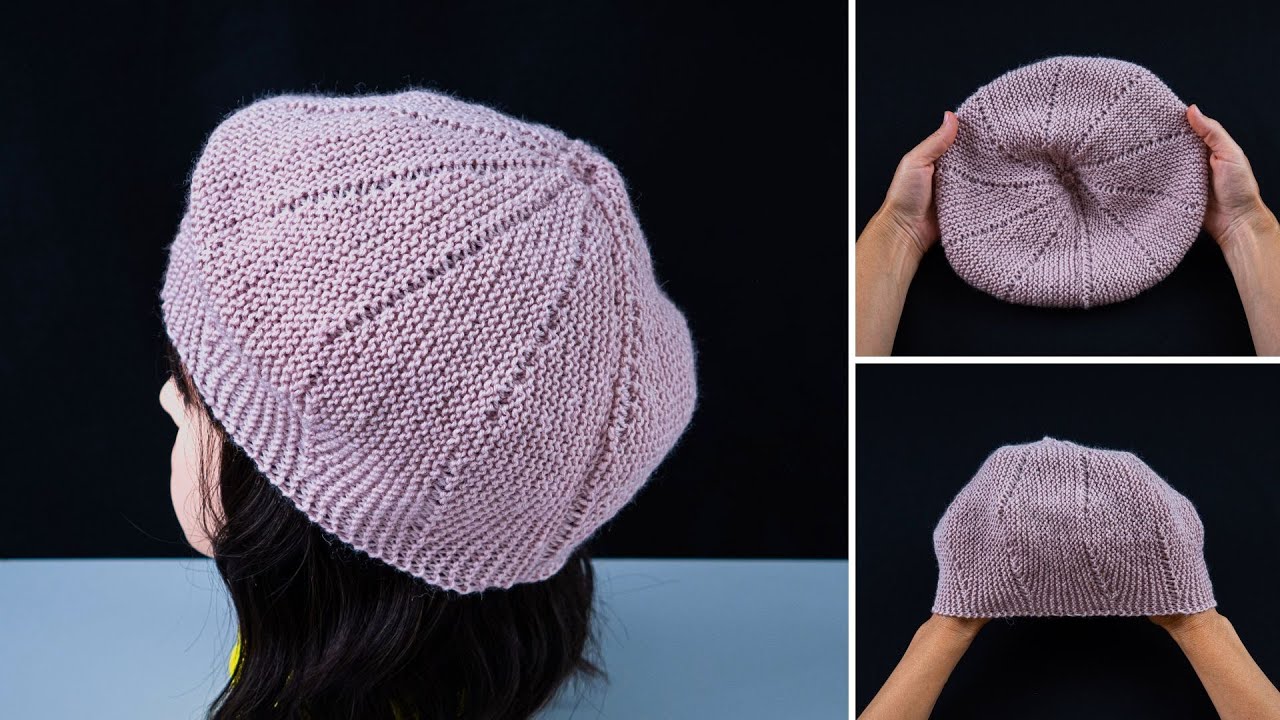
How to Make an Original Knitted Beret – Detailed Tutorial
Materials Needed
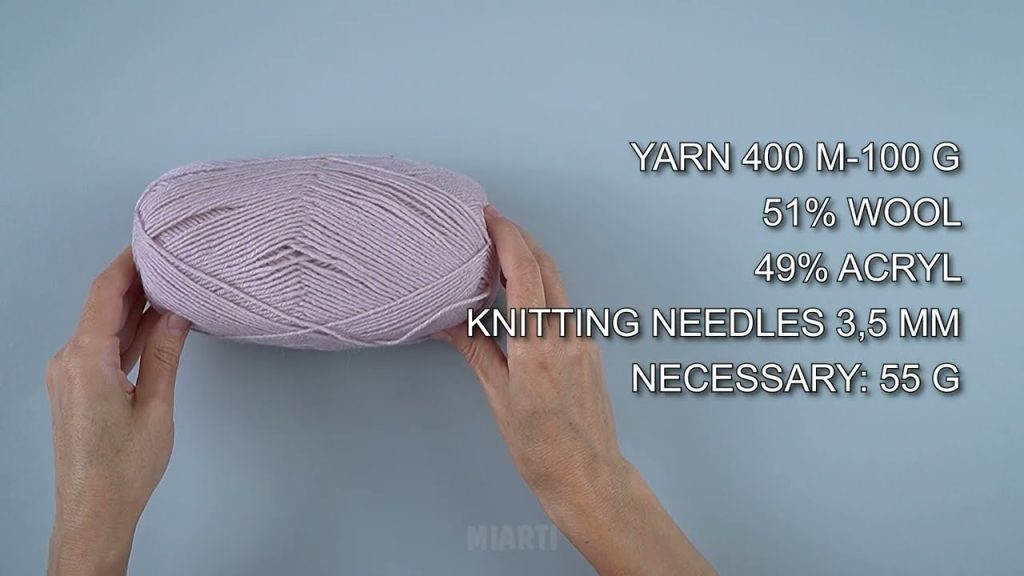
- Yarn:
- Choose a soft, medium-weight yarn (worsted weight or DK yarn works well).
- Fiber choice affects warmth and drape: wool is warm, acrylic is easy to care for, cotton is lighter.
- Knitting needles:
- Circular needles, 16–24 inches long, size appropriate for your yarn (usually US 7–9 / 4.5–5.5 mm).
- Double-pointed needles (DPNs) for the crown decreases, if needed.
- Notions:
- Stitch markers
- Tapestry needle for weaving in ends
- Measuring tape
- Optional: decorative buttons, beads, or embroidery thread for customization
- Gauge (optional but recommended):
- Knit a small swatch to ensure your stitches match the recommended tension.
Step 1: Measure and Decide Size
- Measure the circumference of your head where the beret will sit (usually just above the ears).
- Decide the beret style:
- Classic: loose and slouchy
- Tam: slightly larger and drapier
- Fitted: closer to the head
Tip: For a classic beret, add about 1–2 inches to your head measurement for a slouchy look.
Step 2: Cast On
- Using circular needles, cast on stitches that match your head circumference based on gauge.
- Example: If your gauge is 5 stitches per inch and head circumference is 21 inches:
21 × 5 = 105 stitches (adjust to the nearest multiple for your stitch pattern).
- Example: If your gauge is 5 stitches per inch and head circumference is 21 inches:
- Join in the round carefully, being careful not to twist the stitches.
- Place a stitch marker to indicate the start of the round.
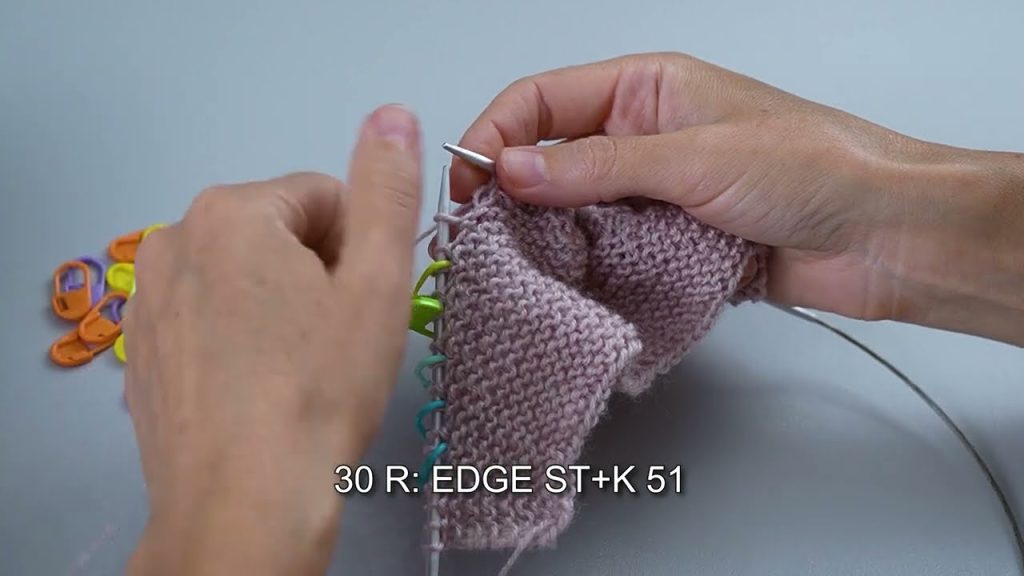
Step 3: Knit the Brim
- The brim can be stretchy, like a rib:
- K2, P2 ribbing for 1–2 inches is common.
- This keeps the beret snug around the head.
- Optional: fold the ribbing over for a thicker band.
Step 4: Knit the Body
- Switch to stockinette stitch (knit every round) for the main body.
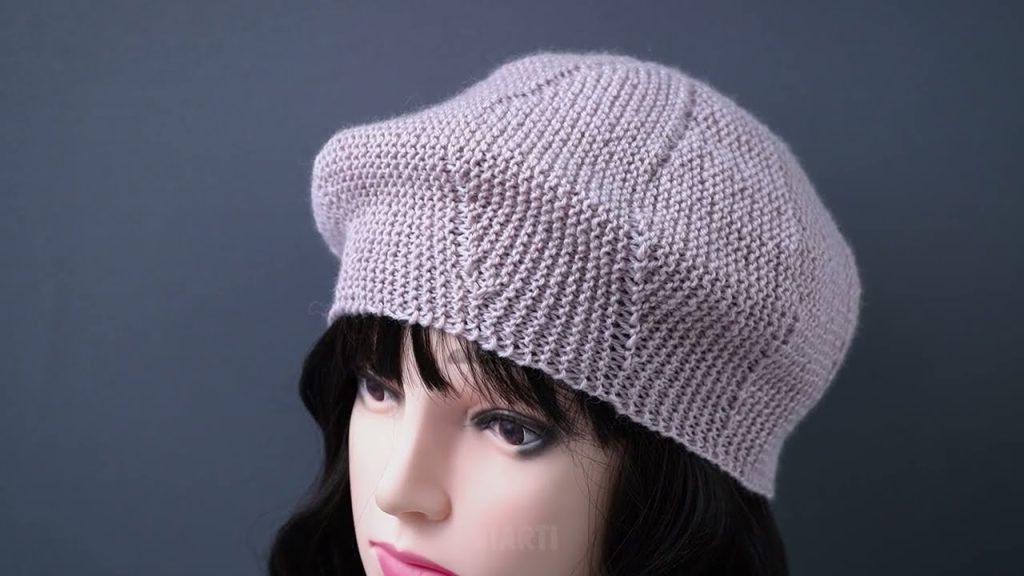
- Knit until the body reaches the desired depth of the beret (typically 6–8 inches from the cast-on edge).
- For a slouchy look, keep the body wider.
Optional patterns:
- You can knit cables, lace, or texture patterns for a unique look.
- Example: a simple diamond pattern or garter stitch panel can make your beret stand out.
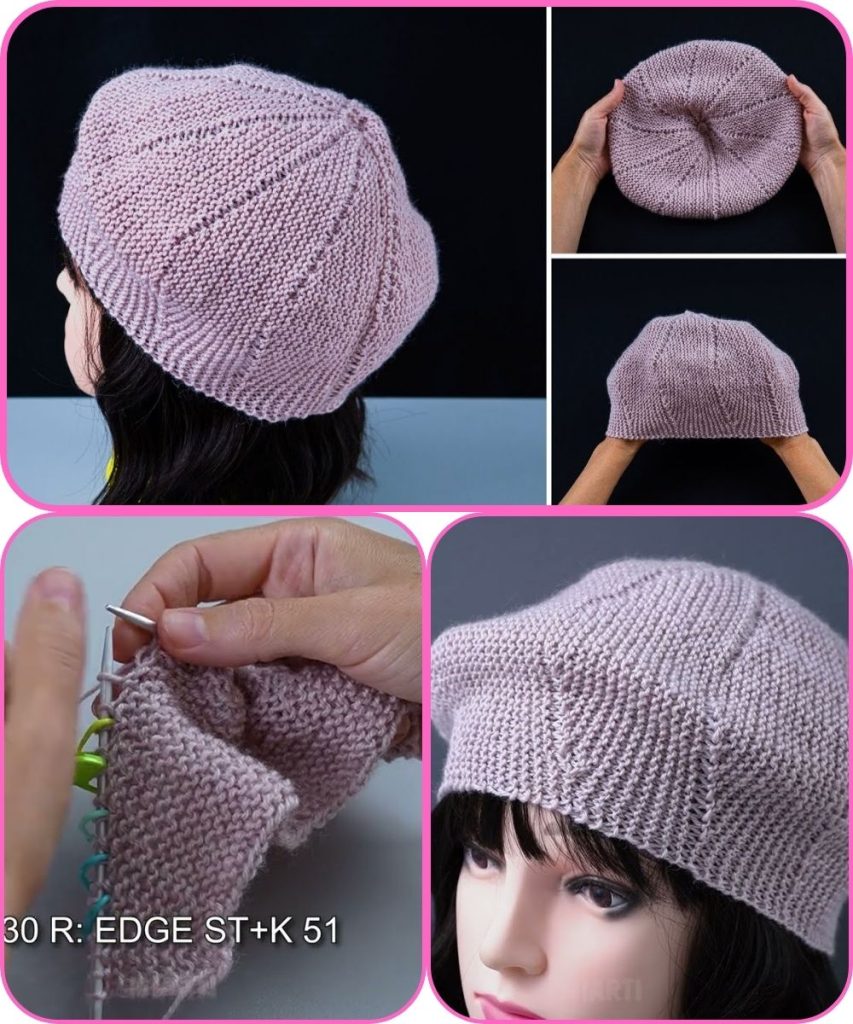
Step 5: Shape the Crown
- Begin decreasing to shape the top of the beret.
- Decrease evenly every few rounds:
- Example:
- Round 1: K10, K2tog repeat
- Round 2–3: Knit all
- Round 4: K9, K2tog repeat
- Continue decreasing until ~10–15 stitches remain.
- Example:
- Switch to DPNs if needed when the number of stitches becomes too small for circular needles.
Step 6: Finish the Top
- Cut yarn, leaving a long tail.
- Thread the tail through a tapestry needle and pull it through the remaining stitches.
- Pull tight to close the top.
- Weave in all loose ends neatly on the inside.
Step 7: Add Personal Touches
- Embroidery: stitch a small motif like a flower or initial on the beret.
- Buttons or beads: sew along the crown or brim.
- Change color: use stripes, ombré yarn, or contrasting edges.
Step 8: Block the Beret
- Wet or steam block your beret to shape it nicely.
- Lay it flat on a towel and gently mold the beret to the desired shape.
- Let it dry completely.
Tips for an Original Look
- Experiment with yarn texture: fuzzy, chunky, or hand-dyed yarn adds uniqueness.
- Play with asymmetry: make one side longer or add slits for a modern look.
- Mix stitches: lace, cables, and ribbing in the same beret can create a statement piece.
Summary
- Measure head → Cast on → Knit ribbed brim
- Knit body → Shape crown with decreases → Close top
- Personalize with textures, embroidery, or accessories → Block
- Enjoy your handmade, original knitted beret!
If you want, I can also make a fully illustrated step-by-step diagram for this beret, showing stitch patterns, crown shaping, and final styling—it would make this tutorial super easy to follow even if you’re visual.
Watch tutorial: