 by
by Here’s a detailed, beginner-friendly guide on how to make a beautiful crochet hat simply. This tutorial focuses on basic stitches, easy shaping, and creating a stylish hat that anyone can handle—even beginners.
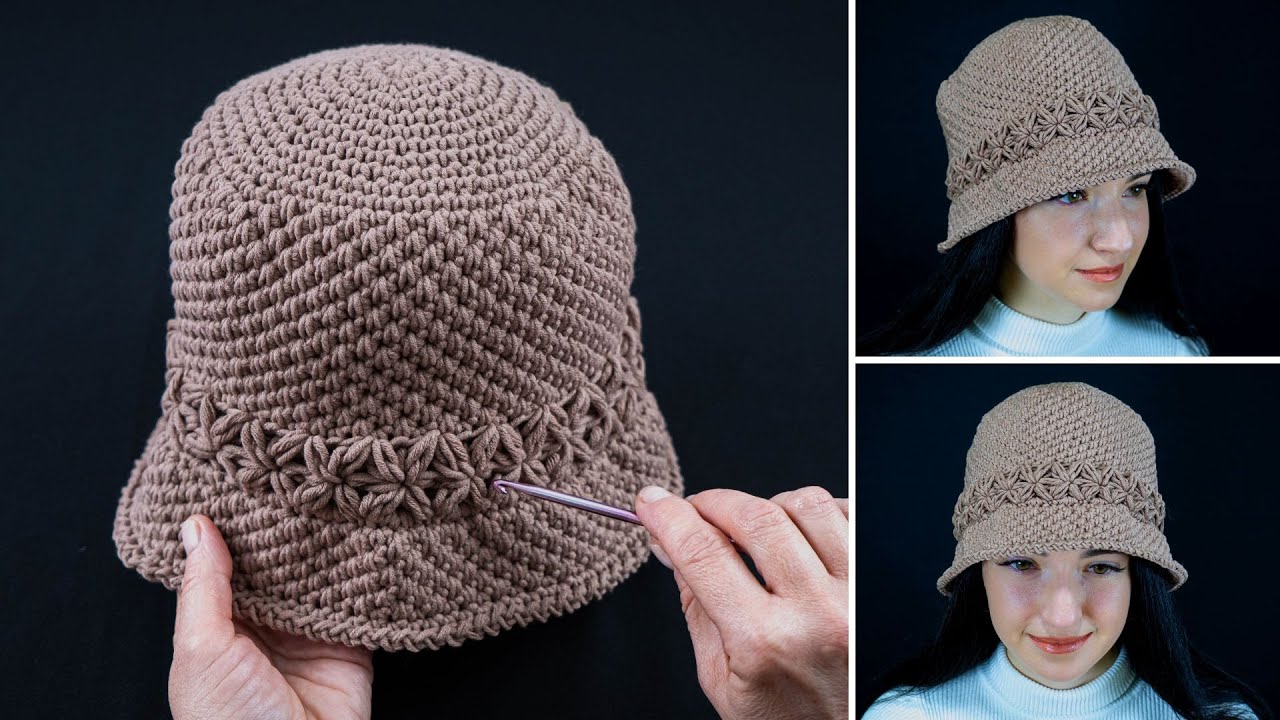
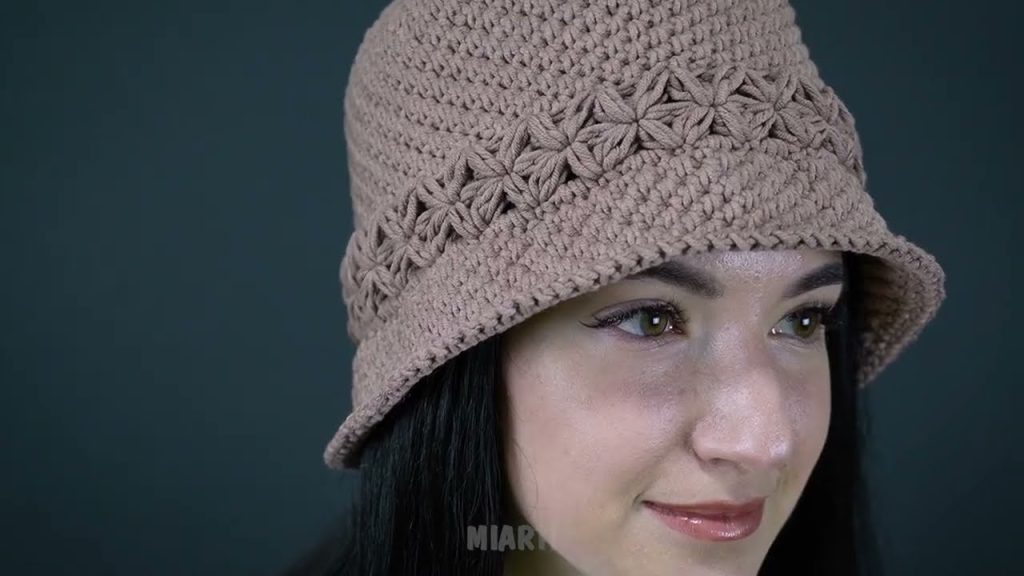
How to Make a Beautiful Crochet Hat Simply – Beginner Tutorial
Crochet hats are perfect beginner projects because they are small, portable, and highly customizable. This tutorial will guide you step by step to make a simple, beautiful, and wearable hat using easy crochet techniques.
Materials Needed
- Yarn: Medium-weight (worsted) or bulky yarn for warmth
- Crochet Hook: 5 mm – 6 mm (check yarn label)
- Scissors
- Yarn Needle: For weaving in ends
- Stitch Marker (optional)
Basic Crochet Stitches Used
- Magic Ring / Chain (ch) – for starting the hat
- Single Crochet (sc) – sturdy and simple
- Half Double Crochet (hdc) – optional for added height or texture
- Double Crochet (dc) – optional for airy design
- Slip Stitch (sl st) – to join rounds
- Increase (2 sc in 1 stitch) – for shaping the crown
These stitches are beginner-friendly and easy to learn.
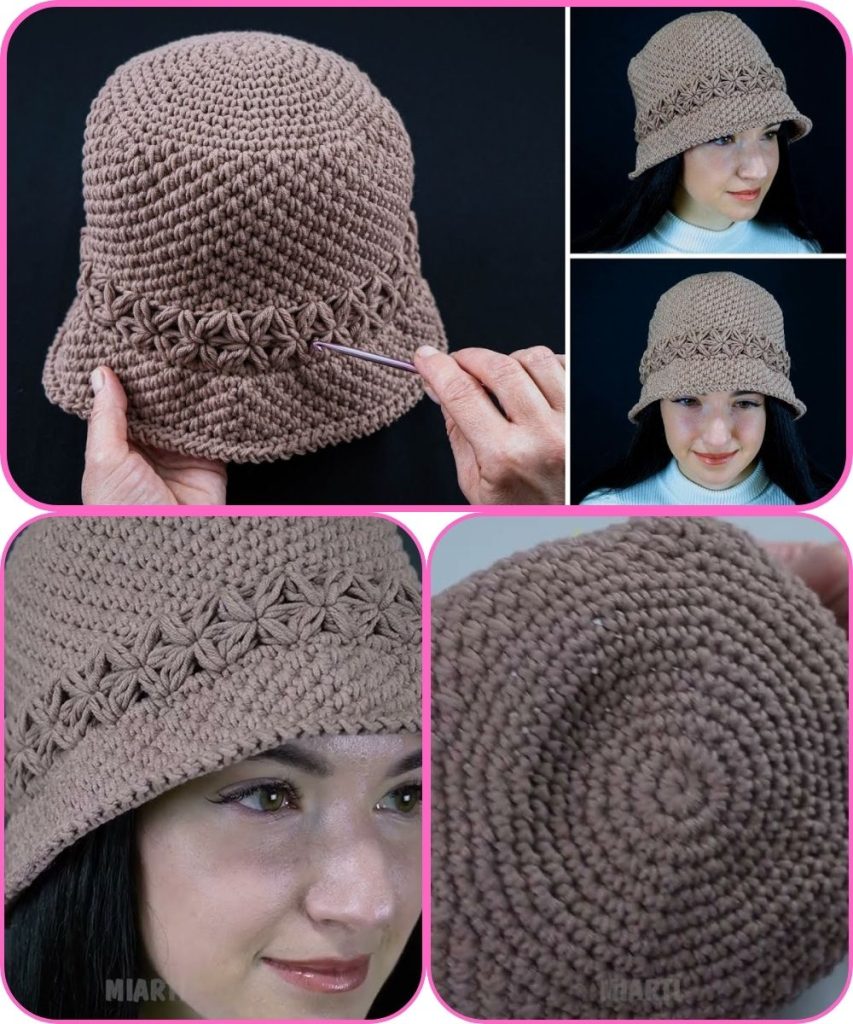
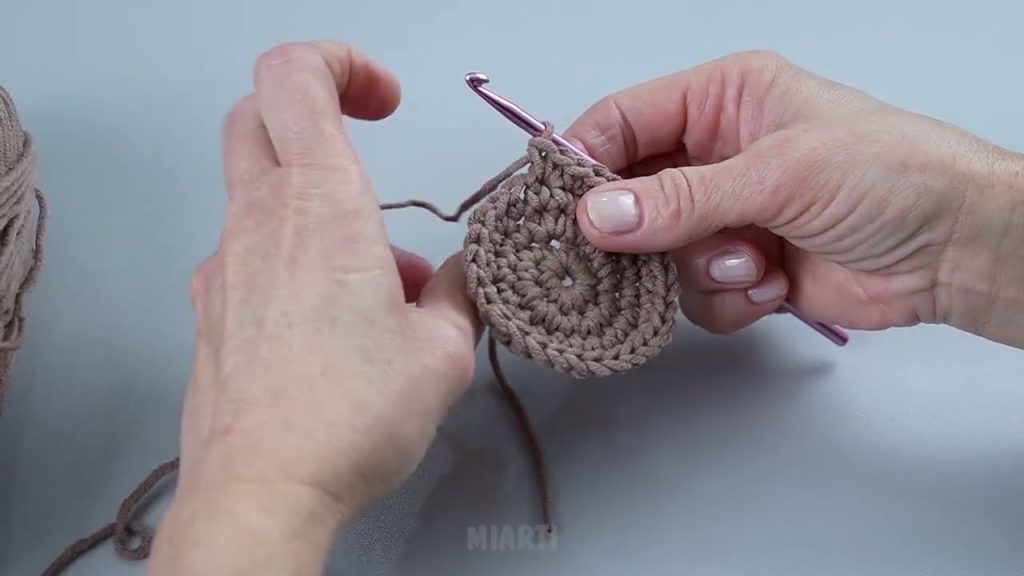
Step 1: Start the Crown of the Hat
- Make a magic ring (or chain 4 and join to form a ring).
- Chain 2 (counts as first double crochet).
- Work 10 double crochets (or 10 half double crochets) into the ring.
- Join with a slip stitch to the top of the chain 2.
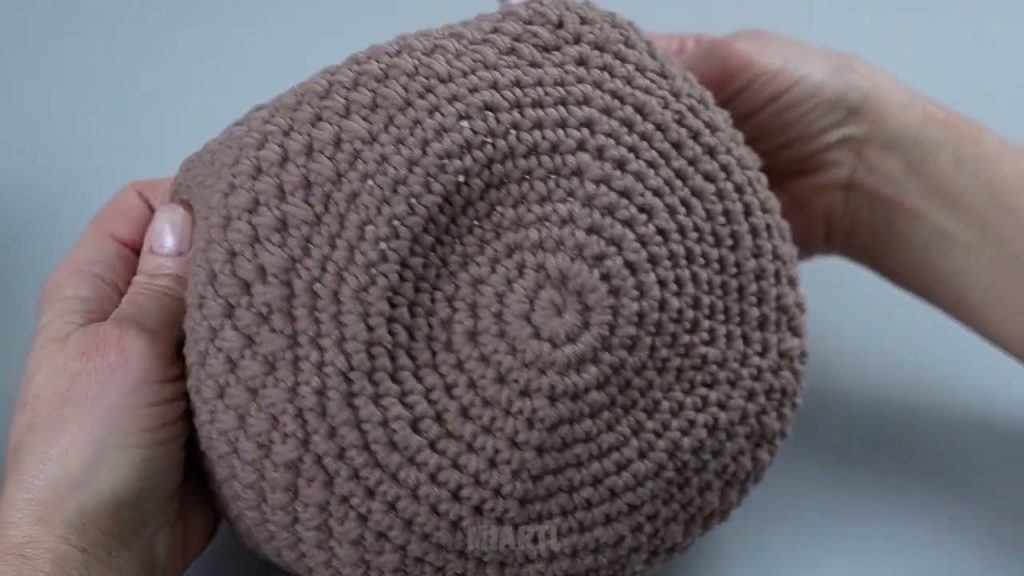
Step 2: Increase Rounds to Shape the Top
- Round 2: 2 dc in each stitch (20 dc)
- Round 3: 1 dc, 2 dc in next stitch around (30 dc)
- Round 4: 2 dc, 2 dc in next stitch around (40 dc)
- Round 5: 3 dc, 2 dc in next stitch around (50 dc)
Continue increasing until the crown diameter matches the top of your head (approximately 15–17 cm for adults).
Step 3: Crochet the Body of the Hat
- Stop increasing.
- Work 1 double crochet in each stitch for each round.
- Repeat for 8–12 rounds, depending on how deep you want the hat.
For a light, airy hat, alternate double crochet with chain stitches or use half double crochet.
Step 4: Create the Hat Edge (Brim)
- To make the brim slightly snug, switch to single crochet.
- Crochet 2–4 rounds evenly around the bottom.
- Optional: Work single crochet in back loop only for a subtle ribbed effect.
This helps the hat stay comfortably on your head.
Step 5: Finish the Hat
- Fasten off the yarn.
- Weave in all loose ends neatly with a yarn needle.
- Optional: Add a pom-pom, small flower, or other decoration for extra beauty.
Tips for Beginners
- Use soft cotton or acrylic yarn for a comfortable fit.
- Keep tension consistent for a neat, even hat.
- Measure your head occasionally to ensure proper size.
- Experiment with colors or stripes for added style.
Variations to Make It More Beautiful
- Slouchy Hat: Add extra rounds in the body for a relaxed fit
- Textured Stitch: Use front post/back post stitches for a chic look
- Colorwork: Stripes, gradients, or small motifs
- Embellishments: Pom-poms, buttons, or crochet flowers
Why This Hat Is Perfect for Beginners
- Uses basic crochet stitches only
- Easy shaping with simple increases
- Quick and satisfying to complete
- Highly customizable for personal style
Final Thoughts
A beautiful crochet hat doesn’t need complicated stitches or patterns. With a few simple rounds, easy increases, and basic finishing, beginners can create a stylish, wearable hat. Once mastered, you can experiment with textures, colors, and decorative touches to make each hat unique.
I can also make for you:
- A step-by-step diagram with exact stitch counts
- A beginner-friendly printable pattern
- Suggestions for slouchy, fitted, or ribbed variations
Watch tutorial: