 by
by Sure! Here’s a detailed step-by-step guide on how to make an easy crochet baby blanket using the bean stitch pattern with a beautiful border. This project is perfect for beginners and intermediate crocheters who want to make a cozy, textured baby blanket.
🧶 How to Make an Easy Crochet Baby Blanket with Bean Stitch Pattern & Beautiful Border
🪡 Materials Needed:
- Worsted weight yarn (medium #4) – approx. 800–1000 yards
- Crochet hook – Size H/8 (5.0 mm) or size recommended on your yarn label
- Scissors
- Yarn needle (for weaving in ends)
- Stitch markers (optional)
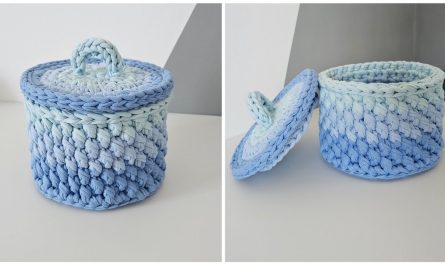
🧵 Part 1: Bean Stitch Pattern for the Blanket Body
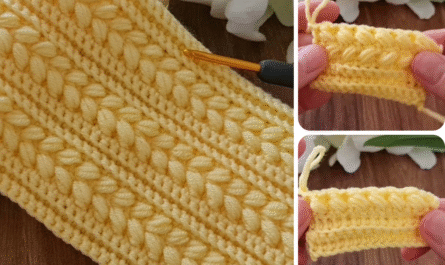
✨ What is the Bean Stitch?
The bean stitch creates a beautiful, puffy texture perfect for baby blankets. It’s a variation of a puff stitch but is simpler and less yarn-consuming.
📌 Abbreviations (US Terms):
- ch – chain
- sc – single crochet
- yo – yarn over
- st – stitch
- bean st – bean stitch (explained below)
👣 Step-by-Step Instructions:
Step 1: Foundation Row
- Chain a multiple of 2 + 1 (e.g., 101 chains for a small baby blanket).
- Row 1: In the 2nd chain from the hook, make your first bean stitch.
🧡 How to Make a Bean Stitch:
- Insert hook into the stitch, yo, pull up a loop (2 loops on hook).
- Yo, insert hook into the same st, pull up a loop (4 loops).
- Yo, insert hook again into the same st, pull up a loop (6 loops).
- Yo and pull through all 6 loops on hook.
- Ch 1 to close the stitch.
Step 2: Continue Row 1
- Skip 1 chain.
- In the next chain, make another bean stitch.
- Repeat across the row: Skip 1 ch, bean st in next ch, until the end.
Step 3: Row 2 and Beyond
- Turn your work.
- Chain 1.
- Make a bean stitch in each chain-1 space from the previous row.
- Repeat this row until the blanket reaches your desired length (typically 30–40 inches for a baby blanket).
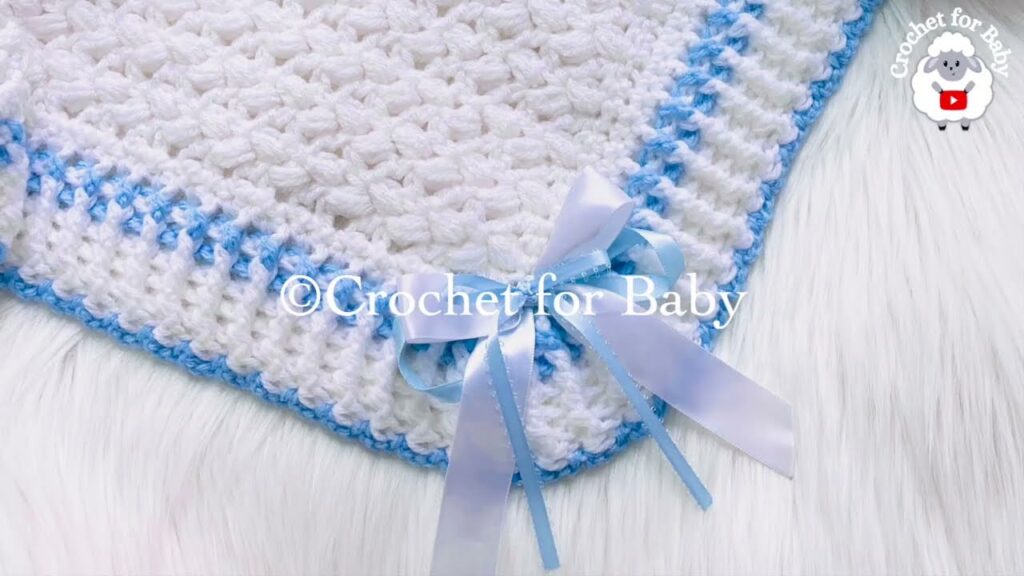
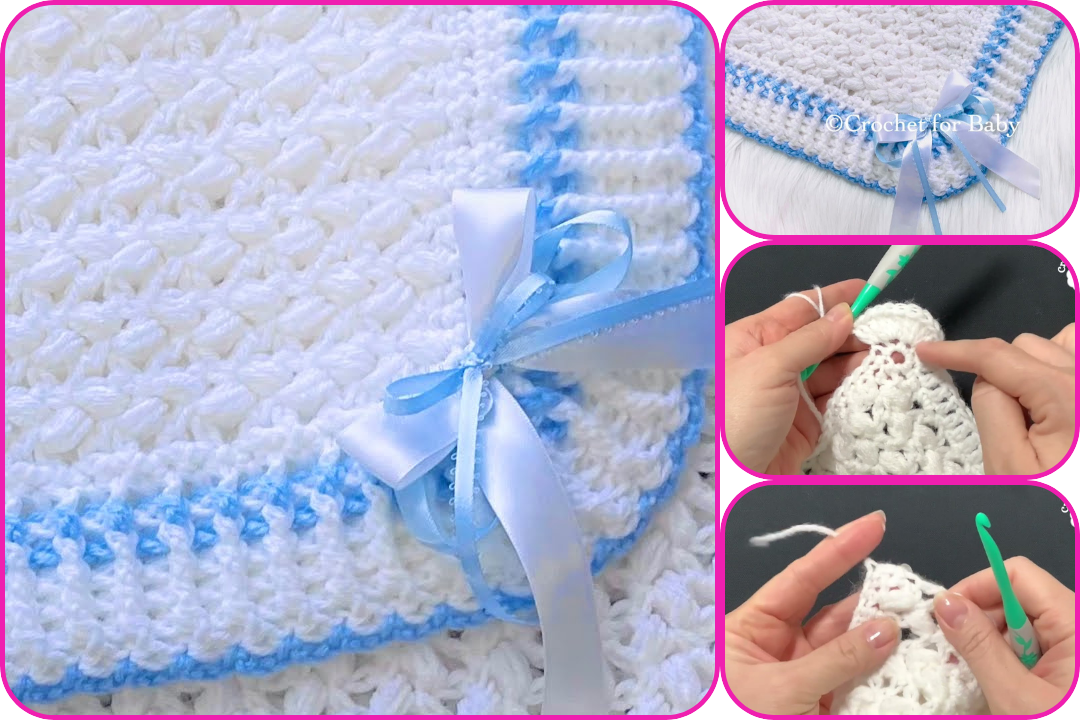
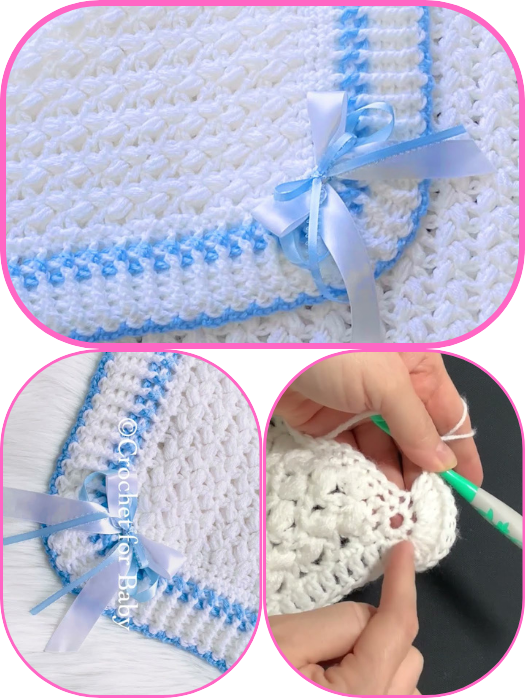
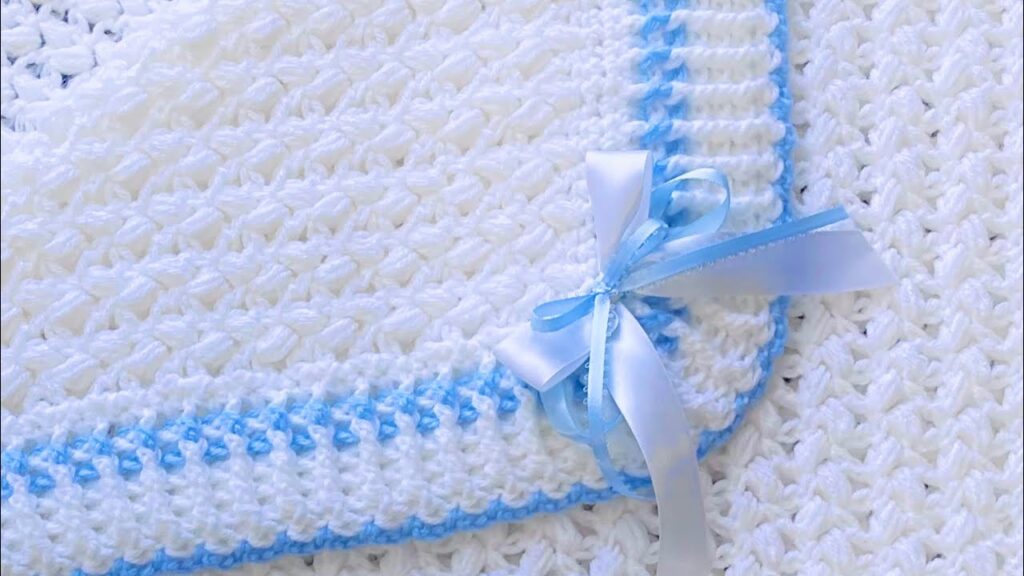
🪷 Part 2: Beautiful Crochet Border (Shell + Picot Edge)
Once the body is complete, you can add a pretty and delicate border.
🌸 Easy Shell Border with Picot Tips:
Border Round 1 (Base Round):
- Join yarn in any corner.
- Single crochet evenly all around the blanket. Place 3 sc in each corner to keep it from curling.
- Join with a slip stitch to the first sc.
Border Round 2 (Shells):
- Skip 2 sts, 5 dc in next st, skip 2 sts, sc in next st – repeat this shell pattern around.
- In corners: You can add an extra shell or adjust spacing as needed.
- Join with a slip stitch to the first sc.
Optional Round 3 (Picot Edge on Shells):
- On each shell (5 dc), do this:
- Dc in first 2 sts.
- (Ch 3, slip stitch into first ch) → picot
- Dc in next 2 sts.
- This adds a lacy, beautiful edge.
🧼 Finishing Touches:
- Fasten off and weave in all loose ends using your yarn needle.
- Gently block your blanket if needed to straighten edges and enhance stitch definition.
🍼 Tips for Success:
- Use soft, baby-friendly yarn like cotton blends or baby acrylic.
- Stick to light or pastel colors for a delicate baby aesthetic.
- Keep your tension consistent, especially in the bean stitch.
- For a gender-neutral blanket, try colors like mint, yellow, grey, or cream.
🎁 Perfect Gift Idea:
This blanket makes a thoughtful handmade gift for baby showers, newborns, or first birthdays. Add a matching beanie or booties for an adorable set!
Watch video: