 by
by Here is a detailed, beginner-friendly guide on how to make an Easy Granny Square Crochet Bag. You can use this as a blog post, assignment, or personal pattern notes.
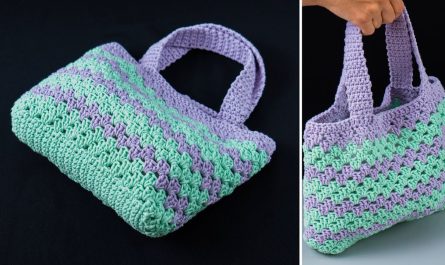
How to Make an Easy Granny Square Crochet Bag
A granny square crochet bag is a classic, stylish, and beginner-friendly project. It’s perfect for using leftover yarn and can be customized in size, color, and style. With just a few basic crochet stitches, you can create a beautiful handmade bag suitable for daily use.
Materials Needed
- Yarn (medium/worsted weight works best)
- Cotton yarn is recommended for strength
- Crochet hook (usually 4.5 mm–5.5 mm, depending on yarn)
- Scissors
- Yarn needle (for weaving ends)
- Stitch markers (optional)
- Fabric lining and sewing needle (optional)
Basic Crochet Abbreviations
- ch – chain
- sl st – slip stitch
- sc – single crochet
- dc – double crochet
- sp – space
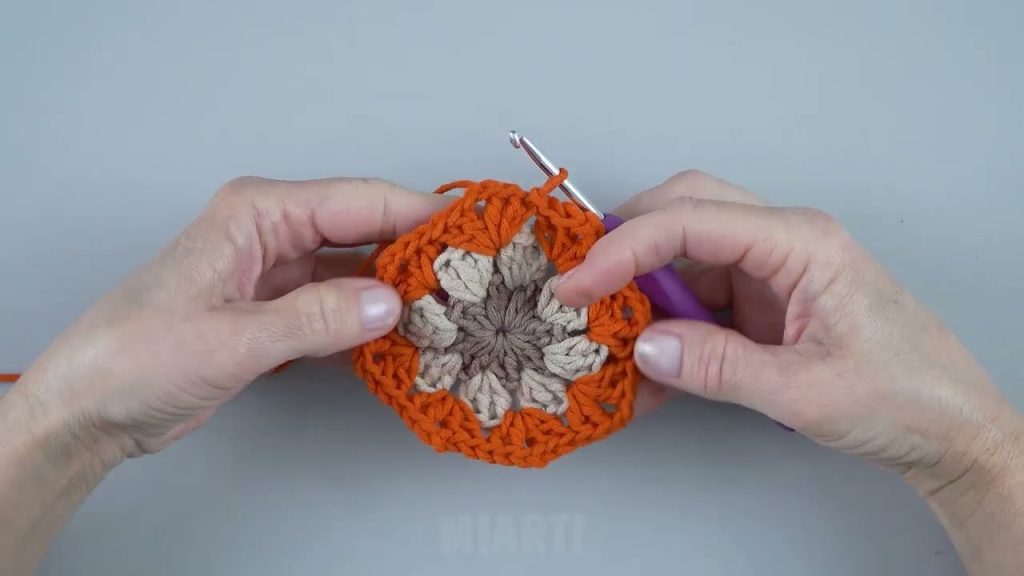
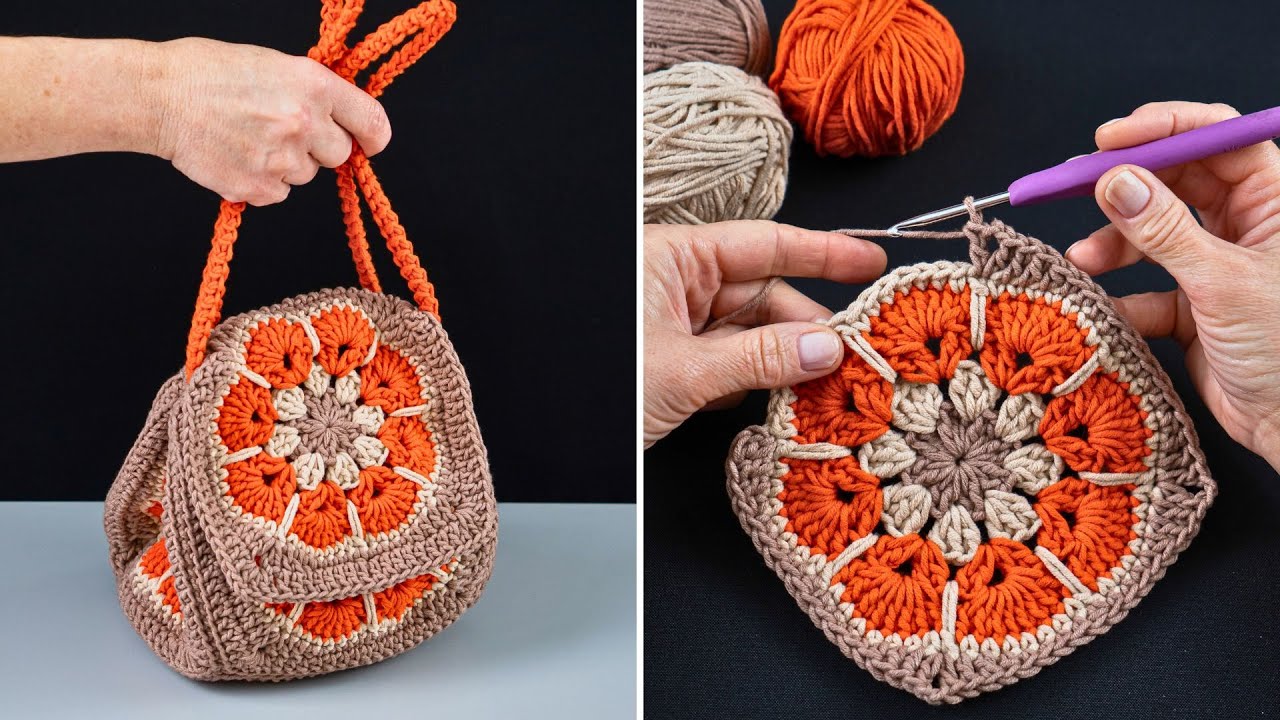
Step 1: Making the Granny Squares
Each bag is made by joining several granny squares. You can make 6–13 squares depending on your desired bag size.
Classic Granny Square Pattern
- Start with a magic ring (or chain 4 and join with a slip stitch).
- Round 1:
- Chain 3 (counts as first dc)
- Work 2 dc into the ring
- Chain 2
- 3 dc, ch 2 — repeat 3 times
- Join with sl st to the top of the first chain 3
- Round 2:
- Slip stitch into the next corner space
- Ch 3, 2 dc, ch 2, 3 dc in the same space
- In each corner: 3 dc, ch 2, 3 dc
- Join with sl st
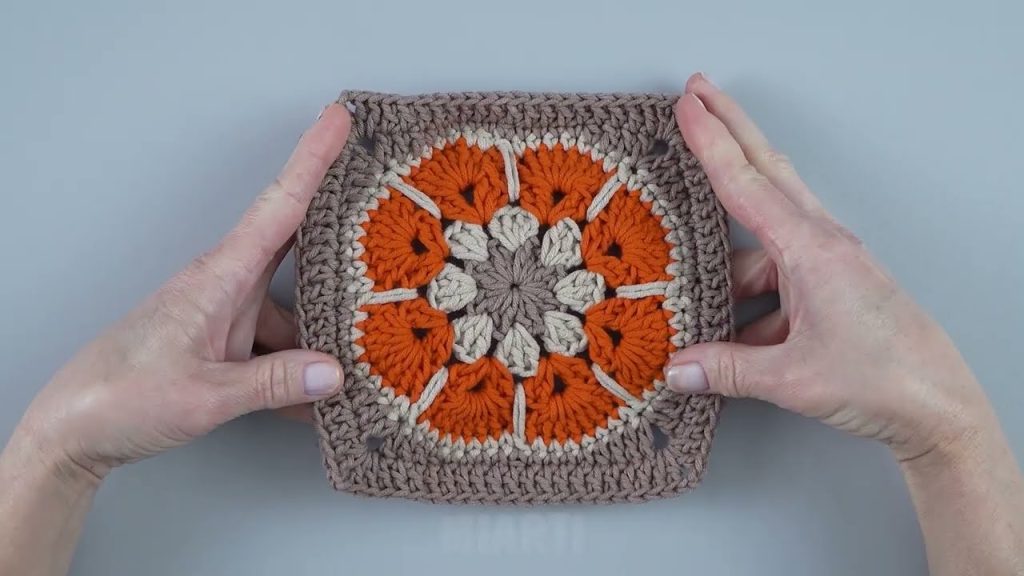
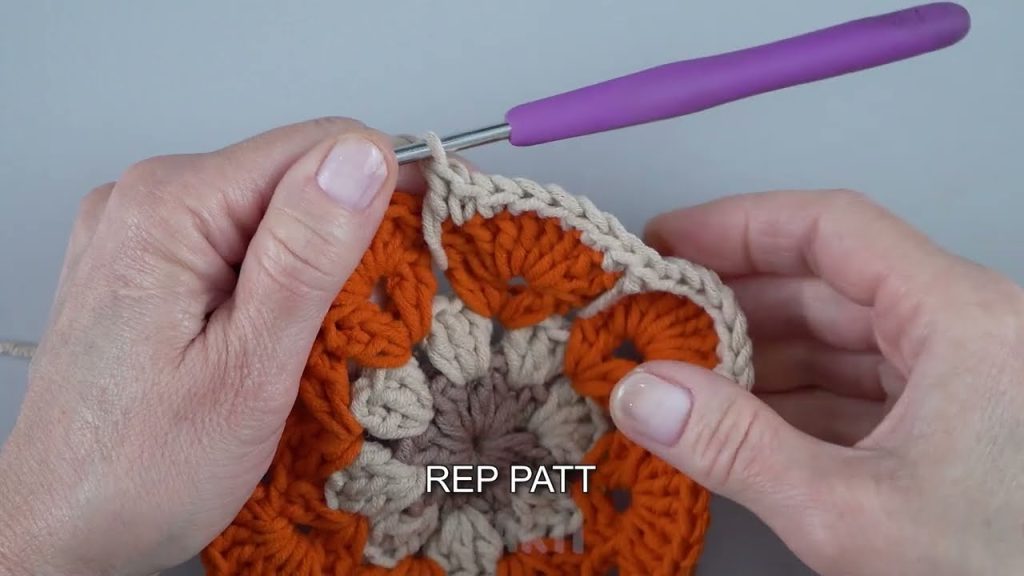
- Round 3 and beyond:
- Continue the same pattern, adding 3 dc clusters in side spaces and corners
Fasten off and weave in ends.
👉 Tip: Change yarn colors every round for a vibrant look.
Step 2: Blocking the Squares (Optional)
Blocking helps squares stay flat and uniform:
- Lightly dampen the squares
- Pin them to equal size
- Let them dry completely
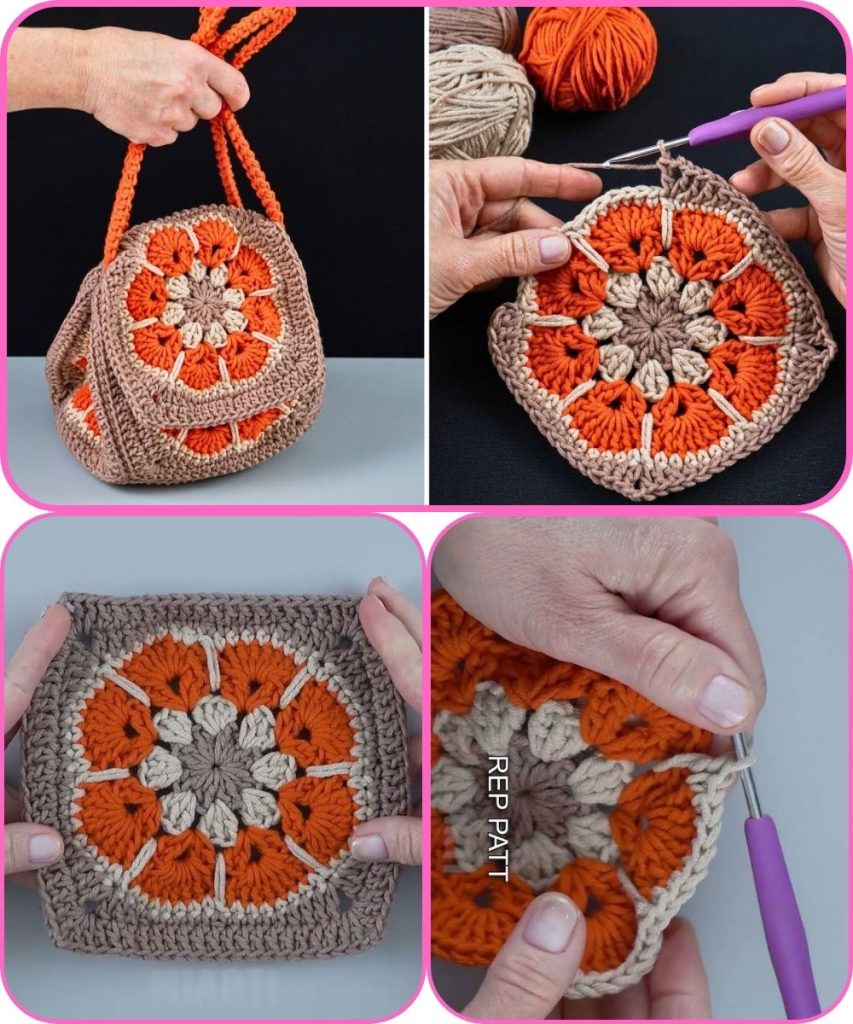
Step 3: Arranging the Squares
Lay your squares flat and decide the layout:
- Small bag: 6 squares (2 front, 2 back, 1 bottom, 1 flap)
- Medium bag: 8–10 squares
- Tote bag: 12–13 squares
Arrange them until you like the color placement.
Step 4: Joining the Squares
You can join squares in several ways:
- Slip stitch join
- Single crochet join
- Whip stitch (sewing method)
Simple Slip Stitch Join:
- Hold two squares with right sides together
- Insert hook through both loops
- Slip stitch across evenly
- Repeat for all sides
Step 5: Shaping the Bag
Once squares are joined:
- Fold the piece into a bag shape
- Join the side edges
- Leave the top open
Step 6: Adding the Top Border
- Attach yarn at the top edge
- Single crochet evenly around
- Work 2–4 rounds for stability
- Optional: add decorative stitches (shells or picots)
Step 7: Making the Handles
Simple Handle Pattern:
- Attach yarn to one side
- Chain 60–80 (depending on length)
- Attach to the opposite side
- Single crochet along the chain for strength
👉 You can also:
- Make two short handles
- Attach wooden or leather handles
Step 8: Lining the Bag (Optional)
Adding a lining:
- Prevents stretching
- Keeps items secure
Steps:
- Cut fabric to bag size
- Sew fabric pieces together
- Hand stitch lining into the bag
Customization Ideas
- Add buttons or magnetic snaps
- Use tassels or pom-poms
- Crochet flowers or appliqués
- Adjust square size for different bag styles
Conclusion
An easy granny square crochet bag is a fun and rewarding project for beginners and experienced crocheters alike. With basic stitches and a little creativity, you can create a unique, handmade accessory that’s both practical and stylish.
If you’d like, I can also:
- Simplify this for absolute beginners
- Convert it into a PDF pattern
- Write it as a school assignment or blog post
- Add step-by-step images descriptions
Watch tutorial: