 by
by Here’s a detailed, beginner-friendly guide to help you make a knitted hat using a simple stitch pattern. This project is great if you’re just starting out and want something practical and satisfying 🌟
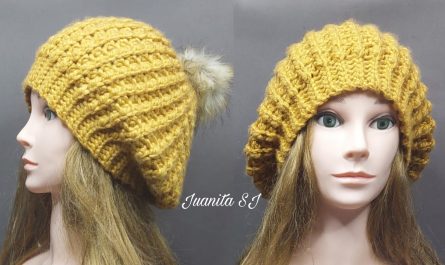
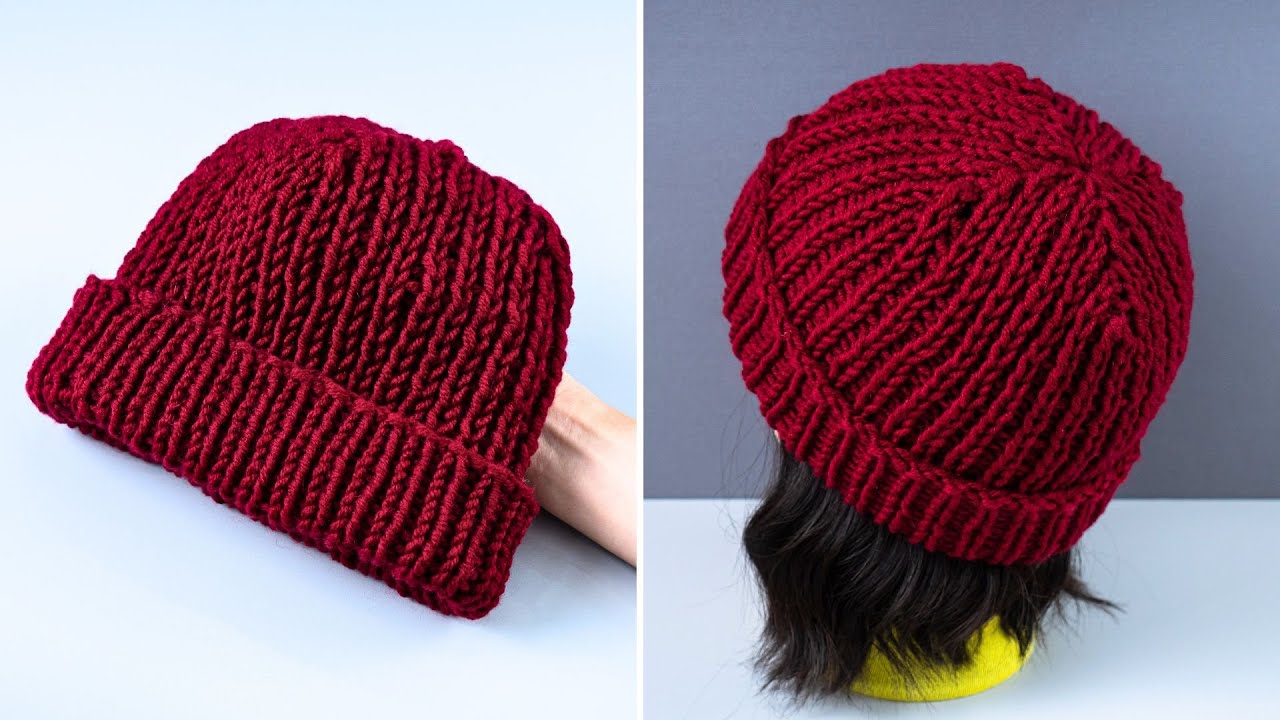
How to Make a Knitted Hat with a Simple Stitch Pattern (Beginner Level)
Skill Level
Beginner
Finished Size
Adult medium (fits most heads 20–22 inches / 51–56 cm)
You can easily adjust the size—notes included below.
Materials Needed
- Yarn: Medium weight (Category 4 / worsted weight)
- Knitting needles:
- 16-inch (40 cm) circular needles, size US 8 (5 mm)
- Double-pointed needles (DPNs) or a longer circular needle for decreasing
- Stitch marker
- Yarn needle (for weaving in ends)
- Scissors

Basic Knitting Skills You’ll Use
- Casting on
- Knit stitch (k)
- Purl stitch (p)
- Knitting in the round
- Decreasing stitches
- Binding off
Knitting Abbreviations
- k – knit
- p – purl
- k2tog – knit two stitches together (decrease)
- st(s) – stitch(es)
Simple Stitch Pattern Used
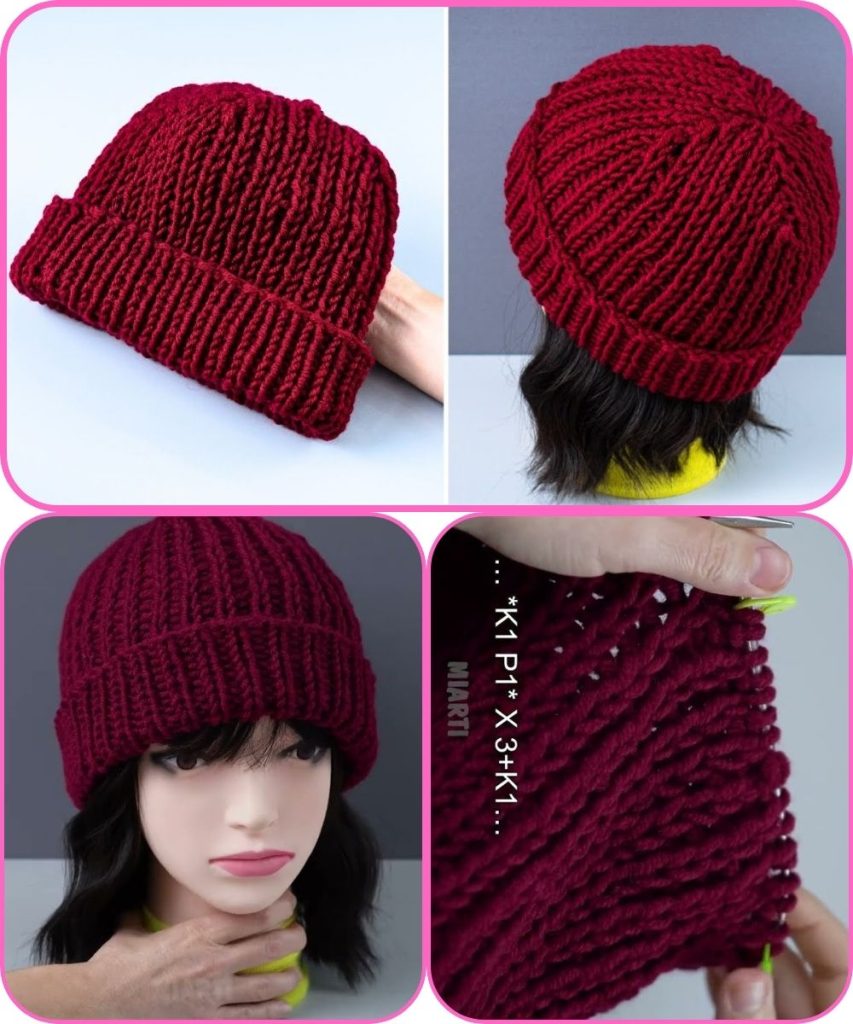
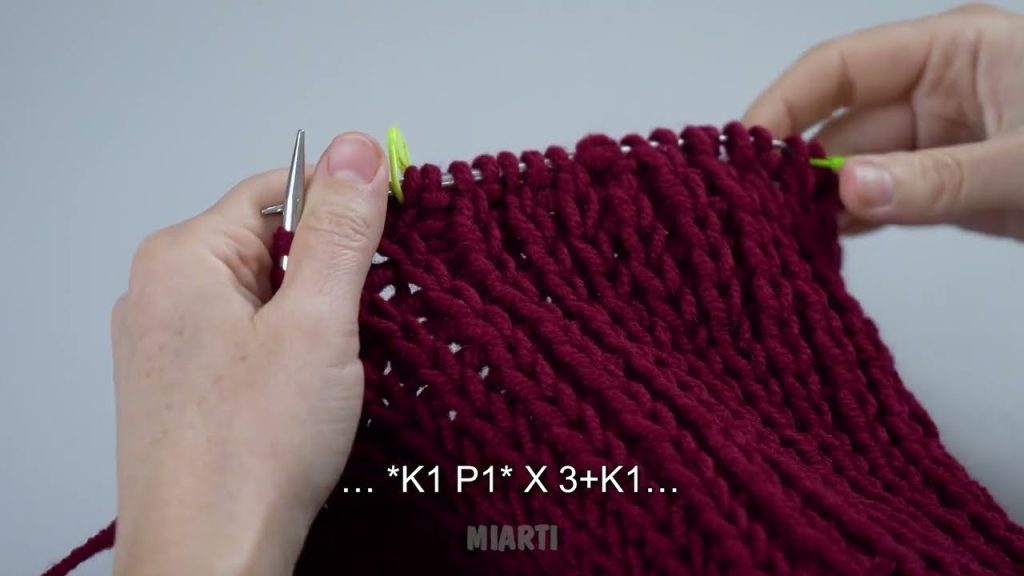
Rib Stitch (K1, P1)
This stitch is stretchy, beginner-friendly, and perfect for hats.
Step-by-Step Instructions
1. Cast On
Cast on 80 stitches using the long-tail cast-on method.
Place a stitch marker to mark the beginning of the round.
Tip: Make sure your stitches aren’t twisted before joining in the round.
2. Knit the Brim
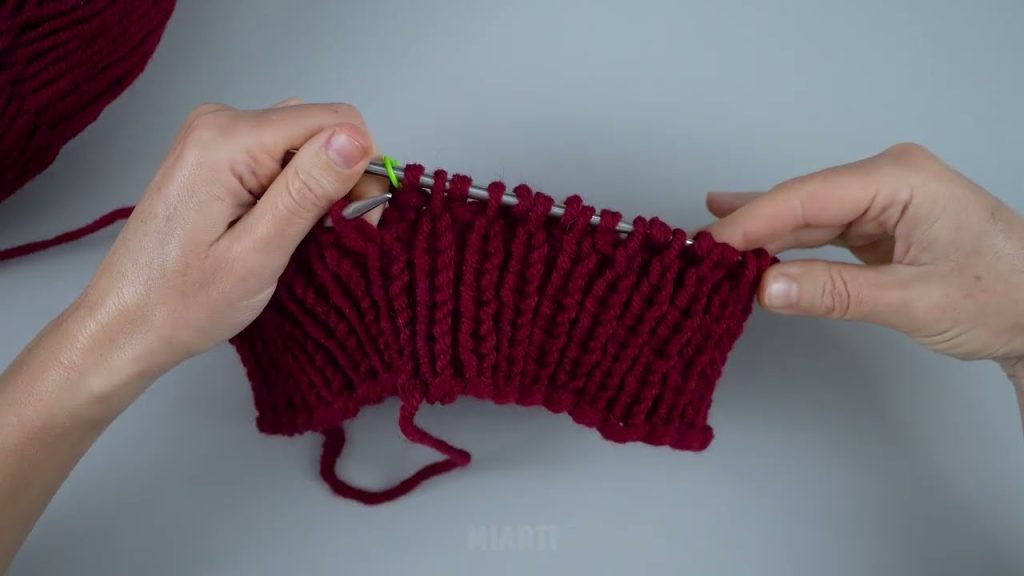
Work in K1, P1 ribbing for about 2–2.5 inches (5–6 cm).
Round:
Knit 1, purl 1 — repeat around.
This ribbed brim helps the hat fit snugly and comfortably.
3. Knit the Body of the Hat
Continue knitting in the same K1, P1 rib stitch until the hat measures about 6.5–7 inches (16–18 cm) from the cast-on edge.
You can switch to plain knit stitches if you want a smoother look, but keeping the rib stitch makes it simple and consistent.
4. Decrease for the Crown
Now it’s time to shape the top of the hat.
Decrease Round 1:
k2tog, k6 — repeat around (70 sts)
Round 2:
Knit all stitches
Decrease Round 3:
k2tog, k5 — repeat around (60 sts)
Round 4:
Knit all stitches
Continue decreasing in this pattern, reducing one knit stitch between decreases each time, until about 10–12 stitches remain.
5. Finish the Hat
- Cut the yarn, leaving a 6-inch tail
- Thread the tail through a yarn needle
- Pull the yarn through the remaining stitches
- Pull tight to close the top
- Secure and weave in all loose ends
Adjusting the Size
- Smaller hat: Cast on 72 stitches
- Larger hat: Cast on 88 stitches
(Always cast on a number divisible by 2 for ribbing)
Beginner Tips
- Use a light-colored yarn so you can see your stitches clearly
- Count stitches regularly to avoid mistakes
- Don’t worry if it’s not perfect—practice makes progress!
🎉 Congratulations! You’ve just made a knitted hat using a simple stitch pattern. Once you’re comfortable with this, you can experiment with different yarns, colors, or stitch designs.
If you’d like, I can also:
- Simplify this into a short pattern
- Adapt it for kids or babies
- Add pictures or diagrams
- Write it as a blog or school project
Watch tutorial: