 by
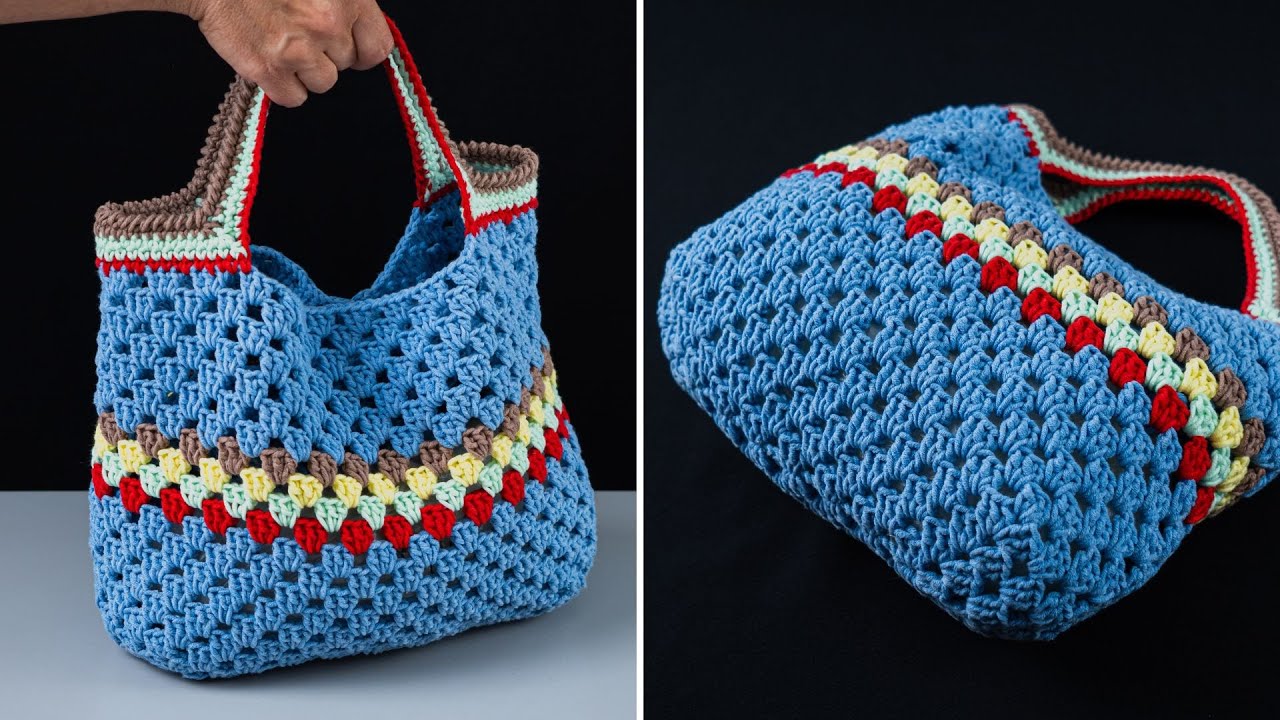
by Here is a clear, detailed, and very beginner-friendly guide on how to make a very easy crochet tote bag. This pattern uses basic stitches only, so it’s perfect if you’re new to crochet 🧶
How to Make a Very Easy Crochet Tote Bag for Beginners
Skill Level
Beginner (no experience needed beyond basic stitches)
Finished Size
Approx. 12 inches wide × 13 inches tall (size can be adjusted easily)
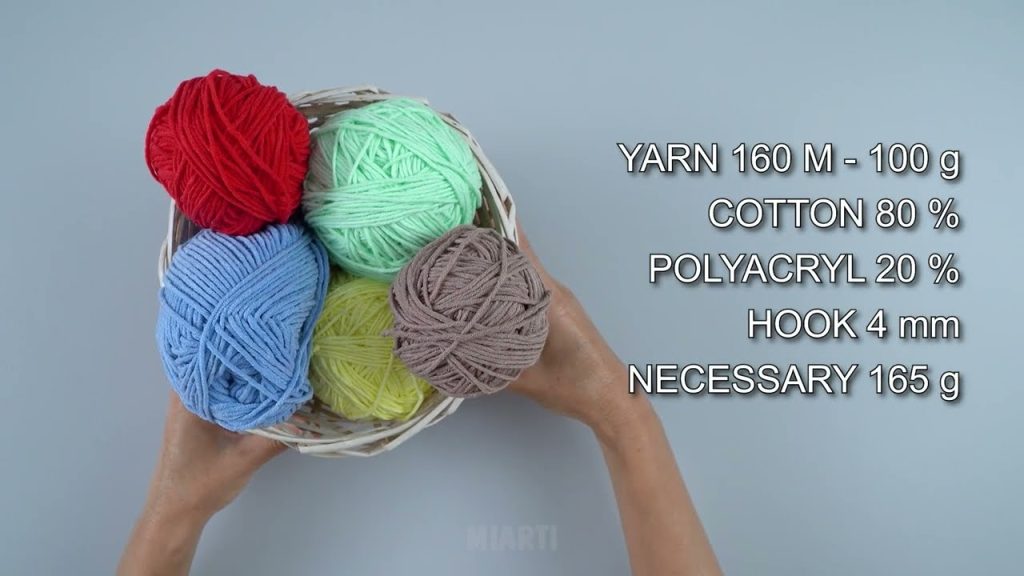
Materials Needed
- Yarn: Medium weight yarn (Category 4 / worsted weight)
Cotton yarn is recommended for tote bags because it’s strong and durable. - Crochet hook: Size 5 mm (H/8)
- Yarn needle (for sewing and weaving in ends)
- Scissors
- Stitch marker (optional but helpful)
Basic Crochet Stitches Used
- ch – chain
- sc – single crochet
- sl st – slip stitch
- st(s) – stitch(es)
This entire bag uses only single crochet stitches, making it very easy for beginners.
Step-by-Step Instructions
Step 1: Make the Base of the Tote Bag
- Chain 31
This will determine the width of the bag. - Single crochet in the second chain from the hook
Continue single crocheting in each chain across. - When you reach the last chain, place 3 single crochets in the same stitch.
This helps turn the corner smoothly. - Continue crocheting single crochet stitches along the opposite side of the chain.
- When you reach the starting point, place 2 single crochets in the last stitch and join with a slip stitch.
You should now have an oval-shaped base.
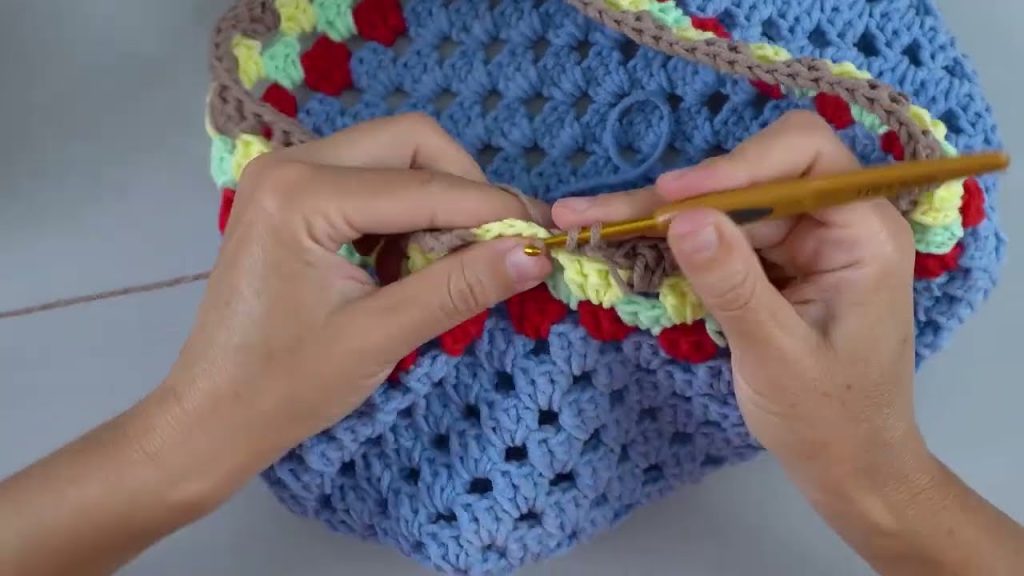
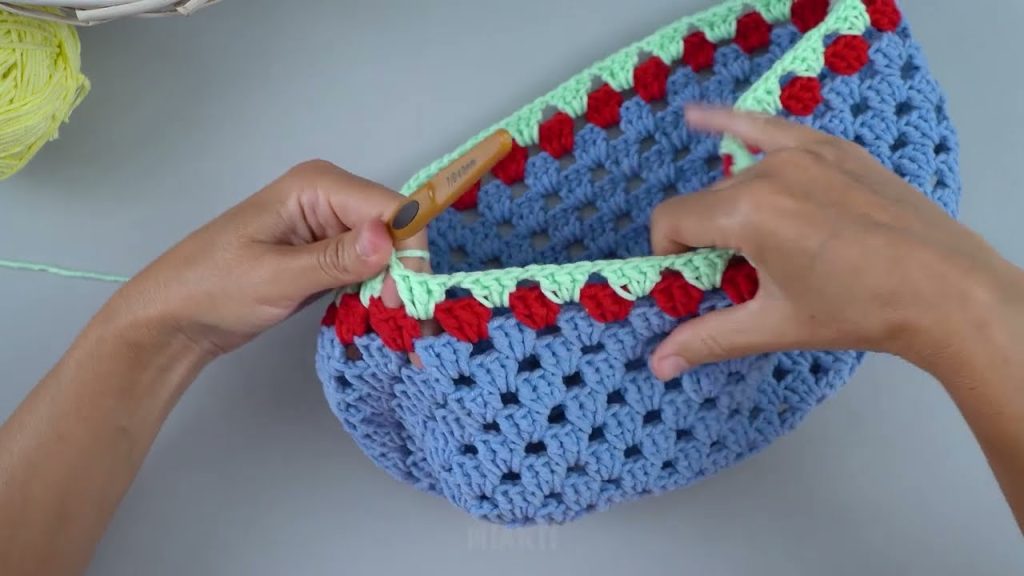
Step 2: Build the Body of the Bag
- Chain 1 (does not count as a stitch).
- Single crochet in each stitch around.
- Join with a slip stitch at the end of each round.
Repeat this round over and over until the bag reaches about 12 inches (30 cm) tall.
Tip: Place a stitch marker at the beginning of each round to keep track.
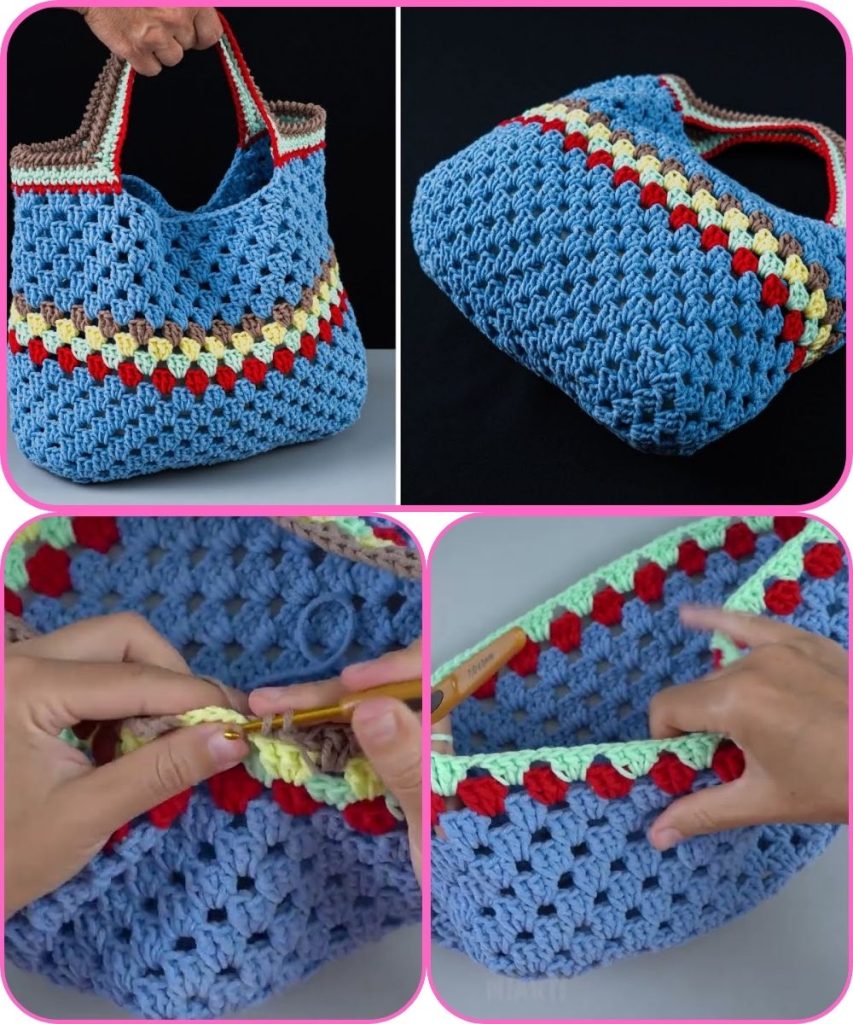
Step 3: Create the Handles
- Single crochet until you reach the side of the bag.
- Chain 25 (this forms the handle).
- Skip 10 stitches and single crochet into the next stitch.
- Continue single crocheting across the front.
- Repeat the same steps for the second handle on the opposite side.
- Join with a slip stitch.
Step 4: Strengthen the Handles
- Chain 1
- Single crochet around the entire bag, placing single crochet stitches into the chains of the handles.
- Join with a slip stitch.
Repeat this round one more time to make the handles stronger.
Step 5: Finish the Tote Bag
- Cut the yarn, leaving a small tail
- Pull through the last loop to secure
- Use a yarn needle to weave in all loose ends
Customization Ideas
- Use two colors (change yarn every few rows)
- Add a simple border like slip stitches
- Attach a fabric lining for extra strength
- Sew on a button or label
Beginner Tips
- Use cotton yarn to prevent stretching
- Keep your stitches relaxed, not too tight
- Count stitches occasionally to keep edges straight
- Practice on a small swatch first if you’re unsure
🎉 Congratulations! You’ve just made a very easy crochet tote bag perfect for shopping, books, or everyday use.
If you want, I can:
- Make this into a short printable pattern
- Adjust it for kids or mini bags
- Add pictures or diagrams
- Write it for a blog, YouTube script, or school project
Watch tutorial: