 by
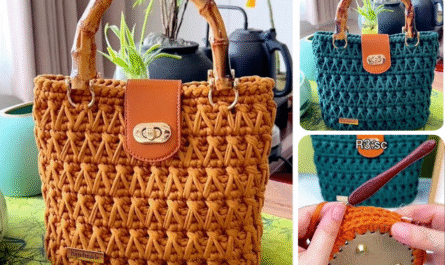
by Here’s a detailed, beginner-friendly guide for making an easy granny square clutch bag. This project uses classic crochet squares, is quick to assemble, and perfect for beginners 🧶✨
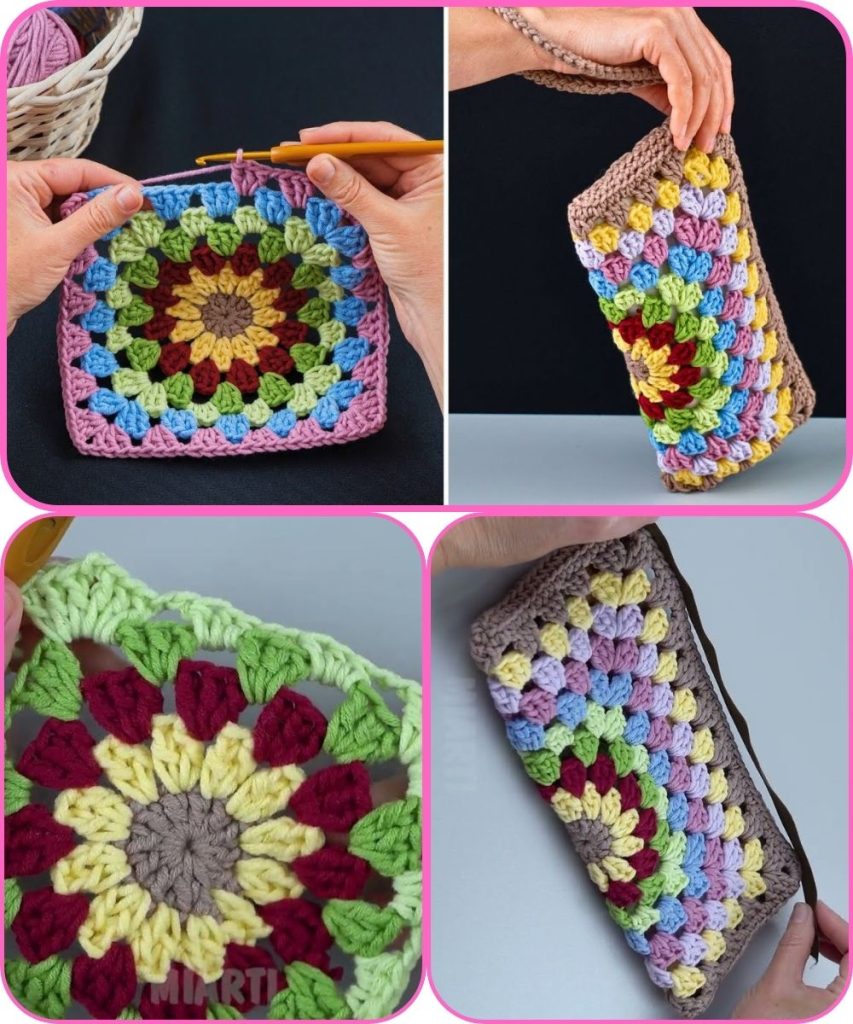
How to Make an Easy Granny Square Clutch Bag – Step by Step
Skill Level
Beginner (basic crochet stitches only)
Finished Size
- Approx. 8 inches wide × 6 inches tall
- Adjustable by adding more granny squares
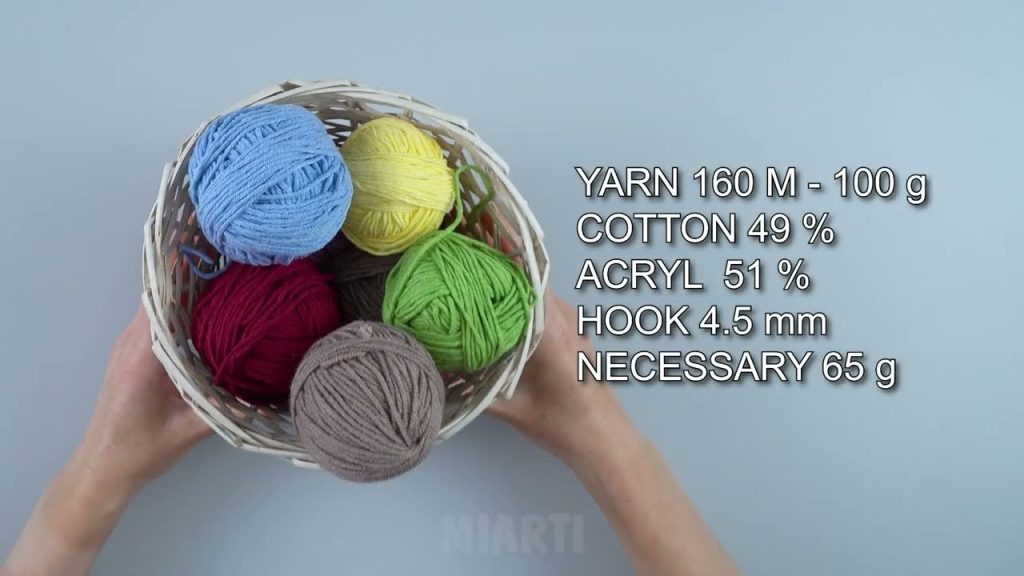
Materials Needed
- Yarn: Medium weight yarn (Category 4 / worsted weight)
- Cotton or acrylic works well
- Use bright or multicolor yarn for a stylish look
- Crochet hook: 5 mm (H/8)
- Yarn needle for sewing squares and weaving in ends
- Scissors
- Optional: button, snap, or zipper for closure
Basic Crochet Stitches Used
- ch – chain
- sl st – slip stitch
- dc – double crochet
- tr – treble crochet (optional for decorative rounds)
- st(s) – stitch(es)
Classic granny square stitches are chains and double crochets, making it beginner-friendly.
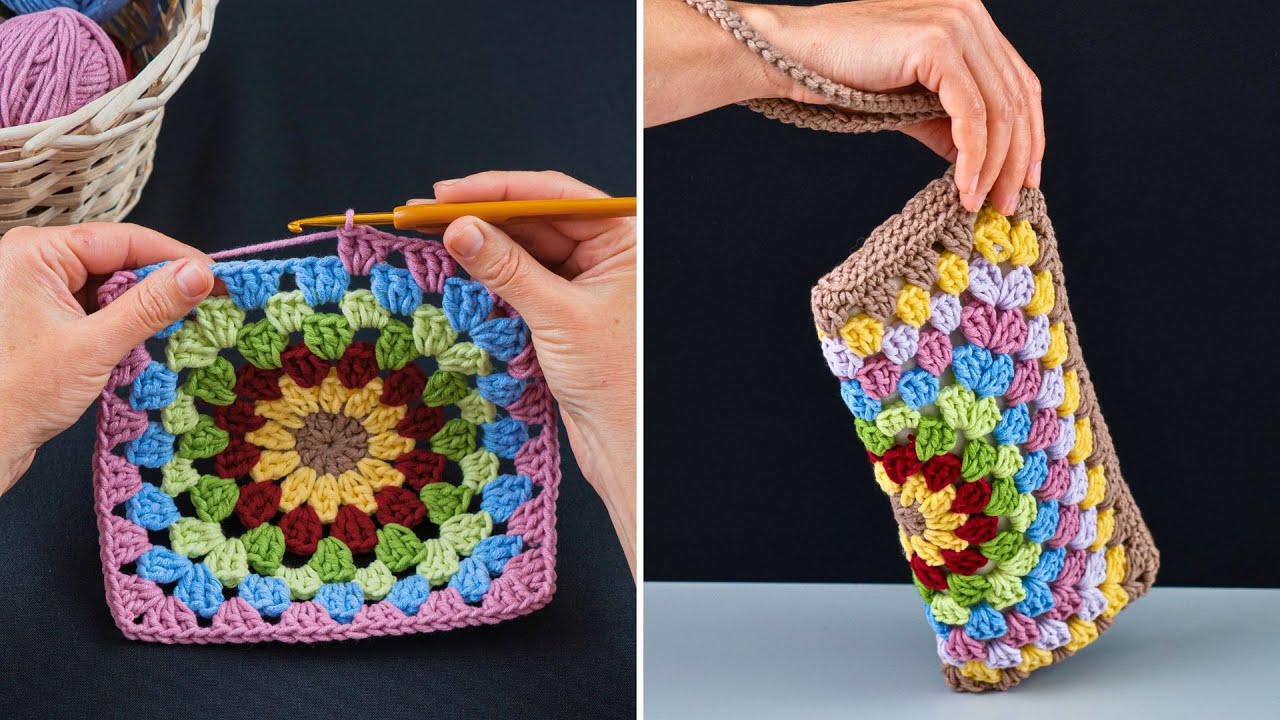
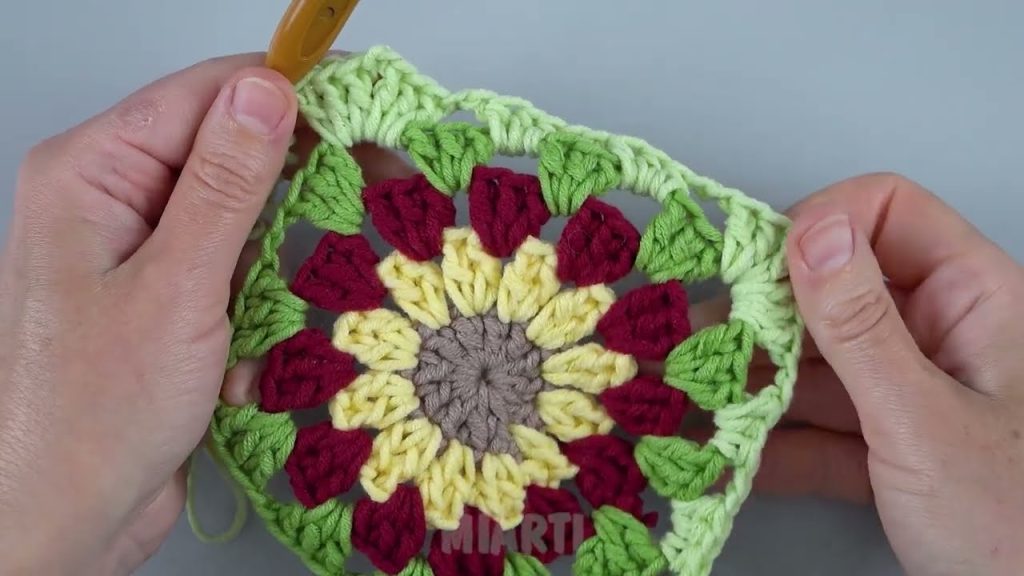
Step 1: Make the Granny Squares
- Start with a magic ring (or chain 4 and join)
- Round 1: Ch 3 (counts as first dc), 2 dc into the ring, ch 2, 3 dc into ring repeat 3 times → join with sl st
- Round 2: Sl st into next 2 dc and chain-2 space, 3 dc, ch 2, 3 dc in each corner space around → join
- Round 3: Repeat round 2 for more size
- Make 4–6 granny squares, depending on desired bag size
Use different colors for each square or make them all matching.
Step 2: Join the Squares
- Lay squares in a 2 × 2 or 2 × 3 arrangement
- Use slip stitch or whip stitch to sew the squares together along the edges
- Ensure seams are neat for a polished look
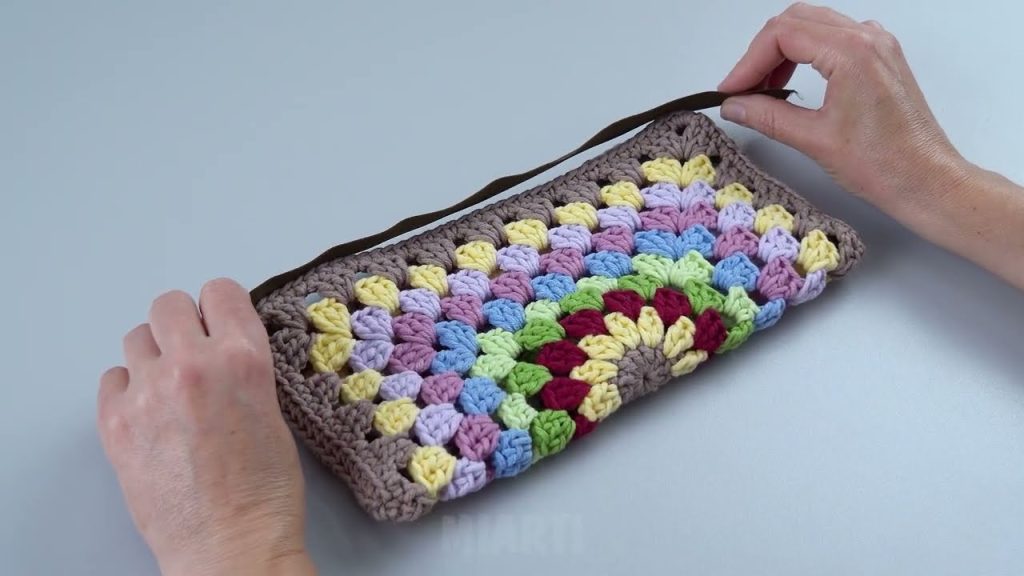
Step 3: Assemble the Bag
- Fold the joined squares in half so the bottom seam is the base of the bag
- Seam the sides together using yarn needle and whip stitch or crochet slip stitches
- The top remains open for the clutch
Step 4: Add the Closure (Optional)
- Sew a button and loop, snap, or zipper at the top opening
- A magnetic snap works well for a clean finish
Step 5: Add Lining (Optional but Recommended)
- Cut fabric lining slightly smaller than bag interior
- Sew or glue lining inside for stability and a polished finish
Customization Ideas
- Make a longer version for a crossbody bag
- Add a chain strap by attaching yarn chains to sides
- Mix bright and neutral colors for a trendy look
- Add a pom-pom or tassel for decoration
Beginner Tips
- Keep granny squares even tension for neat edges
- Weave in ends as you go to save time
- Use a stitch marker if needed for corner chain spaces
- Start with 4 squares for a small clutch and scale up later
🎉 Congratulations! You’ve made an easy, stylish granny square clutch bag that’s perfect for everyday use or gifting.
I can also create a super-easy one-page pattern with diagrams and color placement for this bag, so it’s even simpler to follow step by step.
Watch tutorial: