 by
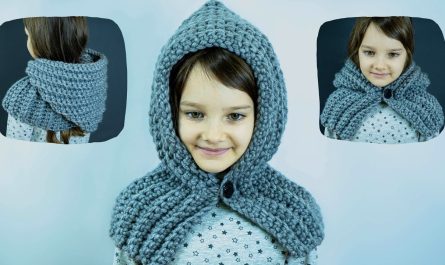
by Sure! Here’s a detailed, beginner-friendly guide on how to make the easiest hood with a collar — perfect for crochet or knitting beginners. I’ll give you both a crochet version and a knitting version, so you can choose which method you prefer.
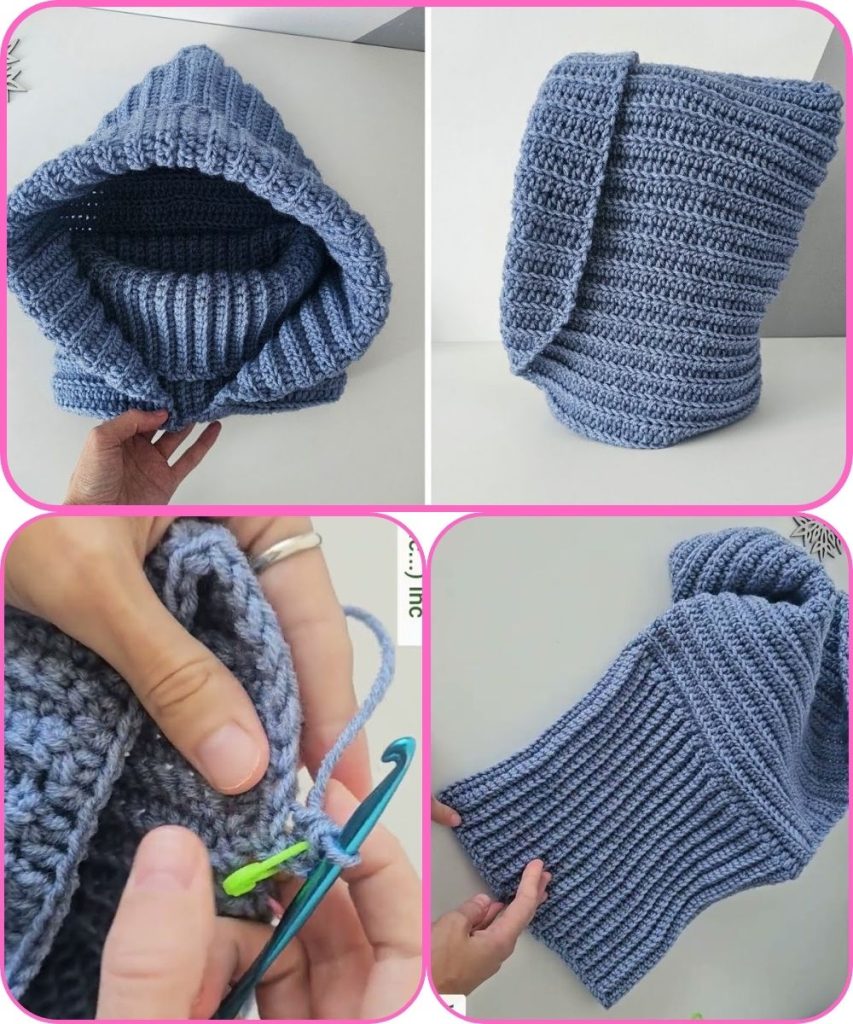
🧶 PART 1: Crochet Version – Easiest Hood with Collar
🪡 Materials:
- Medium-weight yarn (category 4) — about 300–400g
- Crochet hook size: 5 mm (H/8)
- Yarn needle for sewing
- Scissors
- Stitch markers (optional)
📏 Measurements:
You can adjust to fit your head, but here’s a simple standard:
- Width (collar circumference when flat): ~20 inches (51 cm)
- Height (from shoulder to top of head): ~14 inches (36 cm)
🧵 Step-by-Step Instructions:
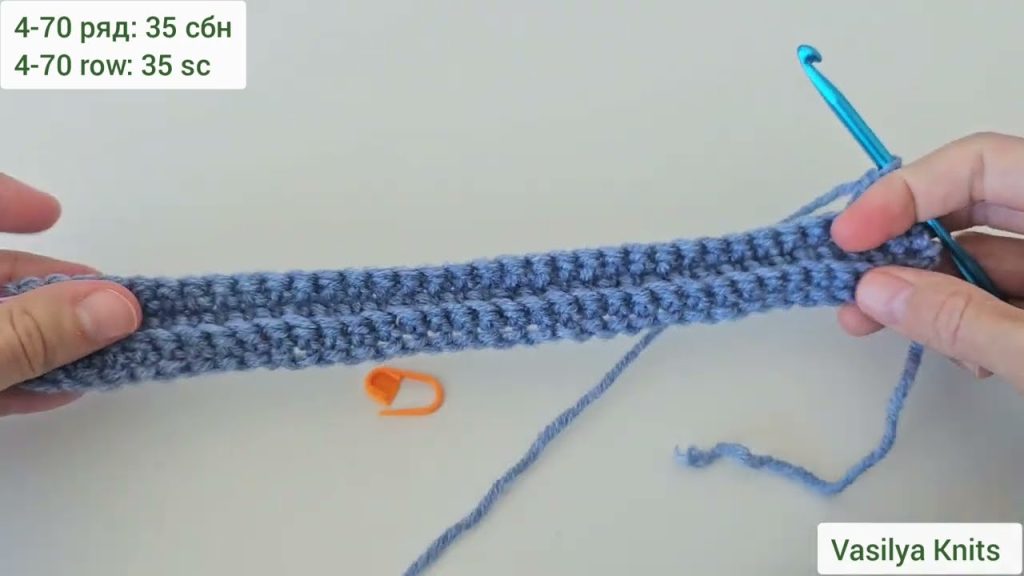
1. Start with the Collar
- Foundation chain: Chain 60 (or long enough to wrap around your neck comfortably).
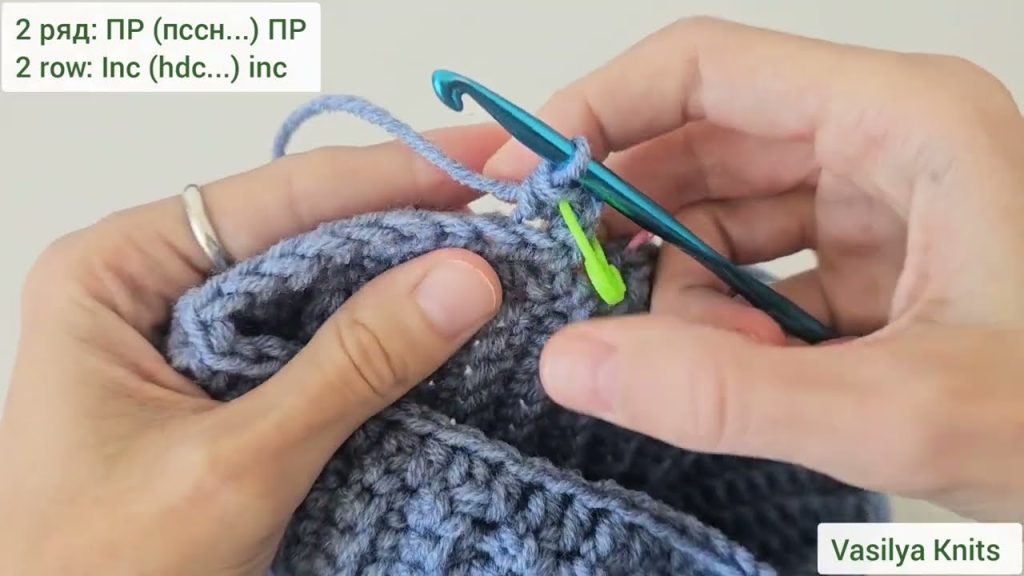
- Row 1: Half double crochet (HDC) in 2nd chain from hook, and across. Chain 1, turn.
- Row 2–10: HDC in each stitch across. Chain 1, turn after each row.
- This makes a ribbed collar. You can add or reduce rows for desired height.
✅ Tip: For extra stretch, work in back loops only on every row.
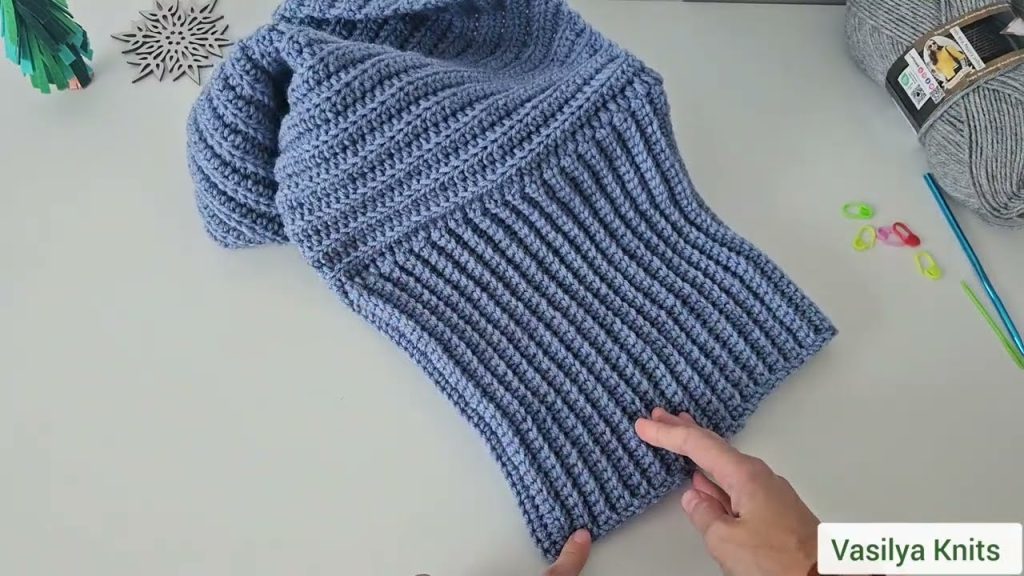
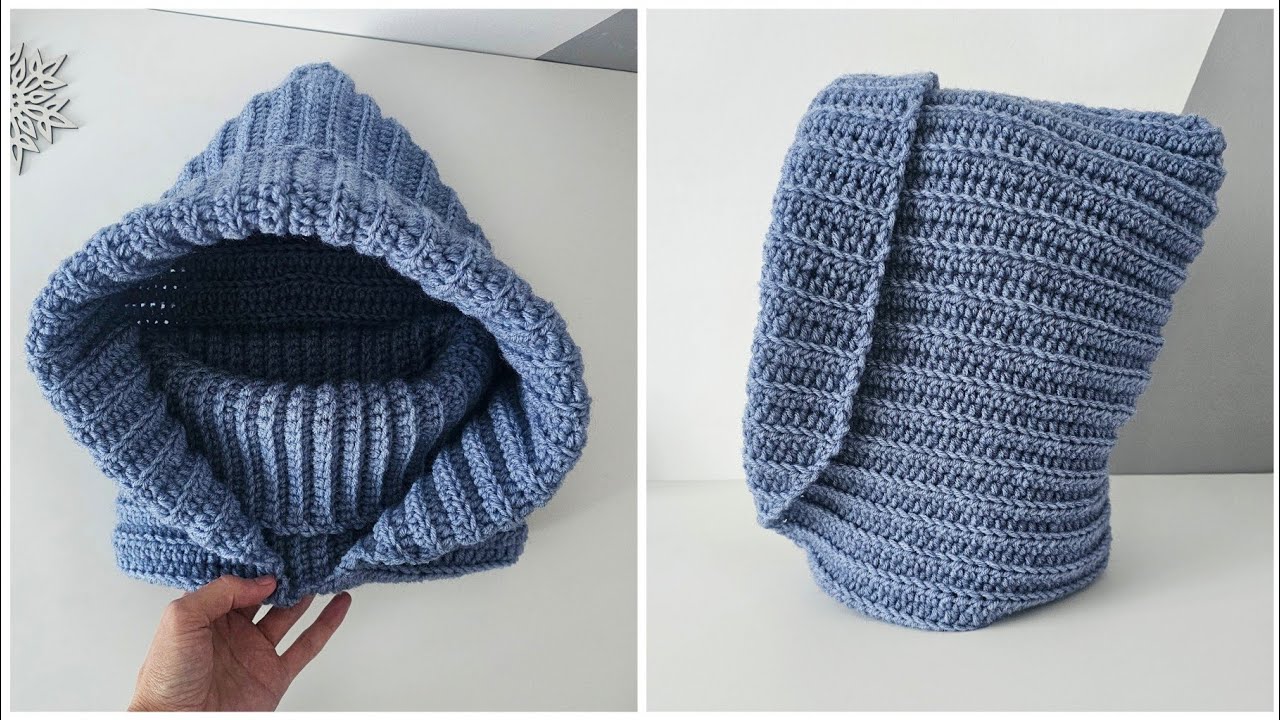
2. Form the Hood
- Set up row: After finishing the collar, continue from one edge. Chain 1, and work 1 HDC evenly across the long edge of the collar. This will form the base of your hood.
- Work upwards:
- Rows 1–20: HDC across, chain 1, turn.
- You can adjust the number of rows for a taller or shorter hood.
- Shape the Hood Top:
- Fold the rectangle in half (like a book).
- Use a yarn needle to whip stitch or slip stitch the top closed — this creates the “hood” shape.
3. Optional Edging or Drawstring
- You can crochet a simple border around the hood and collar with single crochet stitches.
- To make a drawstring: chain 80–100, weave it through the front edge of the hood.
✅ Tip: Add a button or toggle for closure if you want the collar to stay snug.
🌸 Optional Add-ons:
- Add pom-poms on the ends of the drawstring.
- Crochet a contrasting color edge for decoration.
🧵 PART 2: Knitting Version – Easy Hood with Collar
🪡 Materials:
- Medium-weight yarn (category 4) — about 300–400g
- Knitting needles size US 8 (5 mm)
- Yarn needle
- Scissors
📏 Basic Measurements:
- Collar length: ~20 inches
- Hood height: ~14 inches
🧶 Step-by-Step:
1. Knit the Collar
- Cast on 60 stitches (or enough to wrap loosely around your neck).
- Work in 2×2 rib (knit 2, purl 2) for about 3 inches (8 cm).
- This makes a stretchy, cozy collar.
2. Knit the Hood
- After finishing the collar, continue knitting in stockinette stitch (knit one row, purl one row) for about 12–14 inches (30–36 cm).
- Bind off loosely.
3. Form the Hood
- Fold the knitted piece in half with the right sides together.
- Sew along the top edge (the bind-off edge) to form the hood’s top seam.
4. Finishing Touches
- You can pick up stitches along the front edge and knit a few rows in garter stitch for a border.
- Add a drawstring by threading a long chain of yarn through the border.
🪄 Tips for Beginners:
- Choose soft acrylic or wool-blend yarn for comfort and flexibility.
- Keep your tension even — not too tight, not too loose.
- For crochet: practice your half double crochet stitch first.
- For knitting: master the knit and purl stitches before starting.
🎁 Why This Project is Great for Beginners:
- It’s worked flat — no complex shaping or counting.
- You’ll practice basic stitches only.
- The finished project is both wearable and cozy — great as a gift or winter accessory!
Watch tutorial: