by
by Sure! Here’s a detailed, step-by-step guide on how to crochet a crossbody handbag using a honeycomb pattern with cord yarn. This pattern combines beauty, texture, and durability — perfect for a stylish, long-lasting bag.
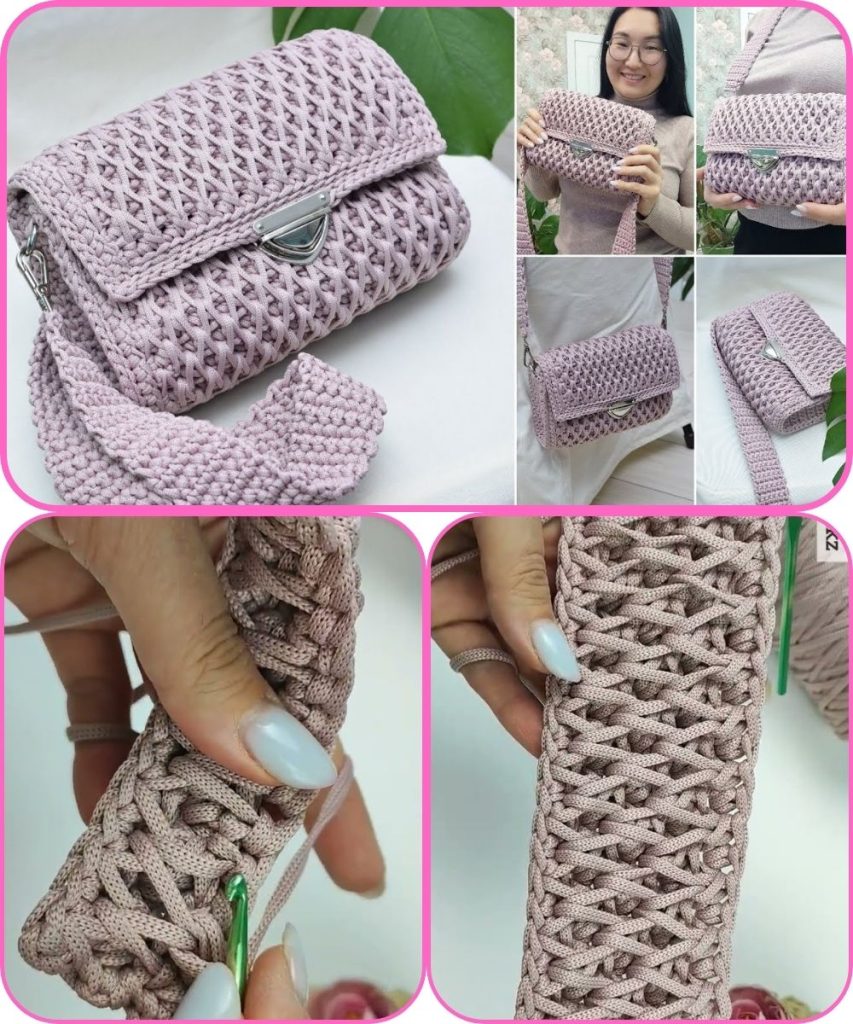
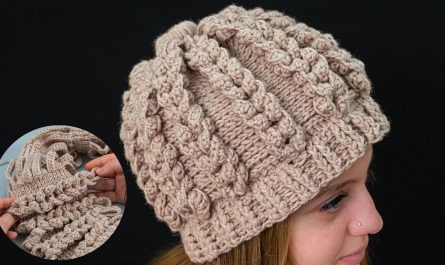
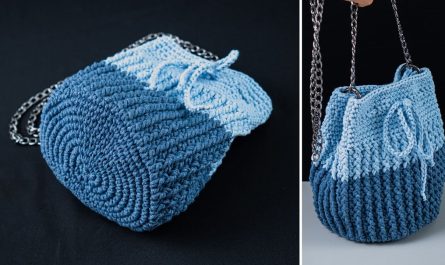
🧵 How to Make a Crossbody Handbag with Honeycomb Pattern (Crochet with Cord)
🌸 Materials Needed
- Crochet Cord Yarn
- Type: Polyester cord, macrame cord, or cotton cord (3–5 mm thick).
- Amount: Approximately 200–300 meters, depending on bag size.
- Crochet Hook
- Size: 4–6 mm (adjust to suit your cord thickness and tension).
- Bag Accessories
- 1 magnetic clasp or zipper
- 1 metal or leather strap (or make one crocheted)
- 2 D-rings
- 1 bag liner (optional but recommended)
- Needle and matching thread
- Tools
- Stitch markers
- Scissors
- Measuring tape
🐝 Understanding the Honeycomb Pattern
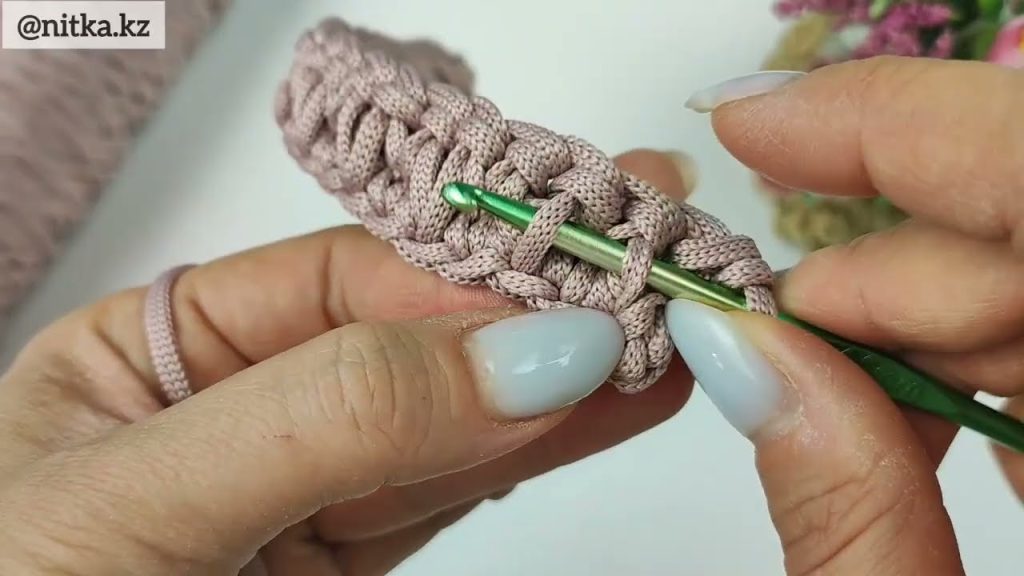
The honeycomb crochet pattern gives a raised, textured surface resembling a beehive. It’s usually created with a mix of front-post and back-post stitches, or with a combination of puff and chain spaces.
For cord yarn, the front post double crochet (FPDC) and back post double crochet (BPDC) version works best because it gives strong structure and dimension.

🪡 Step-by-Step Instructions
Step 1: Create the Base
- Foundation Chain
- Chain the length you want for your bag’s base (e.g., 25–30 cm).
- Add 1 extra chain for turning.
- Single Crochet (SC) Around
- Work single crochet stitches along the chain.
- When you reach the end, make 3 SC in the same stitch to turn the corner.
- Continue along the other side of the chain.
- Again, 3 SC at the end to round the corner.
- Join with a slip stitch.
- Continue Rounds
- Keep crocheting around the base in single crochet until the oval base reaches your desired width (usually 3–5 rounds).
Step 2: Begin the Honeycomb Pattern (Bag Body)
- Round 1: Setup Row
- Chain 2 (counts as first DC).
- Work 1 DC in each stitch around.
- Join with slip stitch.
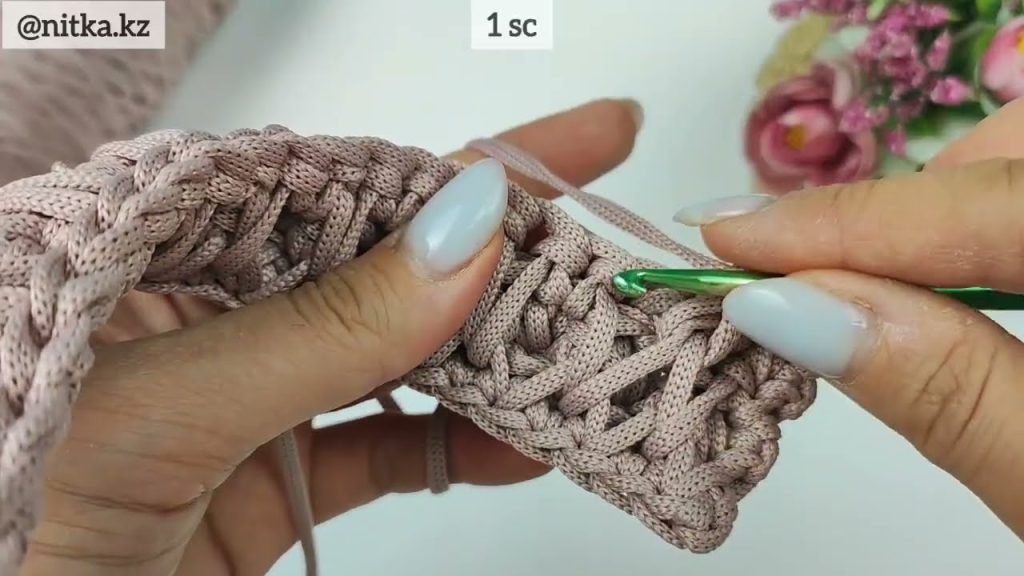
- Round 2: Start Honeycomb Texture
- [FPDC around next stitch, BPDC around next stitch] — repeat this pattern around.
- Join with slip stitch.
- Round 3: Offset the Pattern
- Chain 2.
- Work FPDC around each BPDC from the previous row and BPDC around each FPDC — this creates the honeycomb texture.
- Continue alternating for 10–15 cm (or desired height).
💡 Tip: Keep your tension even! The honeycomb texture looks best when the post stitches are snug and consistent.
Step 3: Shape the Top Edge
- When the bag reaches your preferred height, finish with 2–3 rounds of single crochet (SC) for a clean, structured edge.
- Fasten off and weave in the ends neatly.
Step 4: Make and Attach the Strap
Option A: Crocheted Strap
- Chain the desired length (typically 100–120 cm for a crossbody).
- Work 3–4 rows of single crochet for a sturdy strap.
- Attach D-rings to both sides of the bag opening and sew the strap securely.
Option B: Leather or Ready-Made Strap
- Simply attach the metal hooks to the D-rings on the sides of the bag.
Step 5: Add Finishing Touches
- Lining (optional but professional-looking):
- Cut fabric slightly larger than the bag’s interior.
- Sew the sides, then hand-stitch or glue it inside the bag.
- Closure:
- Attach a magnetic clasp or zipper along the top edge.
- Decorations (optional):
- Add tassels, metal labels, or beads to personalize your bag.
🐝 Tips for Best Results
- Use firm cord yarn — it helps the honeycomb pattern hold its structure.
- If the bag seems floppy, you can insert a plastic canvas at the base before lining.
- Block your finished bag gently with steam or a damp cloth to even out the stitches.
- To make it more elegant, use gold or silver accessories and a leather strap.
📏 Suggested Bag Dimensions
| Part | Measurement |
|---|---|
| Base length | 25–30 cm |
| Height | 18–22 cm |
| Width | 8–10 cm |
| Strap length | 100–120 cm |
💡 Pattern Variation
If you want a chunkier honeycomb, try this 2-row repeat:
- Row 1: [FPDC around next 2 stitches, BPDC around next 2 stitches] repeat.
- Row 2: [BPDC around next 2 FPDC, FPDC around next 2 BPDC] repeat.
This creates larger “cells” and looks amazing in thick cord yarn!
Watch tutorial: