 by
by Here is a detailed, easy-to-follow guide on How to Make a Crossbody Butterfly Handbag. You can use this for a school project, craft blog, or personal learning.
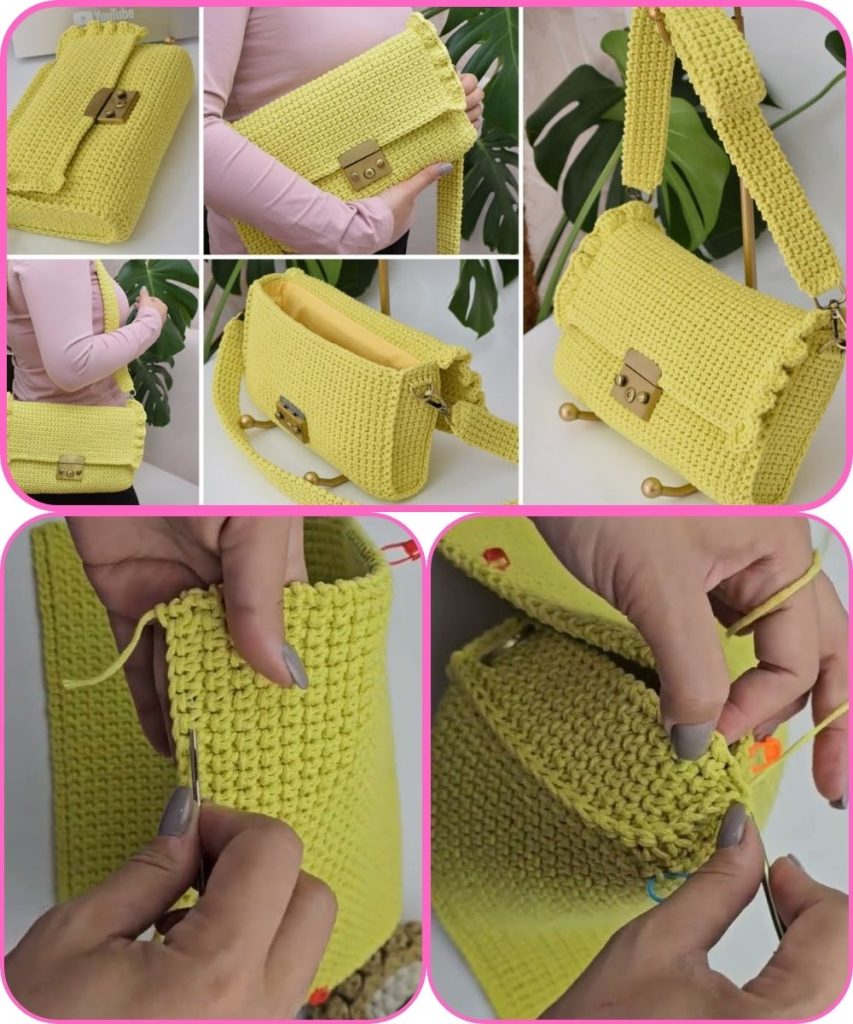
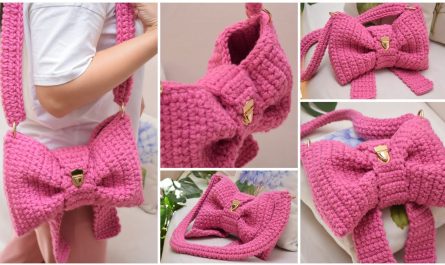
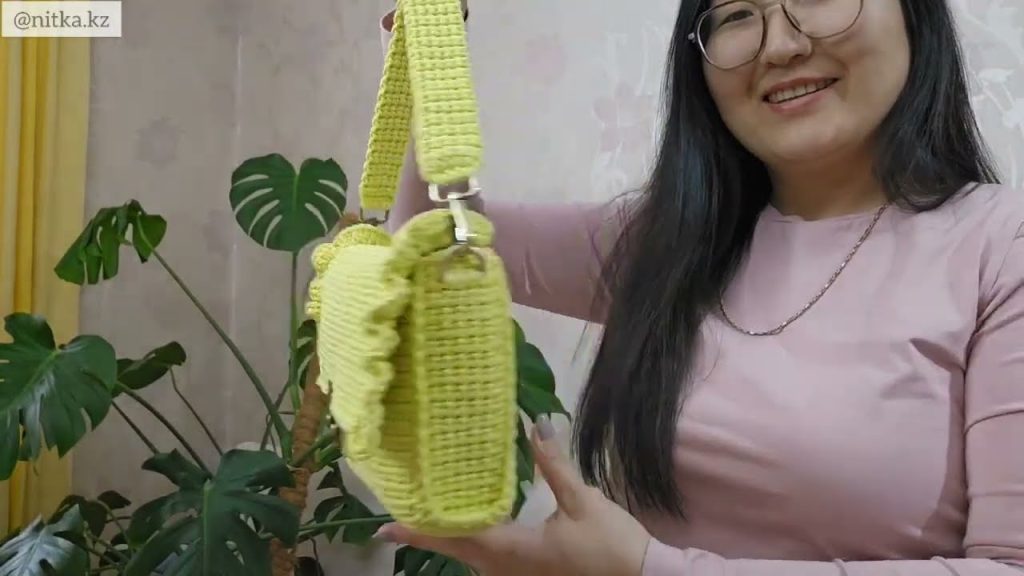
How to Make a Crossbody Butterfly Handbag
A crossbody butterfly handbag is a creative and stylish accessory inspired by the shape and beauty of a butterfly. This handmade bag is both functional and decorative, making it perfect for casual outings, gifts, or fashion projects. Below is a step-by-step guide explaining the materials, process, and tips to create one.
Materials Needed
- Fabric (felt, faux leather, denim, or cotton)
- Lining fabric (optional)
- Scissors
- Needle and thread or sewing machine
- Butterfly template (paper or printed)
- Zipper or magnetic button
- Fabric glue (optional)
- Strap material (fabric strip, chain, or ready-made strap)
- Pins or clips
- Chalk or fabric marker
- Decorative items (embroidery thread, beads, sequins, patches)
Step 1: Design the Butterfly Shape
Start by drawing or printing a butterfly template. The butterfly should be wide enough to form the body of the bag, with wings large enough to create storage space when folded. Cut out the paper template and place it on your main fabric.
Step 2: Cut the Fabric
Using the template:
- Cut two butterfly shapes from the main fabric (front and back)
- Cut two matching shapes from the lining fabric (optional)
Be careful to cut clean edges for a neat finish.
Step 3: Prepare the Closure
Decide how the bag will close:
- For a zipper, attach it across the center of one butterfly piece
- For a magnetic button or snap, sew or attach it at the center where the wings meet
This step is easier to do before assembling the bag.
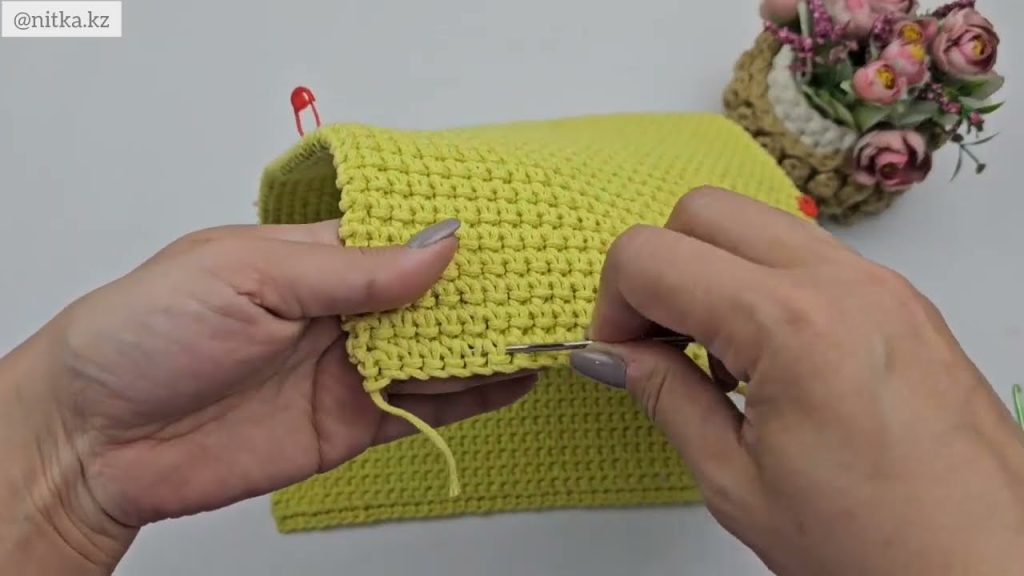
Step 4: Sew the Butterfly Body
Place the two butterfly fabric pieces together with the right sides facing each other. If using lining, layer it inside. Pin everything in place.
Sew around the edges, leaving a small opening to turn the bag right side out. Once sewn, turn it inside out and stitch the opening closed.
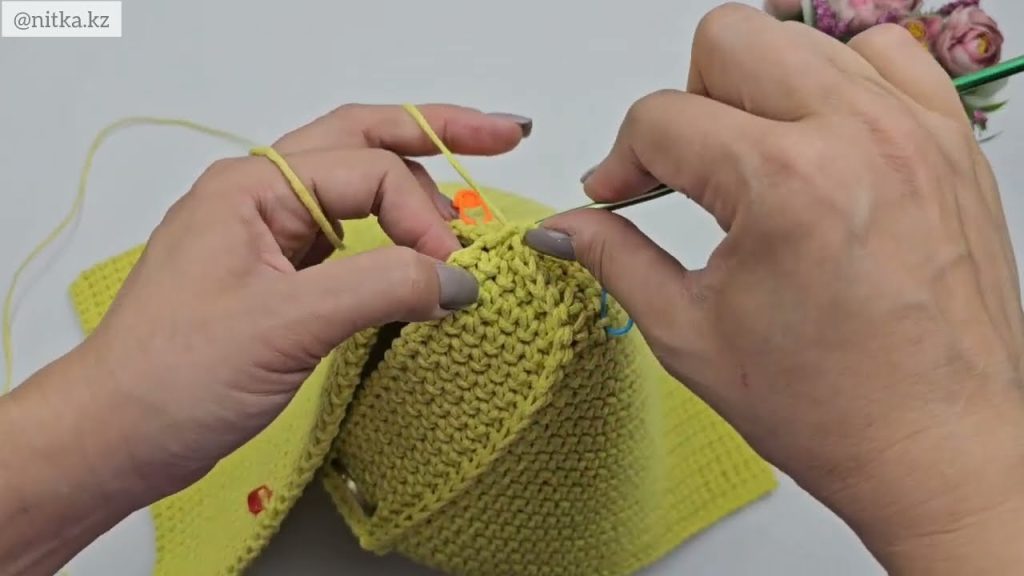
Step 5: Shape the Bag
Fold the butterfly wings slightly inward to create a pouch shape. You can stitch small side seams or darts to give the bag depth. This step turns the flat butterfly into a usable handbag.
Step 6: Attach the Strap
Attach the strap to the top sides or back of the butterfly:
- Sew fabric straps securely
- Use metal rings if using a chain strap
Make sure the strap is strong enough to hold weight and comfortable for crossbody use.
Step 7: Decorate the Handbag
Add decorative details to enhance the butterfly theme:
- Embroider wing patterns
- Add beads or sequins
- Use fabric paint for designs
- Attach appliqués or patches
Let decorations dry fully if glue or paint is used.
Step 8: Final Touches
Check all seams for strength, trim loose threads, and test the closure. Make sure the bag opens and closes smoothly and the strap length fits comfortably across the body.
Tips for Best Results
- Use stiff fabric or interfacing for better shape
- Keep decorations lightweight
- Practice on paper or scrap fabric first
- Customize size and colors to match your style
Conclusion
Making a crossbody butterfly handbag is a fun and rewarding craft project that combines creativity and practicality. With simple materials and careful steps, you can create a unique accessory that reflects your personal style. This handmade bag can be customized endlessly, making each piece truly one of a kind.
If you want, I can also:
- Simplify this for kids
- Turn it into a school project write-up
- Add illustration descriptions
- Write it in short notes or paragraphs
Watch tutorial: