 by
by Sure! Here’s a detailed, step-by-step guide on how to make a very cute crocheted hobo handbag — including materials, stitch techniques, and assembly instructions. This version is ideal for confident beginners to intermediate crocheters who want a soft, slouchy, and stylish bag!
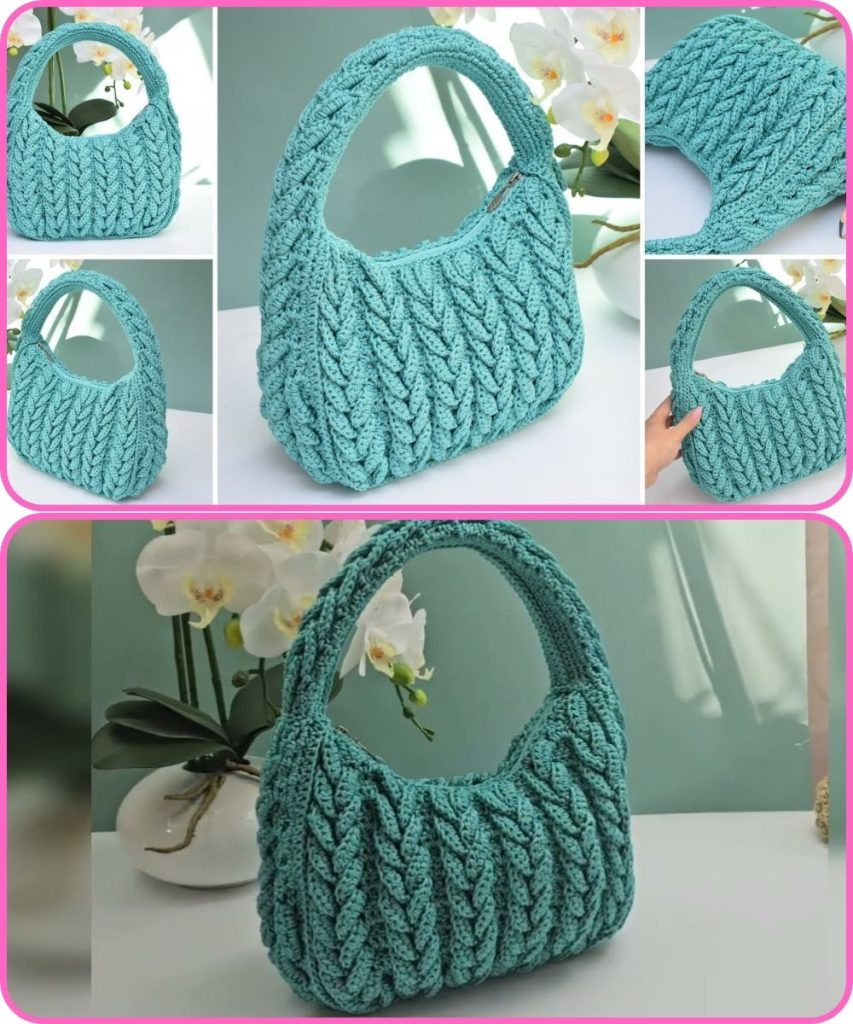
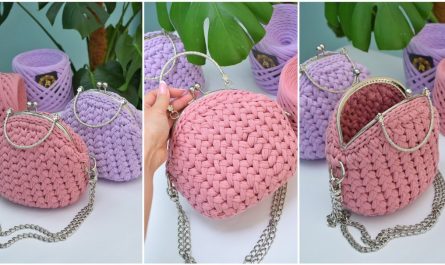
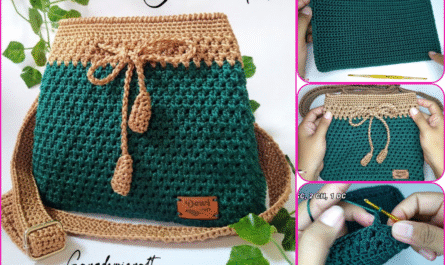
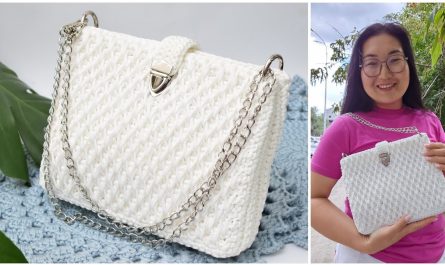
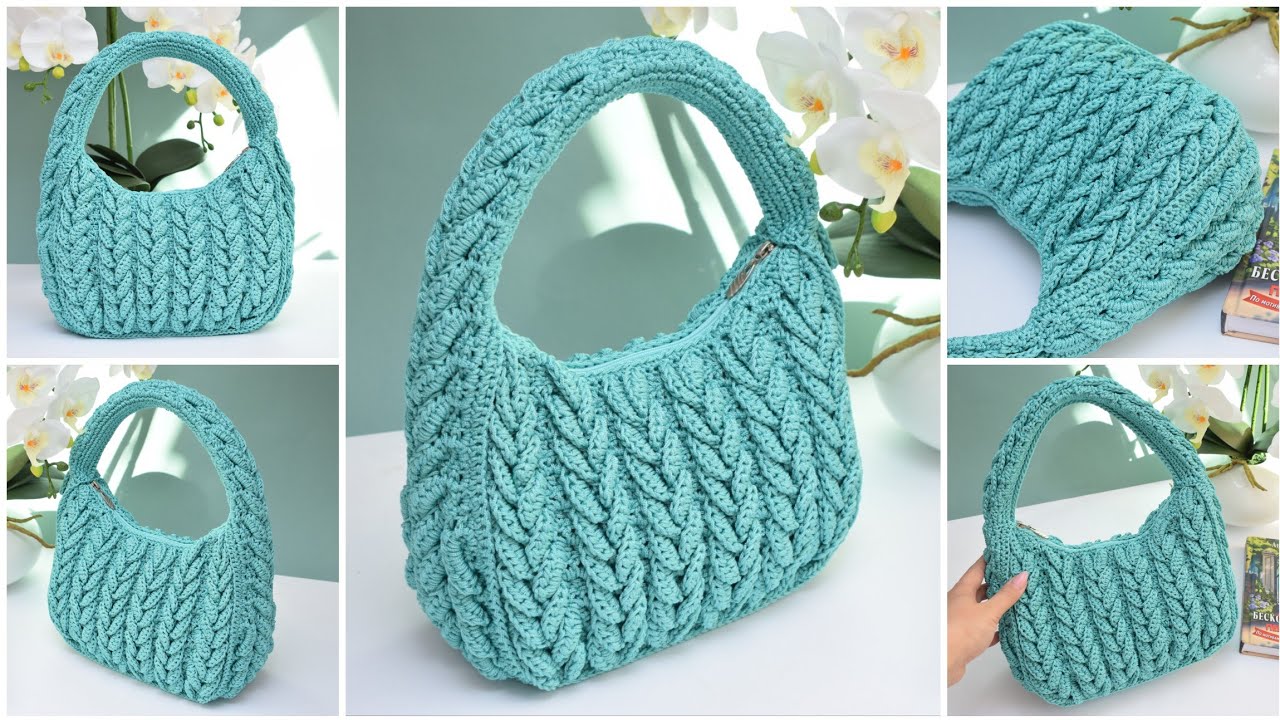
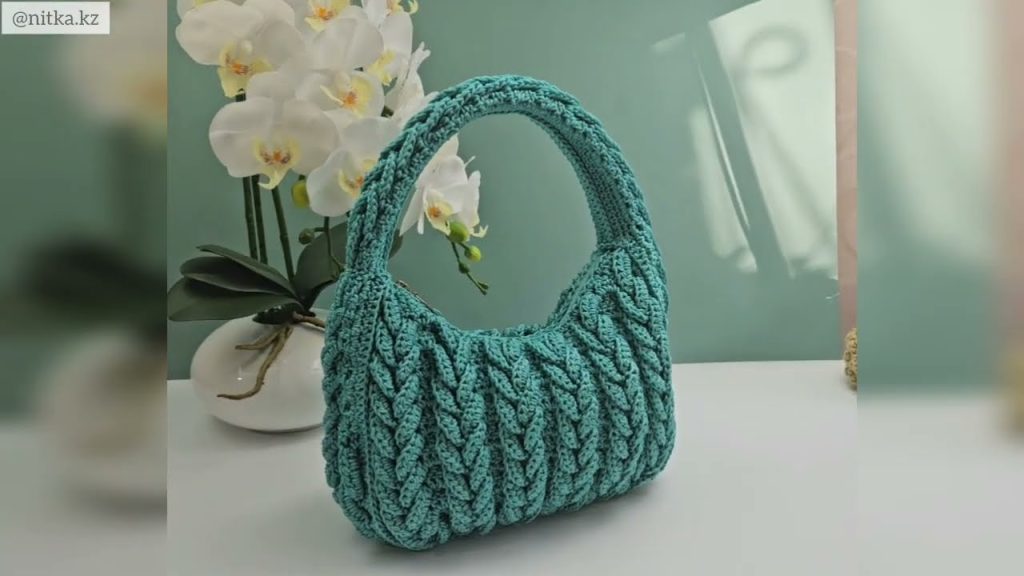
🧶 How to Make a Very Cute Crocheted Hobo Handbag
🌟 Style: Soft, slouchy hobo-style handbag
Skill Level: Confident Beginner – Intermediate
Finished Size: Approx. 12” tall x 14” wide (adjustable)
Time Required: ~8–10 hours (depending on skill)
🧵 Materials Needed:
| Item | Description |
|---|---|
| 🧶 Yarn | Worsted weight (Category 4) cotton or cotton blend yarn — approx. 400–500 yards. Choose sturdy yet soft yarn (like Lily Sugar’n Cream or Lion Brand 24/7 Cotton). |
| 🪡 Hook | 5.0 mm (H) crochet hook |
| ✂️ Others | Scissors, yarn needle, stitch markers, magnetic snap or zipper (optional), lining fabric (optional) |
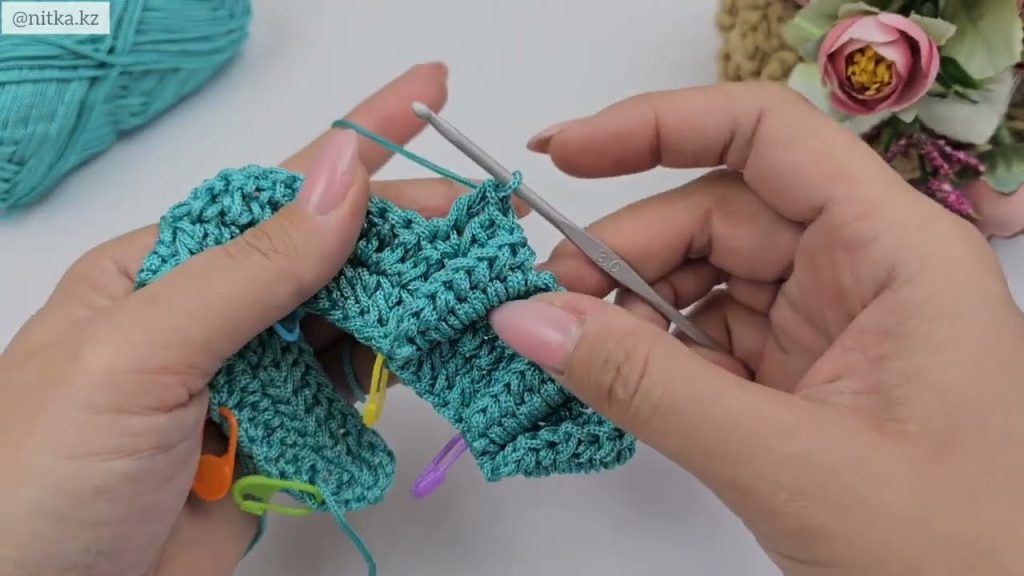
✨ Recommended Stitches:
- CH – Chain
- SC – Single Crochet
- DC – Double Crochet
- HDC – Half Double Crochet
- SL ST – Slip Stitch
- INC – Increase (2 stitches in same stitch)
- DEC – Decrease (combine 2 stitches)
🧺 Step-by-Step Instructions
🧩 Step 1: Base of the Bag (Oval Bottom)
Make a flat oval base (you can adjust size here).
- CH 25
- Round 1: SC in 2nd CH from hook and across (24 SC), make 3 SC in last chain. Now continue on the other side of the foundation chain. SC across (23 SC), 2 SC in last stitch. (Total: 52 SC)
- Round 2: SC around, placing 2 SC in each of the 3 end stitches on both ends (increasing ends to make oval).
- Repeat until you have approx. 4–5 rounds and the base measures about 12” long.
Place a stitch marker at the beginning of each round if you’re working in a spiral.
👜 Step 2: Building the Body
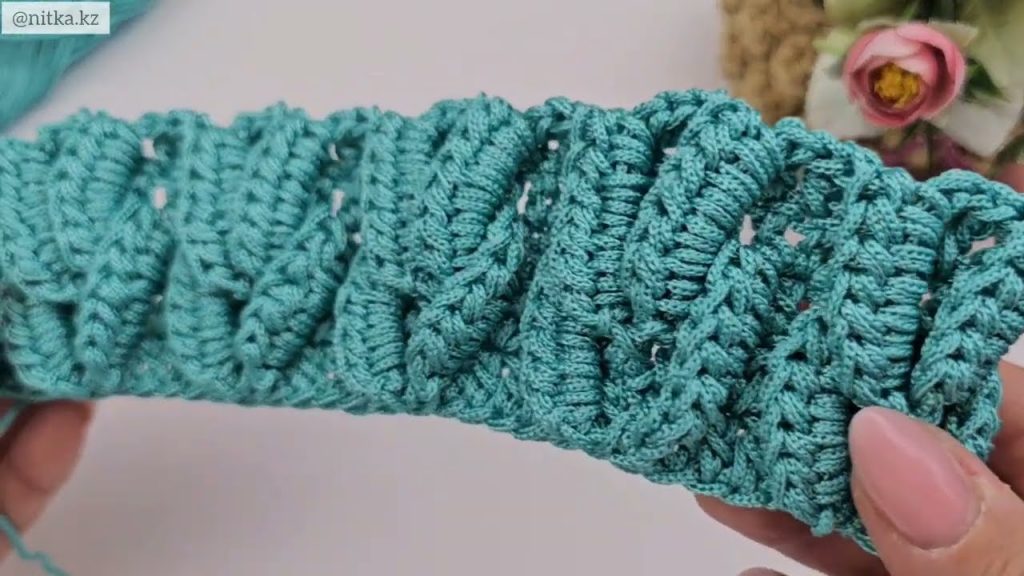
Switch to HDC or DC for body texture.
- Work in the round (no joining, just continuous rounds).
- HDC in each stitch around for about 25–30 rounds, or until the height reaches about 10–12 inches.
- You can alternate colors every few rows for a cute striped look.
💡 Optional Texture: Add a few rows of front post double crochet (FPDC) or a shell stitch pattern for extra flair.
🔄 Step 3: Shape the Hobo Slouch
To create that signature slouchy look, gently decrease toward the top.
- Next 3 rounds: SC around but DEC every 10–12 stitches to begin tapering.
- Switch back to SC or HDC, and do 5 more rounds, continuing gentle decreases.
This creates a soft, narrowing opening typical of hobo bags.
🎒 Step 4: Add the Strap
You can make a wide single strap that connects across the bag (like a shoulder bag).
Option 1: Crocheted Strap
- CH 80–100 (adjust for desired length).
- Turn, HDC across for 6–8 rows to make a thick strap.
- Sew each end of the strap to either side of the bag opening using whip stitch or invisible seam.
- Reinforce the stitches for strength.
Option 2: Use a Ready-Made Strap
You can also attach leather straps or a chain with D-rings for a more professional look.
🧵 Optional: Add Lining
Lining your bag makes it sturdier and prevents it from stretching.
- Cut a fabric piece slightly larger than the bag body.
- Sew the lining into a pouch shape.
- Hand-stitch or machine-sew it inside the crochet bag with a needle and thread.
Add a magnetic snap or zipper if you want to close the bag securely.
🐚 Optional: Embellishments
Make it extra cute by adding:
- Crocheted flowers or hearts
- Tassels or fringe on the sides or bottom
- Buttons or charms
- Mini pockets inside or outside
🎉 Finishing Touches
- Weave in all ends with a yarn needle.
- Lightly block the bag if needed to shape it.
- Attach the strap securely.
- Add your closure and lining (optional).
🧡 Care Tips
- Hand wash in cold water.
- Reshape and lay flat to dry.
- Avoid heavy loads unless lined.
🧵 Summary
| Section | What You Did |
|---|---|
| Base | Created sturdy oval foundation |
| Body | Built height with simple stitches |
| Shape | Added subtle decreases |
| Strap | Made or attached shoulder strap |
| Finish | Optional lining and embellishments |
Watch tutorial: