 by
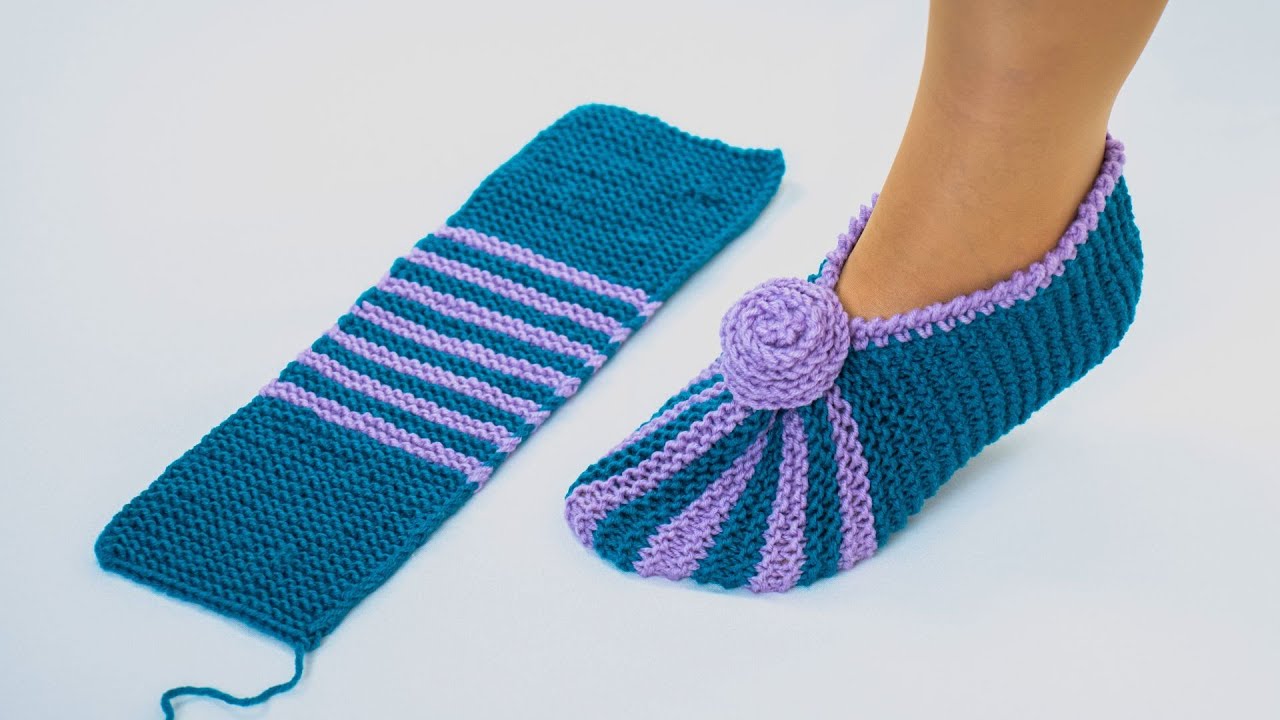
by Absolutely! Let’s go step by step. I’ll provide a detailed tutorial on how to make simple knitted slippers that are cozy, beginner-friendly, and customizable.
Materials Needed
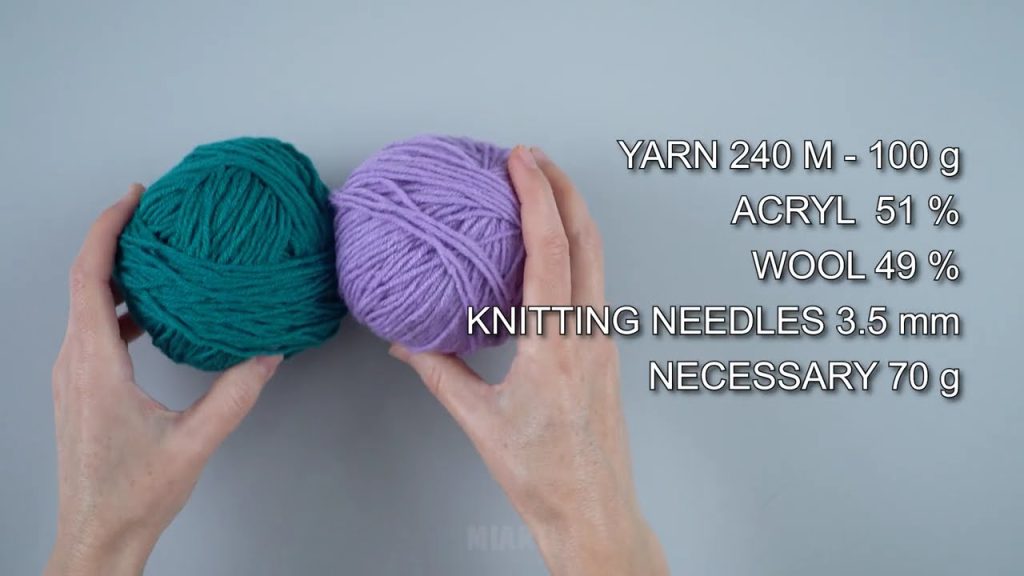
- Yarn: Medium weight (worsted) yarn works well. You can choose wool for warmth or acrylic for easy care.
- Knitting needles: Usually size 6-8 (US) circular or straight needles depending on your preference.
- Tapestry needle: For sewing seams.
- Scissors
- Measuring tape
- Optional: Non-slip fabric paint or felt pads for the sole.
Step 1: Take Measurements
You need two main measurements for slippers:
- Foot length: From heel to tip of the longest toe.
- Foot width: Across the widest part of the foot (ball area).
Example: Adult size foot length ~ 9-10 inches, width ~ 3.5-4 inches.
Step 2: Cast On Stitches
- Decide your slipper width in stitches based on your gauge.
- Gauge tip: Make a small swatch of 4×4 inches. Count how many stitches per inch.
Example: 4 sts/in × 4 in width = 16 sts to cast on. - Cast on enough stitches to match your foot width.
Step 3: Knit the Sole
- Flat knit the sole:
- Work in garter stitch (knit all rows) or stockinette stitch (alternate knit and purl) for about the length of the foot.
- Example: If foot length = 9 inches, knit ~ 9 inches.
- Optional shaping:
- For a rounded toe, decrease 1 stitch at each end every 4 rows until the width matches the foot’s tip.
Step 4: Knit the Upper Part
There are two simple options: flat or folded.
Option 1: Flat Upper
- Pick up stitches along the sides of the sole (or continue from the cast-on if doing in one piece).
- Knit upward for 3-4 inches for the top of the foot.
- Optionally, you can add ribbing (K1, P1) for stretch around the ankle.
Option 2: Folded Top
- Knit a rectangle slightly wider than the foot width.
- Fold it over the foot and sew the edges.
Step 5: Shaping the Heel
- Simple method:
- Knit a rectangle long enough to wrap around the heel.
- Seam the back with a tapestry needle.
- Optional method for a snugger fit:
- Pick up stitches around the heel.
- Decrease gradually at the back by knitting 2 together (K2tog) every row until closed.
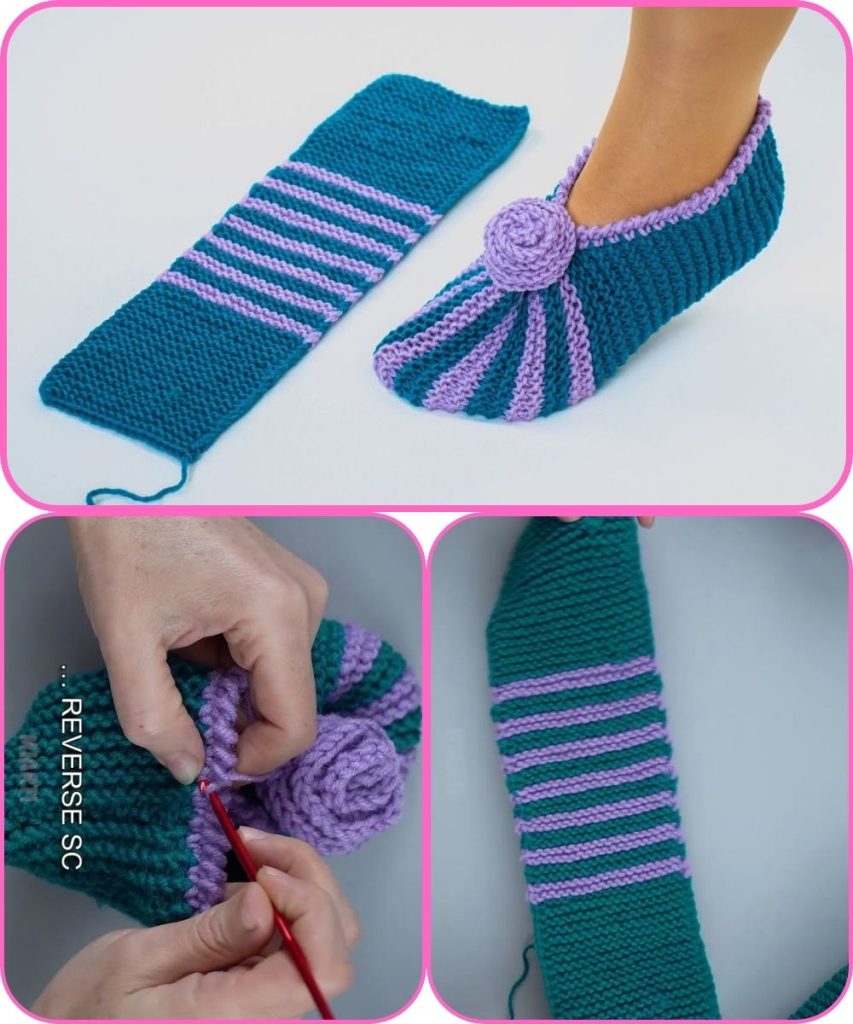
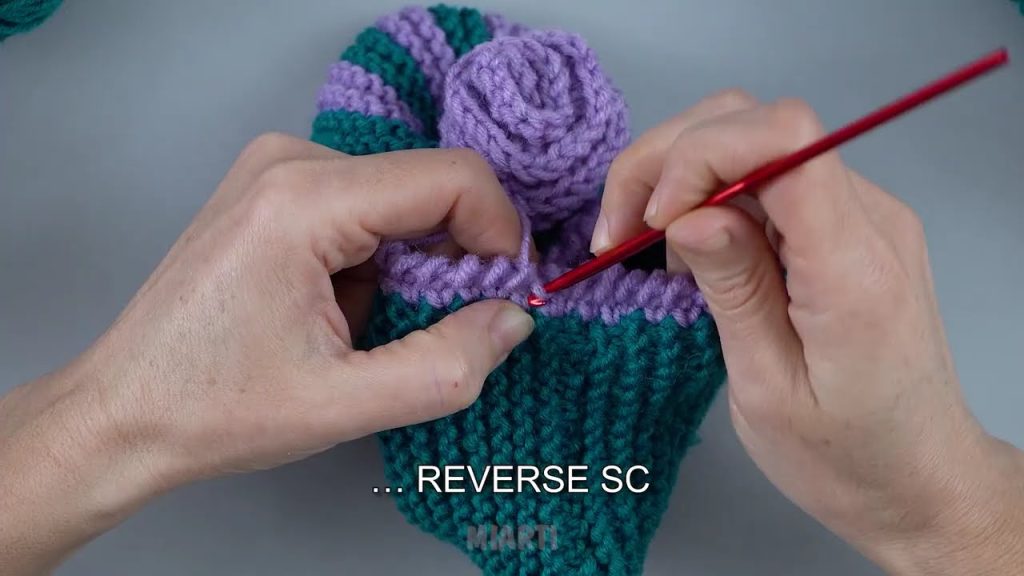
Step 6: Seaming and Finishing
- Fold the slipper and sew the edges with a tapestry needle using mattress stitch or whip stitch.
- Weave in all ends neatly.
- Turn the slipper right side out.
Step 7: Add Optional Non-Slip Sole
- If you plan to wear slippers on smooth floors, apply fabric paint dots or attach felt pads to the bottom.
Tips for Customization
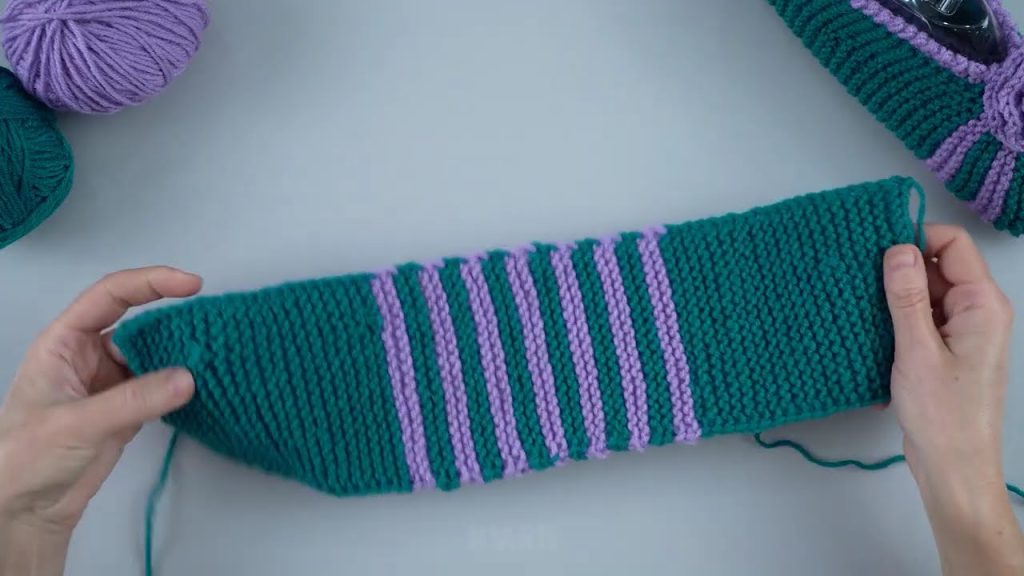
- Yarn color/pattern: Use stripes, color blocks, or textured stitches for style.
- Cuffs: Knit a longer ribbed cuff for ankle warmth.
- Cables or decorative stitches: Add for a cozy look.
Summary of the Knitting Process
- Cast on stitches for the sole.
- Knit sole to match foot length.
- Knit top of foot (either flat or folded).
- Shape heel (rectangle or decreases).
- Seam edges and weave ends.
- Add non-slip sole if desired.
These slippers are perfect for beginners because they mostly use basic stitches (knit and purl), and you can customize size, height, and pattern.
If you want, I can also draw a simple step-by-step diagram showing the knitting pattern for the slippers, which makes it much easier to visualize. It’ll look like a mini blueprint for your project.
Watch tutorial: