 by
by Absolutely! I can guide you step by step on how to make a crochet granny square bag in a simple, easy-to-follow way. I’ll break it down so even beginners can understand.
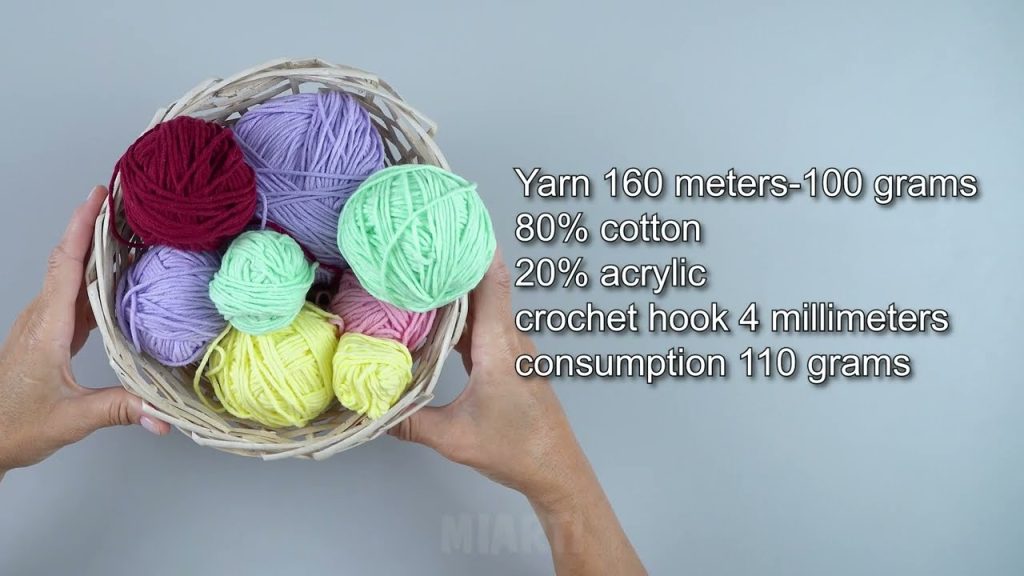
Materials You’ll Need:
- Yarn – Any medium-weight yarn (like acrylic or cotton) works well. You can use multiple colors for a fun, patchwork effect.
- Crochet Hook – Check the yarn label, but usually 4 mm or 5 mm works well for medium yarn.
- Scissors
- Tapestry Needle – For sewing the squares together.
- Optional: Lining fabric & sewing needle/thread for finishing inside the bag.
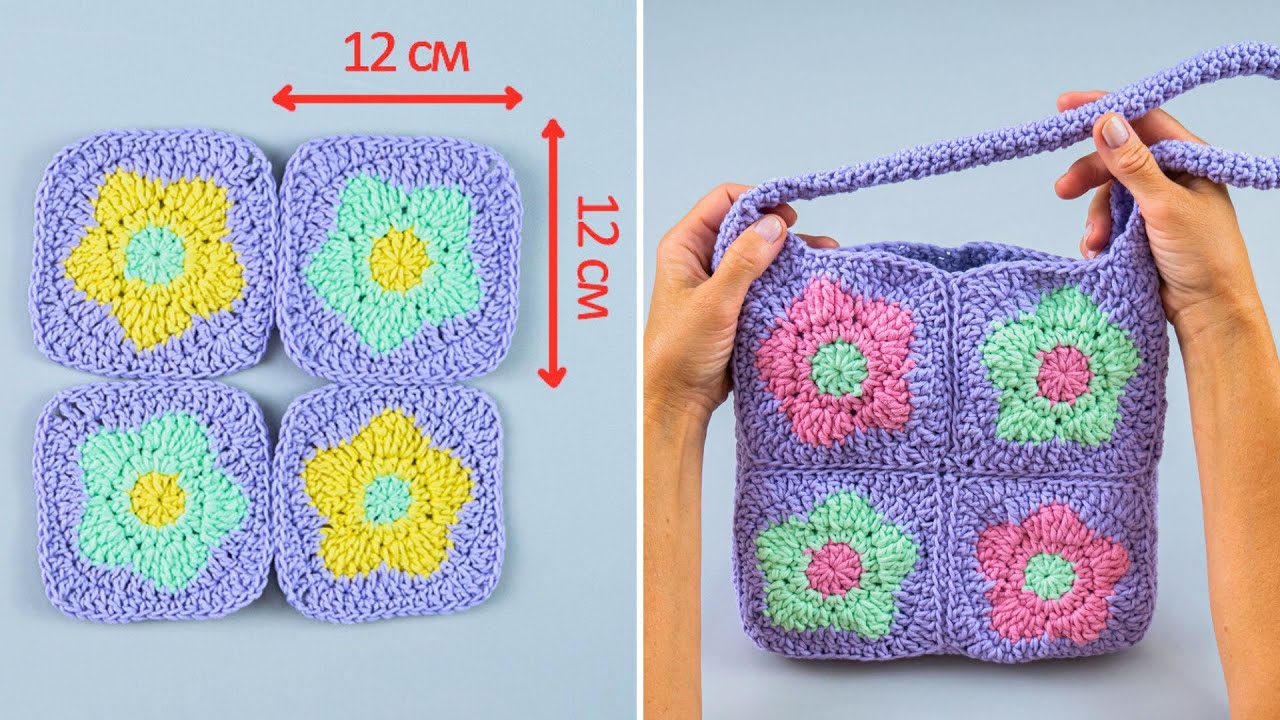
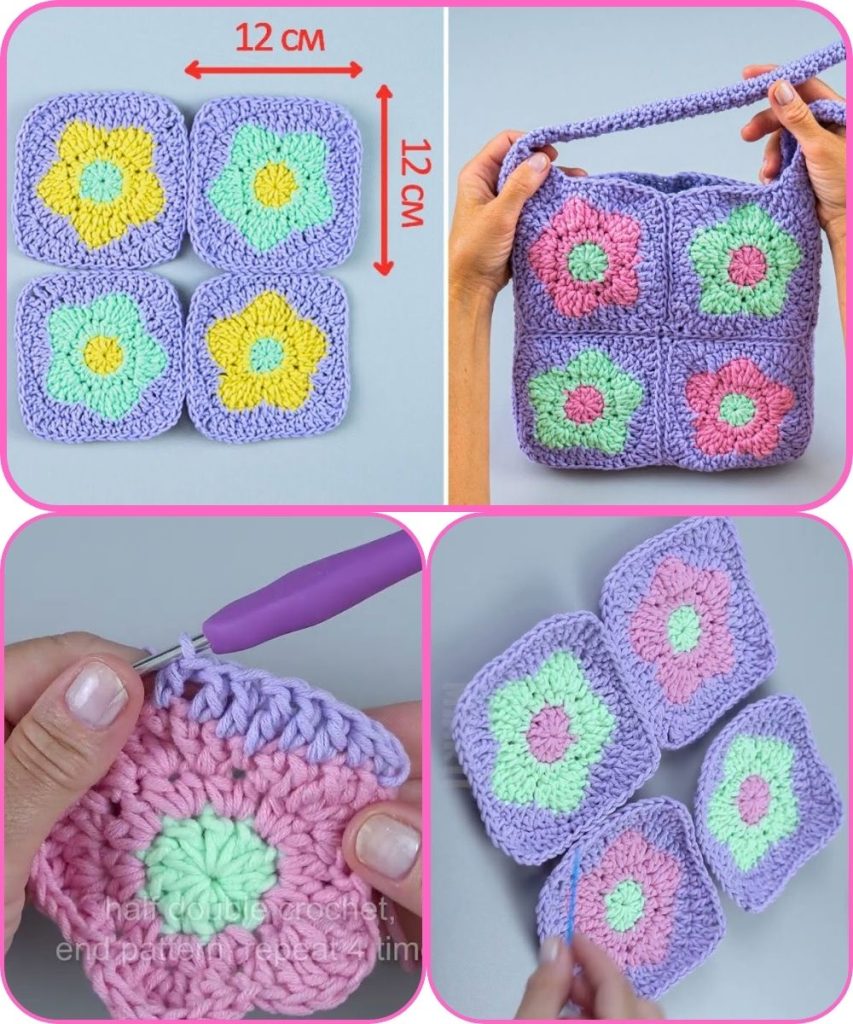
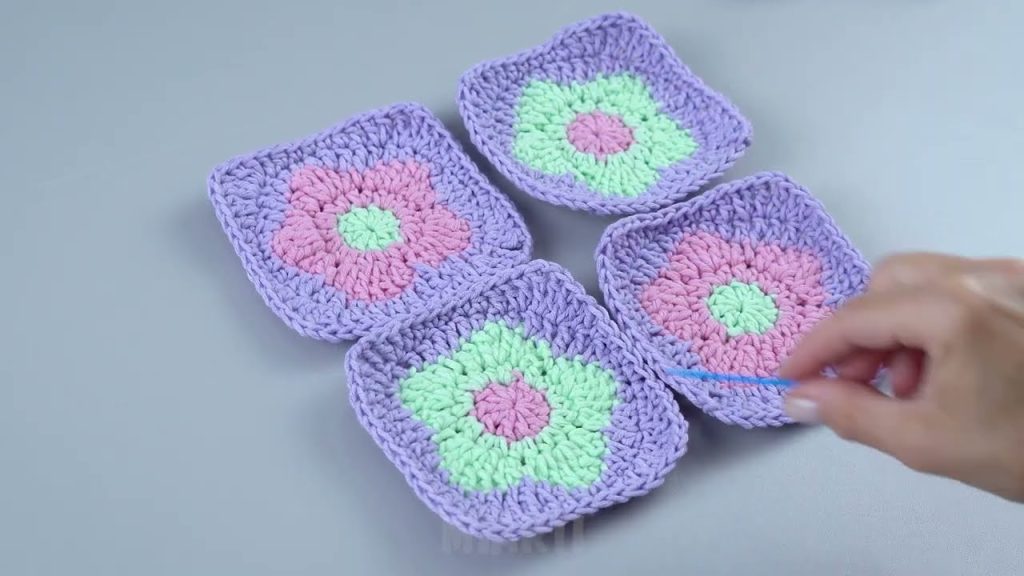
Step 1: Make the Granny Squares
The bag is made by connecting multiple granny squares. Here’s an easy granny square pattern:
- Start with a magic ring (or chain 4 and join into a ring).
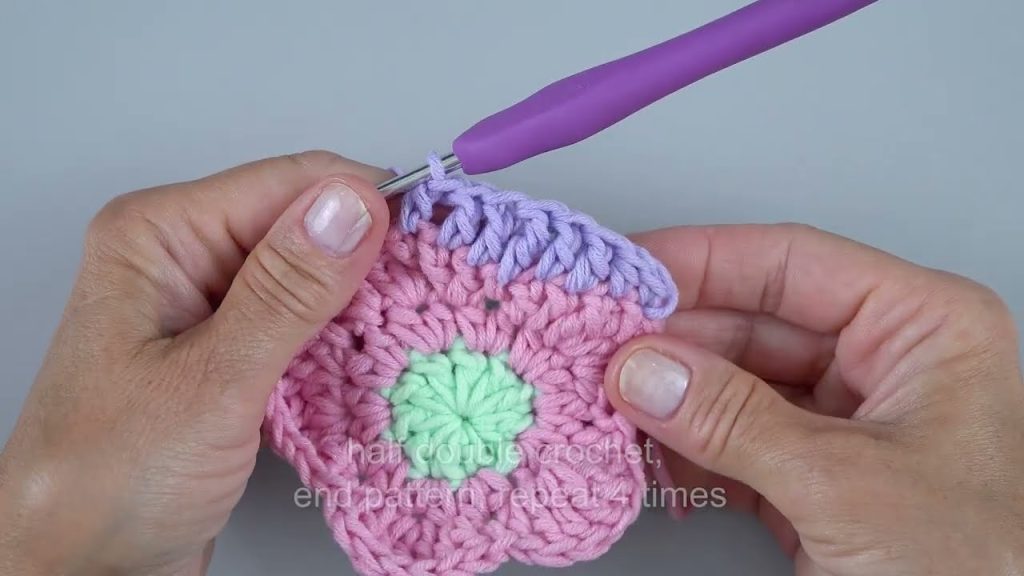
- Round 1: Chain 3 (counts as first double crochet), then make 2 double crochets into the ring, chain 2, 3 double crochets into the ring, chain 2 – repeat 2 more times. Join with a slip stitch to the top of the beginning chain 3.
- You now have 4 clusters of 3 double crochets separated by chain-2 corners.
- Round 2: Slip stitch into the next chain-2 corner. Chain 3 (counts as dc), 2 dc, chain 2, 3 dc in the same corner. In the next corner: 3 dc, chain 2, 3 dc – repeat for all corners. Join with slip stitch.
- Round 3 (Optional for bigger squares): Same as Round 2 – 3 dc, chain 2, 3 dc in each corner, 3 dc in each side space.
- Fasten off and weave in ends.
💡 Tip: Make enough squares depending on your bag size. For a medium bag, you might need 6–8 squares for the front and back.
Step 2: Join the Squares
There are a few ways to join granny squares. The easiest for beginners is:
- Whip Stitch / Slip Stitch Join:
- Place two squares together, right sides facing out.
- Use a yarn needle to sew them along the edge using whip stitch OR crochet them together with slip stitches.
Arrange your squares into a rectangle (front + back + optional sides) so the bag shape is ready.
Step 3: Crochet the Bag
- Once squares are joined, fold the rectangle in half so the squares form the front and back of the bag.
- Sides & Bottom: You can crochet a border around the joined squares to form a sturdy bottom and sides:
- Single crochet along the edges to connect front and back.
- For a deeper bag, add extra rows of single crochet along the bottom and sides.
Step 4: Add Handles
- Decide the length of the handle.
- Options:
- Crochet Straps: Chain to the desired length and attach to the bag with single crochets, reinforcing firmly.
- Use Leather or Rope Handles: Sew them to the bag corners.
Step 5: Optional Lining
- Cut fabric the size of the bag interior.
- Sew it in using needle and thread. This helps prevent small items from falling out.
Step 6: Finishing Touches
- Weave in all loose ends.
- Add decorative buttons or tassels if desired.
- Stretch the bag gently to make it even.
Tips for Beginners:
- Stick to bright colors to make the granny squares pop.
- Use consistent tension in your crochet so squares are the same size.
- Don’t worry about perfect edges; the border hides small mistakes.
If you want, I can draw a simple step-by-step diagram showing exactly how the squares join into a bag, which makes it way easier to visualize than just text instructions.
Watch tutorial: