 by
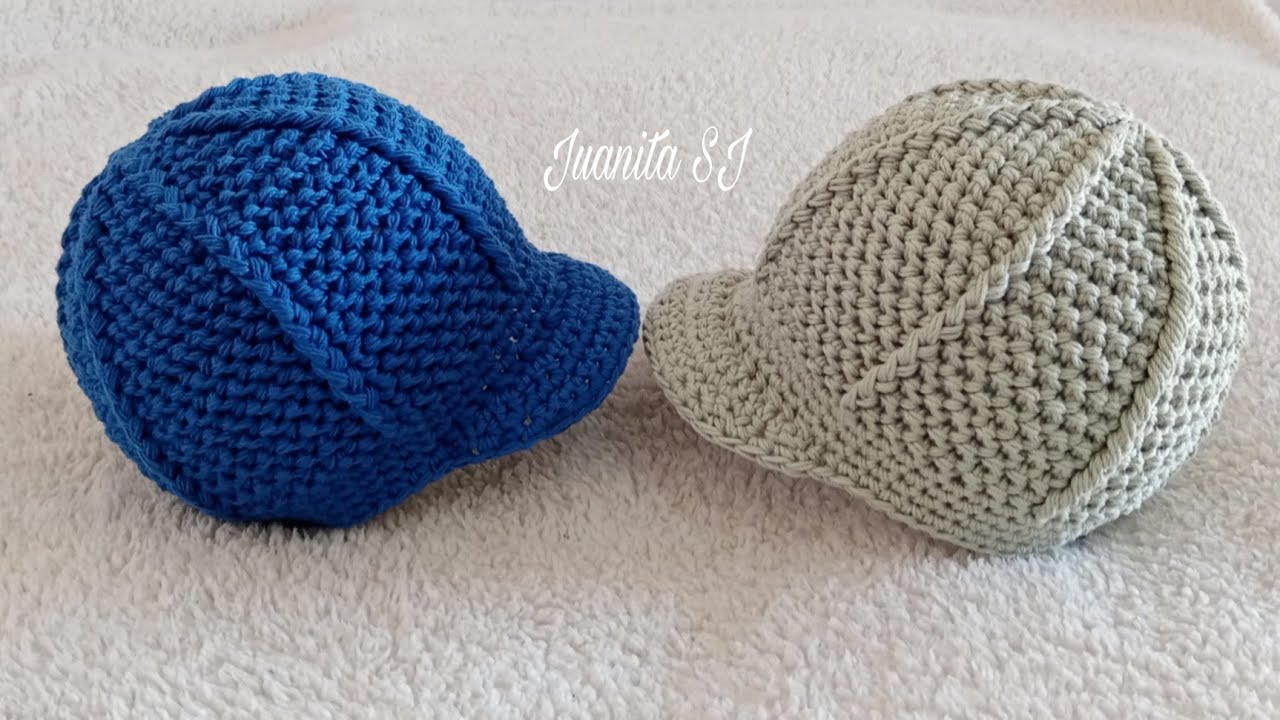
by Absolutely! 🧶 Here’s a detailed, step-by-step guide on how to make a crochet hat with a visor (also called a brim hat) — suitable for beginners to intermediate crocheters.

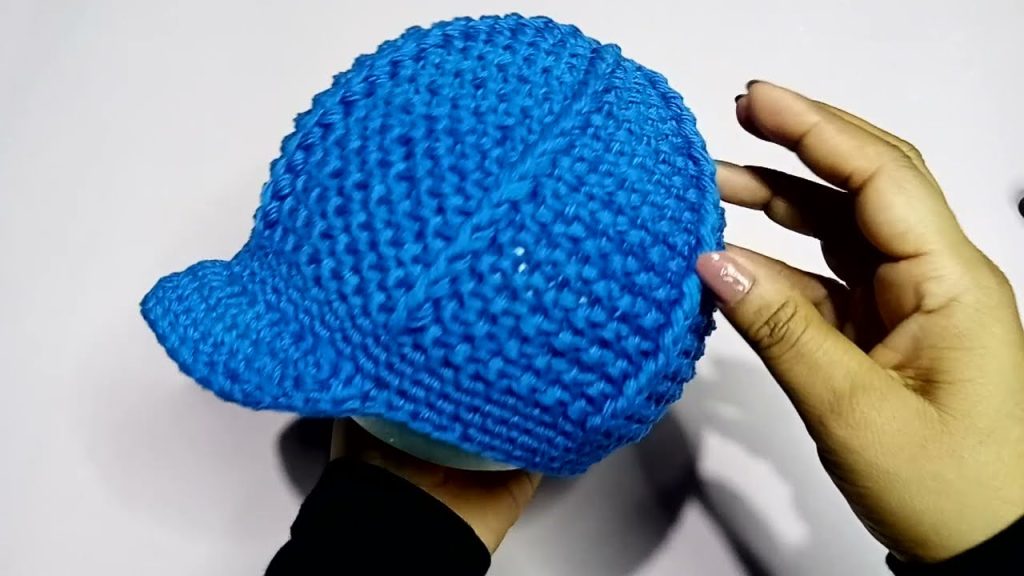
🧵 HOW TO MAKE A CROCHET HAT WITH A VISOR
🧰 Materials You’ll Need
| Item | Details |
|---|---|
| Yarn | Medium-weight (category 4) yarn — 1–2 skeins (approx. 150–200g). Acrylic or cotton yarn works best. |
| Crochet Hook | Size H/8 (5.0 mm) or as recommended on your yarn label. |
| Yarn Needle | For weaving in ends. |
| Stitch Marker | To keep track of your rounds. |
| Scissors | For cutting yarn. |
| Optional | Plastic canvas or interfacing (to stiffen the visor). |
🪡 STEP 1: Make a Magic Ring (Crown of the Hat)
- Create a magic ring (or chain 4 and join with a slip stitch to form a ring).
- Round 1: Chain 2 (counts as first half double crochet, hdc), make 9 hdc into the ring. Join with a slip stitch to the top of the chain-2. (10 stitches total)
- Round 2: Chain 2, 2 hdc in each stitch around. Join. (20 stitches)
- Round 3: Chain 2, 1 hdc in next stitch, 2 hdc in next, repeat around. Join. (30 stitches)
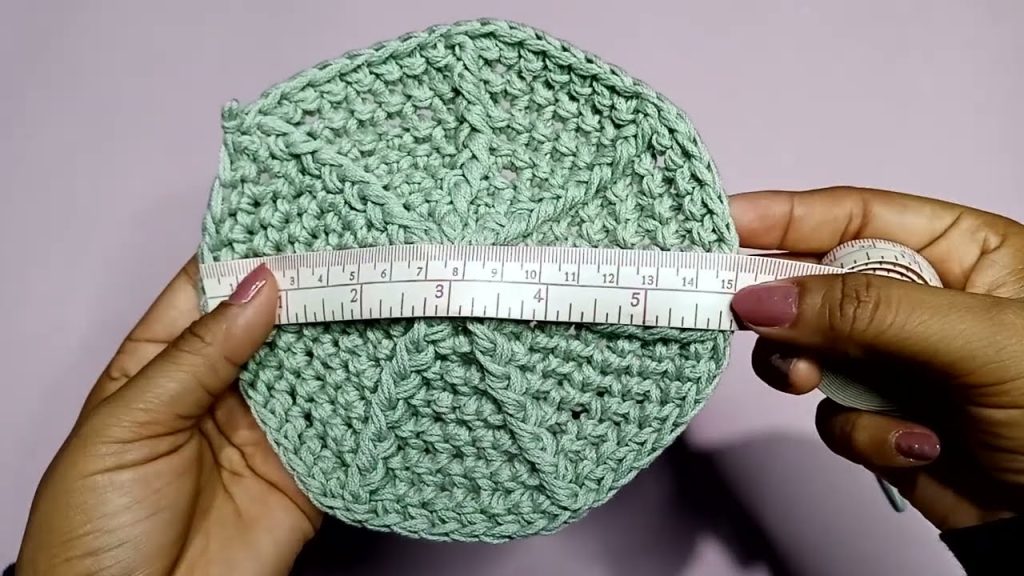
- Continue increasing evenly in each round until the crown measures approximately 6.5–7 inches (16–18 cm) in diameter (for an adult hat).
👉 Increase pattern example:
- Round 4: 2 hdc in next, 1 hdc in next 2 (40 stitches)
- Round 5: 2 hdc in next, 1 hdc in next 3 (50 stitches), etc.
Stop increasing once the circle fits the top of your head.
🧣 STEP 2: Crochet the Body of the Hat
- Once the crown is large enough, stop increasing.
- For the next 8–10 rounds (or until desired length), work 1 hdc in each stitch around, joining each round with a slip stitch and chaining 2 to begin the next round.
- Try on the hat occasionally — it should reach just above your eyebrows.
Optional Texture Ideas:
- Use front post/back post double crochets for a ribbed texture.
- Alternate colors for stripes.
🧢 STEP 3: Shape the Visor (Brim)
- Find the front center of the hat and mark about 10–12 stitches on each side of the center (for a total of 20–24 stitches across the front).
- Row 1: Attach yarn at one marker. Chain 1, single crochet (sc) in each stitch between the markers. Turn.
- Row 2: Chain 1, sc in each stitch, but leave the last stitch unworked. Turn.
- Row 3: Chain 1, sc in each stitch, leaving 2 stitches unworked at the end. Turn.
- Continue shaping this way, decreasing one stitch on each side every row until the visor looks nicely curved (about 5–7 rows total).
- Fasten off and weave in the ends.
Optional for stiffness:
- Cut a matching piece of plastic canvas or interfacing in the shape of your visor.
- Sandwich it between two layers of crochet (make a second visor piece and stitch around the edge).
🪶 STEP 4: Add the Finishing Edge
- Attach yarn at any point on the hat edge (back or side).
- Work single crochet (sc) evenly all around the entire hat, including the visor edge.
- Optionally, work 1–2 additional rounds for a neat border.
🌟 Optional Embellishments
- Add a button or decorative band above the visor.
- Crochet a flower or patch for the side.
- Use a contrasting color for the visor or border.
📏 Size Adjustments
| Hat Size | Crown Diameter | Hat Height |
|---|---|---|
| Child (5–10 yrs) | 5.5–6 in (14–15 cm) | 6.5–7 in (16–18 cm) |
| Teen/Adult S | 6.5 in (16.5 cm) | 7.5 in (19 cm) |
| Adult M/L | 7–7.5 in (18–19 cm) | 8–8.5 in (20–22 cm) |

🧼 Care Tips
- Hand wash or gentle machine wash in cold water.
- Lay flat to dry to maintain visor shape.
Would you like me to include a written pattern (row-by-row instructions) in standard crochet pattern format (with abbreviations like ch, sc, hdc, sl st, etc.)?
That version is great if you plan to print or follow it while crocheting.
Watch tutorial: