 by
by Sure! Here’s a detailed guide on How to Make a DIY Crochet Bag – helping you create an elegant handbag using simple steps. This guide is perfect for beginners and intermediate crocheters.
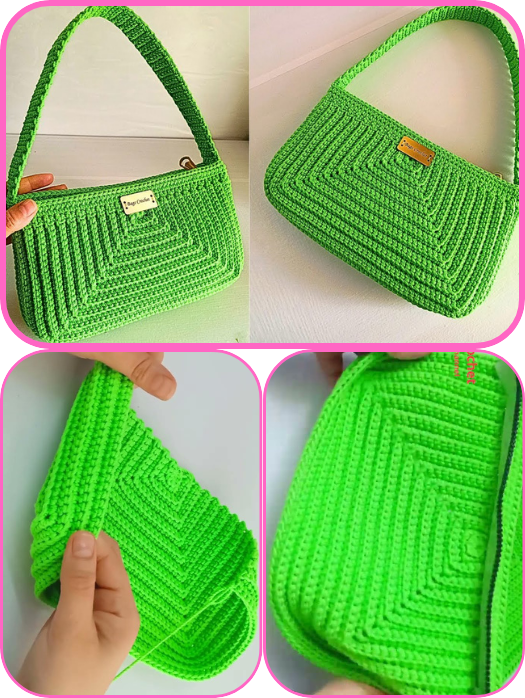
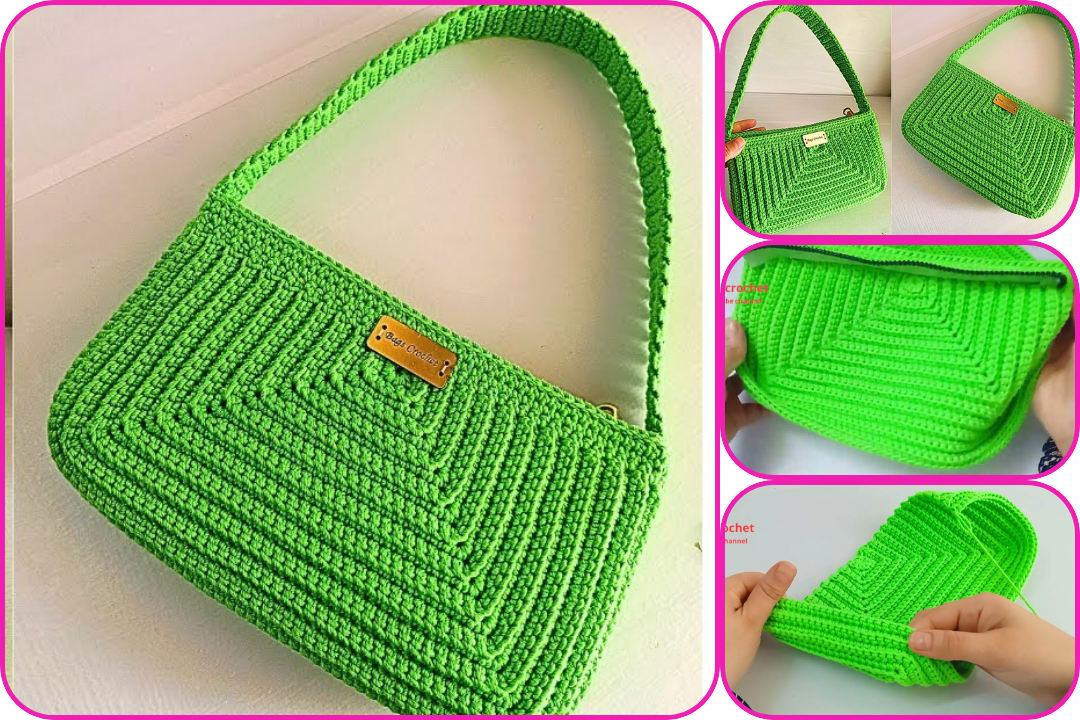
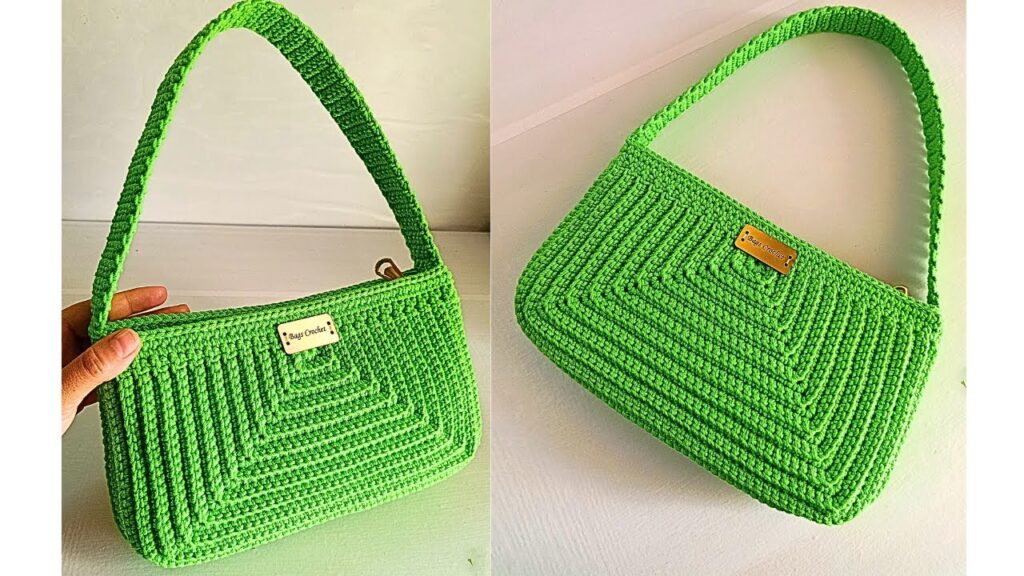
👜 How to Make a DIY Crochet Bag: Create an Elegant Handbag with Simple Steps
Crocheting your own handbag is not only fun and relaxing, but also a great way to express your creativity and personal style. Whether you’re crafting a chic tote for everyday use or a stylish accessory for special occasions, this DIY crochet bag project is simple, elegant, and rewarding.
🧶 Materials You’ll Need
- Yarn: Choose a sturdy cotton or acrylic blend. Worsted weight or bulky yarn works best for durability.
- Crochet Hook: Use a hook size that matches your yarn. Usually, 4.5mm–6mm (US 7–10) works well.
- Scissors
- Yarn Needle (for weaving in ends)
- Stitch Markers (optional, but helpful)
- Lining Fabric (optional, for extra polish and strength)
- Magnetic Snap or Button (optional closure)
- Handles/Straps: Crochet your own or buy leather/wooden handles.
🪡 Basic Crochet Skills Required
You should be familiar with:
- Chain (ch)
- Single crochet (sc)
- Double crochet (dc)
- Slip stitch (sl st)
- Increasing and decreasing
If you’re new to these, look up a quick video tutorial to practice before starting the project.
✨ Step-by-Step Instructions to Make an Elegant Crochet Handbag
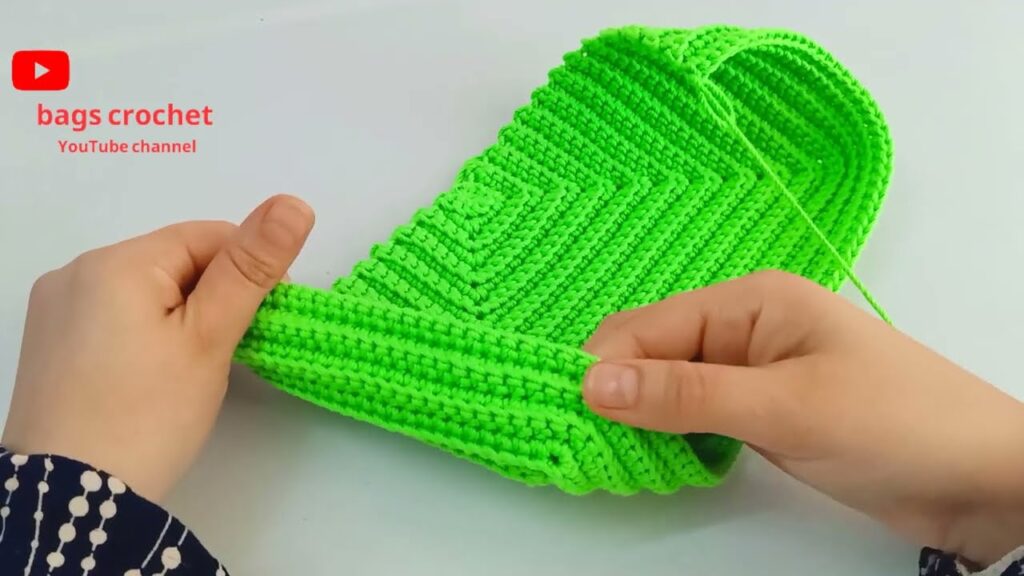
Step 1: Create the Base of the Bag
Pattern: Oval or rectangle base
- Chain 25 (for rectangular base)
- Row 1: Sc in 2nd ch from hook and in each ch across. (24 sc)
- Round 2: Work 2 sc in the last stitch to round the corner. Rotate the work and continue sc down the opposite side of the chain. Work 2 sc in the last stitch.
- Continue working in the round, increasing at both ends to maintain the shape until your base is the desired size. Usually 3–5 rounds.
✅ Tip: Make sure your base is firm and flat – no curling!
Step 2: Build the Body of the Bag
Now that the base is ready, start working upward in the round:
- Round 1: Sc in each stitch around without increasing. Place a stitch marker to keep track of rounds.
- Continue crocheting in the round using sc, hdc, or dc stitches depending on the texture and look you want.
- Optional: Add color stripes, a shell pattern, or bobble stitches for decorative detail.
💡 Pro Tip: Work around 20–30 rounds, depending on how tall you want the bag.
Step 3: Shape the Opening
You can either leave the top straight or taper slightly inward by:
- Decreasing a few stitches every couple of rounds
- Switching to a tighter stitch (e.g., sc after dc)
This adds a more structured and polished finish.
Step 4: Add Handles or Straps
You have two main options:
1. Crochet Handles
- Chain 30–50 (depending on length)
- Attach each end to the bag using slip stitch or by sewing with yarn
2. Attach Pre-Made Handles
- Buy leather or wooden handles
- Sew them to the bag using a yarn needle or embroidery floss
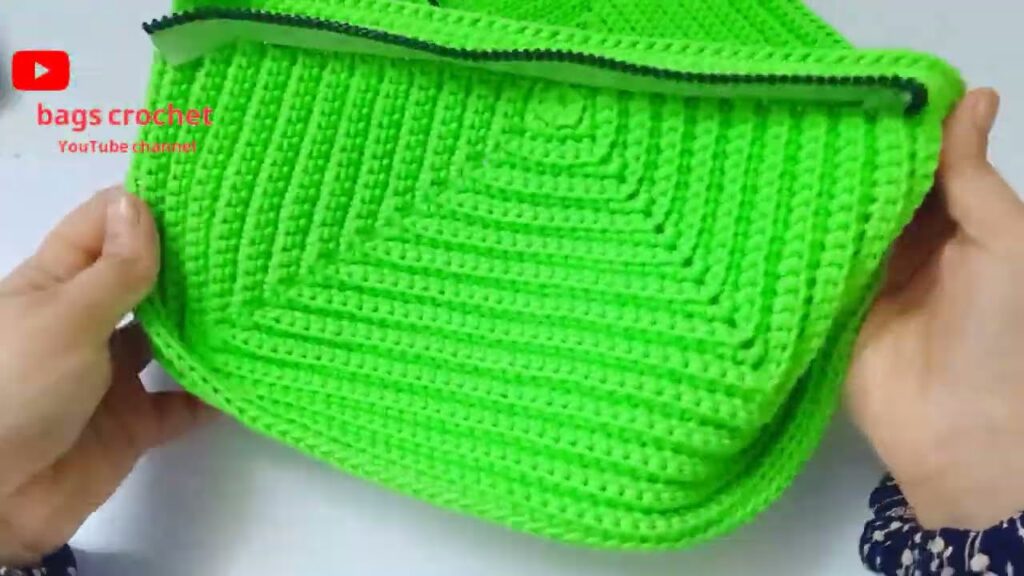
Step 5: Optional Lining and Closure
✂️ Add Fabric Lining:
- Cut a piece of fabric to match the inside of the bag
- Sew it in using a needle and thread or a sewing machine
🔒 Add Closure:
- Sew in a magnetic snap or button for extra security
- You can also crochet a flap with a buttonhole if desired
Step 6: Finishing Touches
- Weave in all loose ends using a yarn needle
- Block the bag lightly (mist with water and shape it)
- Add embellishments like tassels, pom-poms, or appliqués for extra flair
🎀 Design Ideas
Here are a few ideas to inspire your creativity:
- Boho Chic: Use neutral yarn with fringe and wood handles
- Elegant Evening Bag: Metallic yarn with a satin lining
- Tote Style: Sturdy cotton yarn with thick straps and a roomy interior
- Clutch Bag: Smaller size with a flap and decorative button
🧺 Care Instructions
- Hand wash only
- Lay flat to dry
- Avoid overloading with heavy items if unlined
🌟 Final Thoughts
Crocheting your own handbag lets you craft a piece that’s both stylish and unique. With just a few basic stitches and some patience, you can create an accessory that stands out and serves a practical purpose. Customize the color, shape, and details to make it truly yours.
Watch video: