 by
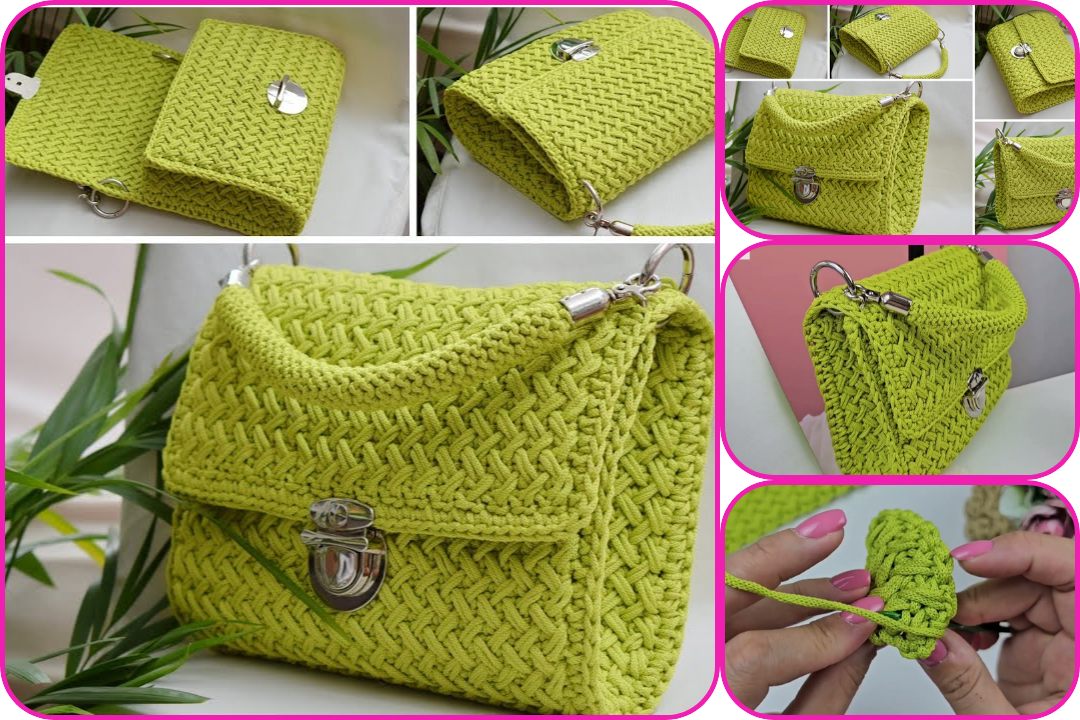
by Here’s a detailed and beginner-friendly guide on how to crochet a beautiful herringbone pattern crossbody bag. This version is simplified for ease and designed to give you clear shapes and a sleek, modern look, perfect for a stylish accessory.
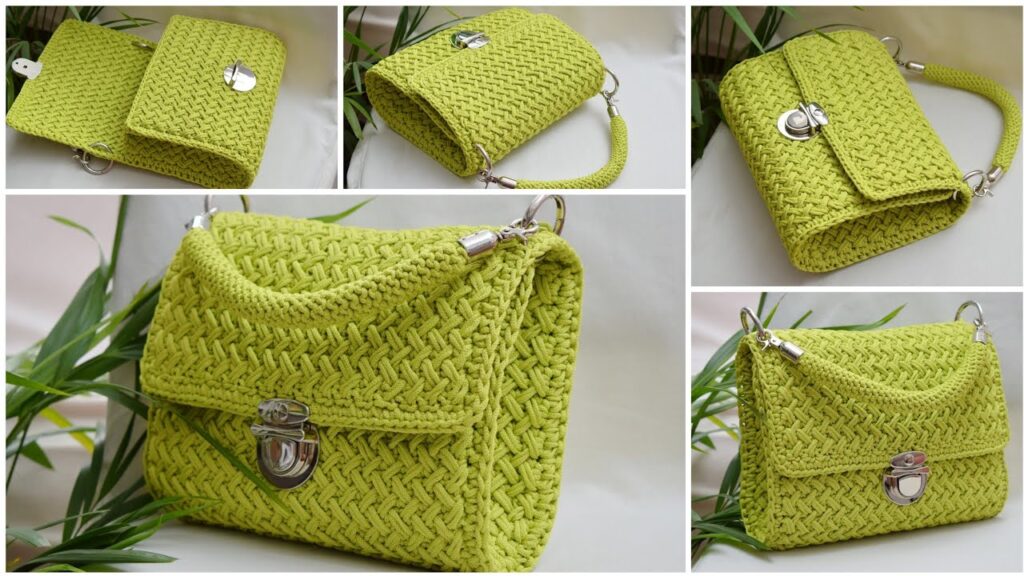
🧶 How to Make a Beautiful Herringbone Crochet Crossbody Bag (Easy Pattern + Clear Shapes)
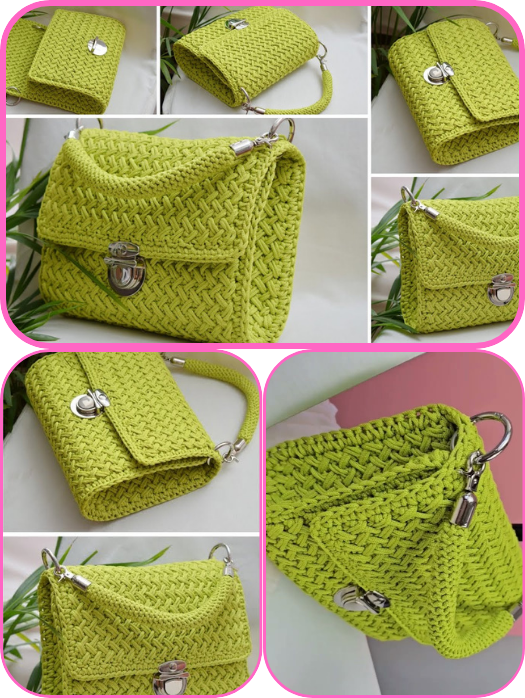
✨ Finished Look:
- Elegant herringbone texture
- Clean, structured rectangular shape
- Optional flap closure or zipper
- Modern crossbody strap
🧵 MATERIALS
| Item | Description |
|---|---|
| Yarn | Worsted weight cotton or acrylic (smooth yarn works best) |
| Hook | 4.5 mm or 5 mm (depending on your tension) |
| Lining (optional) | Fabric and sewing needle (for a structured interior) |
| Zipper or Button | 8” zipper or a magnetic snap |
| Bag Strap | Leather/fabric strap or crochet your own |
| Stitch Markers | Optional, for shaping and counting rows |
| Scissors + Needle | For finishing and weaving ends |
🧷 STITCHES USED
- Herringbone Half Double Crochet (Hbhdc): The key to the texture.
- Single Crochet (sc): For joining and edging.
- Slip Stitch (sl st): For finishing.
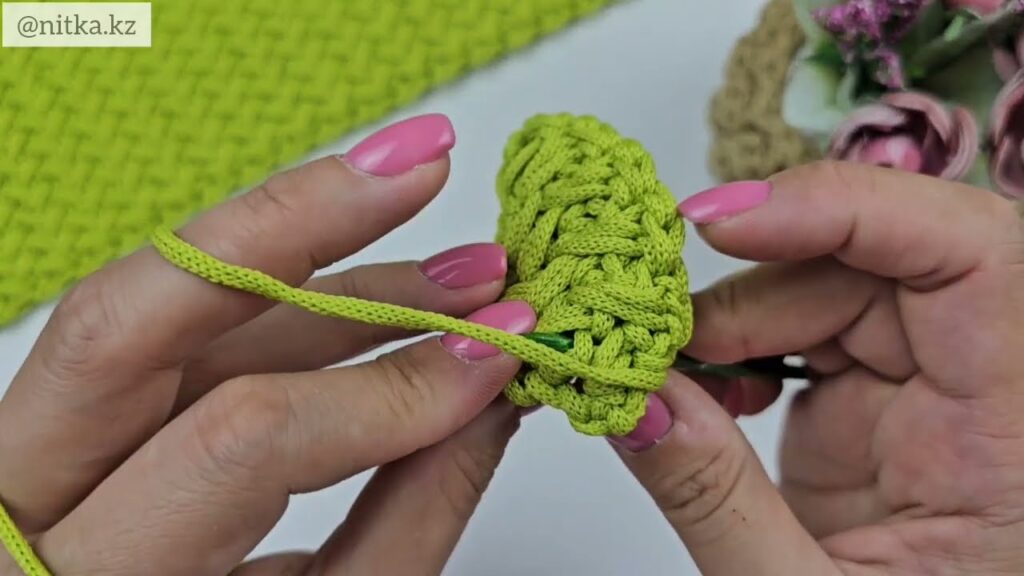
🔄 HERRINGBONE HDC STITCH (Hbhdc) – HOW TO:
- Yarn over, insert hook into stitch.
- Yarn over again and pull through the stitch AND the first loop on your hook (2 loops remain).
- Yarn over and pull through both loops on hook.
This gives a slanted V-shape that mimics herringbone fabric.
📐 DIMENSIONS (Adjustable)
- Main body: 9” wide × 6” tall
- Strap: 40–50” long (adjustable)
🪡 PATTERN: MAIN BAG BODY (Worked in a flat rectangle)
- Foundation Chain: Ch 35 (or desired width).
- Row 1: Hbhdc in 2nd ch from hook and across. (34 sts)
- Row 2–40: Ch 1, turn. Hbhdc in each st across.
- (Work more or fewer rows to adjust height.)
👉 You now have a large textured rectangle.
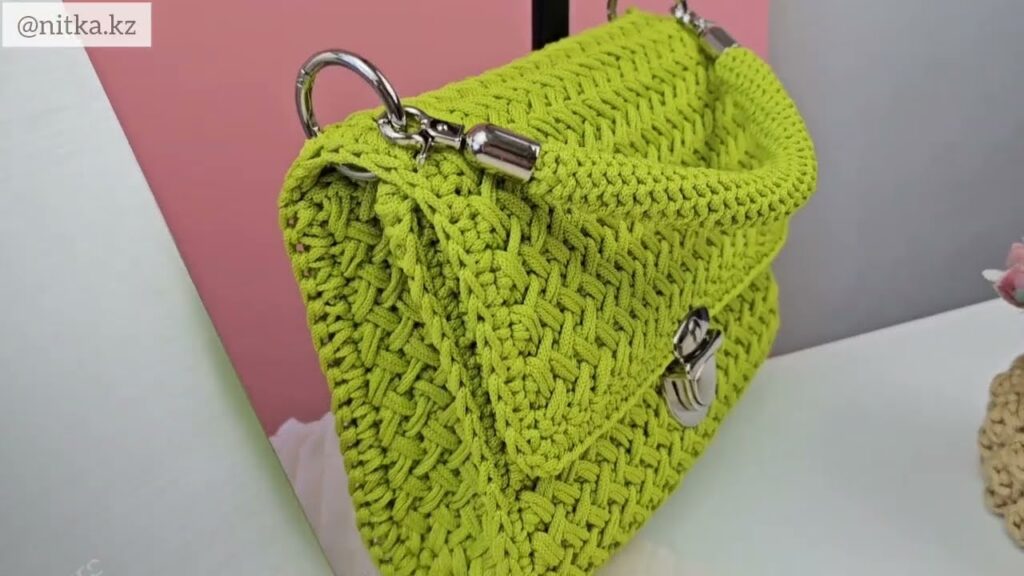
👜 ASSEMBLY
- Fold the rectangle so the short sides meet (like folding a piece of paper into a clutch).
- Leave ⅓ of the height for the flap if you want one.
- Seam the sides using slip stitch or whip stitch.
🔲 EDGING (Optional but recommended)
- Work a round of single crochet all around the bag’s edge (including flap) for a neat finish.
🔗 STRAP (Crocheted or Ready-Made)
Option 1: Crochet Strap
- Ch 140 (or more), then sc in each ch across.
- Make it 3–5 rows thick for strength.
Option 2: Use a leather or canvas strap and sew it to the inside top corners.
🧲 CLOSURE OPTIONS
- Magnetic Snap: Attach to flap and body before lining.
- Zipper: Sew to top edge before joining sides.
- Button & Loop: Crochet a small loop and sew a button.
🧵 LINING (Optional but helps shape)
- Cut fabric the same size as the bag body.
- Sew edges, then hand stitch or hot glue to the inside.
- Reinforces the structure, keeps it looking crisp.

🎨 CUSTOMIZATION IDEAS
- Add tassels, leather tags, or a small pocket inside.
- Use color blocks or stripes within the herringbone rows.
🧺 CARE TIPS
- Spot clean with a damp cloth.
- If using cotton, air dry flat.
✅ BEGINNER TIPS
- Practice the Hbhdc stitch with a small swatch before starting.
- Use stitch markers to keep your rows even.
- Check your gauge to get the right size.
Watch video: