 by
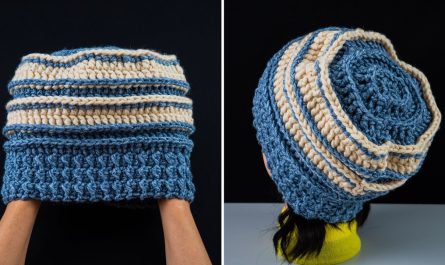
by Sure! Here’s a detailed, step-by-step guide on how to make a crochet ponytail hat (also known as a messy bun hat) — perfect for chilly weather when you still want to wear your hair up!
🧶 What Is a Crochet Ponytail Hat?
A ponytail hat (or messy bun beanie) is like a regular crochet beanie, but with an opening at the top so you can pull your ponytail or bun through. It’s stylish, functional, and easy to customize.
🧵 Materials You’ll Need
| Item | Description |
|---|---|
| Yarn | Medium weight (worsted weight, #4). Acrylic or wool blend works great. |
| Hook | Size H/8 (5.0 mm) or I/9 (5.5 mm) depending on your tension. |
| Scissors | For cutting yarn. |
| Tapestry needle | For weaving in ends. |
| Elastic hair tie (optional) | To reinforce the ponytail opening. |
📏 Measurements
- Adult Size: Fits head circumference of 21–23 inches (53–58 cm).
- You can adjust the size by changing hook size or number of rounds.
🪡 Stitches Used
| Stitch | Abbreviation | Description |
|---|---|---|
| Chain | ch | Yarn over, pull through loop. |
| Slip Stitch | sl st | Insert hook, yarn over, pull through both loops. |
| Single Crochet | sc | Insert hook, yarn over, pull through, yarn over, pull through two loops. |
| Half Double Crochet | hdc | Yarn over, insert hook, yarn over, pull through, yarn over, pull through all loops. |
| Double Crochet | dc | Yarn over, insert hook, yarn over, pull through, yarn over, pull through two loops twice. |
🎨 Pattern Instructions (Adult Size)
Step 1: Create the Ponytail Opening
You can start in two ways:
Option A — With a Hair Elastic:
- Hold your hair tie and attach yarn with a slip knot around the elastic.
- Round 1: Crochet 36 hdc stitches around the elastic.
Join with sl st to the first hdc. (36 sts) - Round 2: Ch 1, hdc in each st around, join with sl st. (36 sts)
Option B — Without Elastic (Simple Ring):
- Ch 36, join with a sl st to form a ring (be careful not to twist).
- Round 1: Ch 1, hdc in each ch around, join with sl st. (36 sts)
- Round 2: Repeat Round 1.
Step 2: Begin Body of the Hat
- Round 3: Ch 2 (counts as dc), dc in each st around, join with sl st. (36 sts)
- Round 4–10: Repeat Round 3, or continue until the hat measures 5–6 inches from starting round.
(You can alternate hdc and dc rounds for texture.)
Step 3: Decrease for the Hat’s Shape
- Round 11: Ch 2, [dc in next 4 sts, dc2tog] repeat around, join. (30 sts)
- Round 12: Ch 2, [dc in next 3 sts, dc2tog] repeat around, join. (24 sts)
- Round 13: Ch 2, [dc in next 2 sts, dc2tog] repeat around, join. (18 sts)
You can stop decreasing sooner if you want a slouchier look.
Step 4: Add the Ribbed Brim
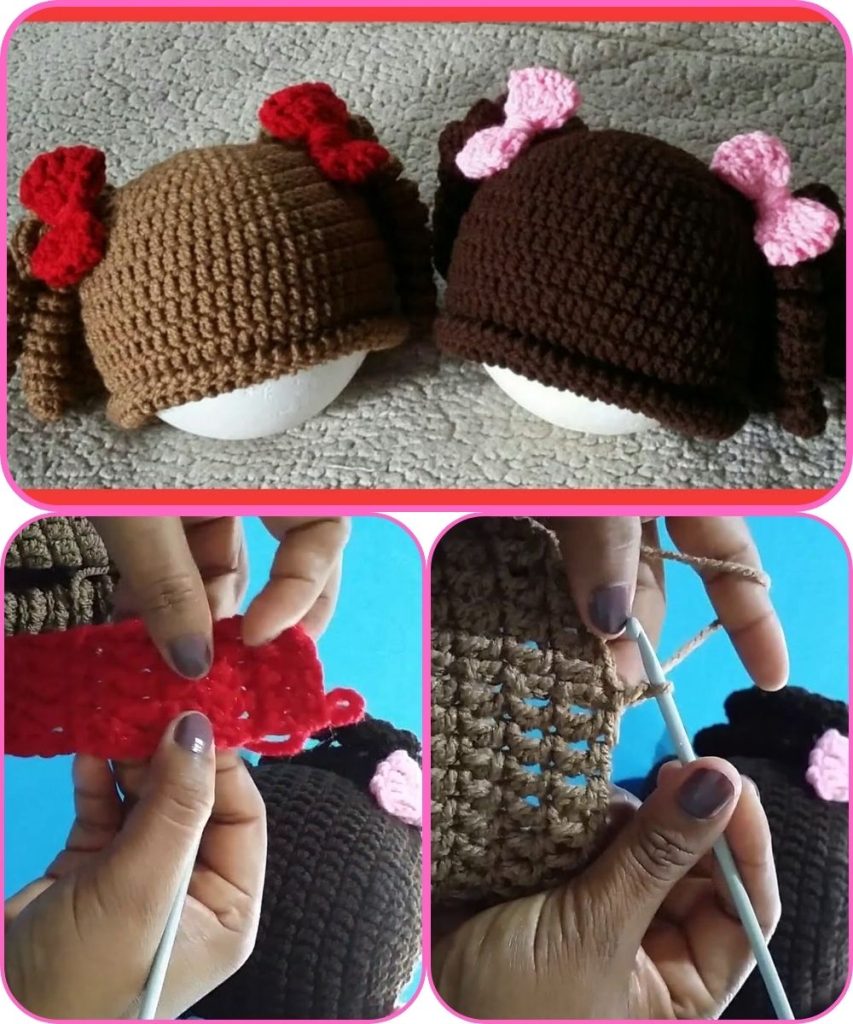
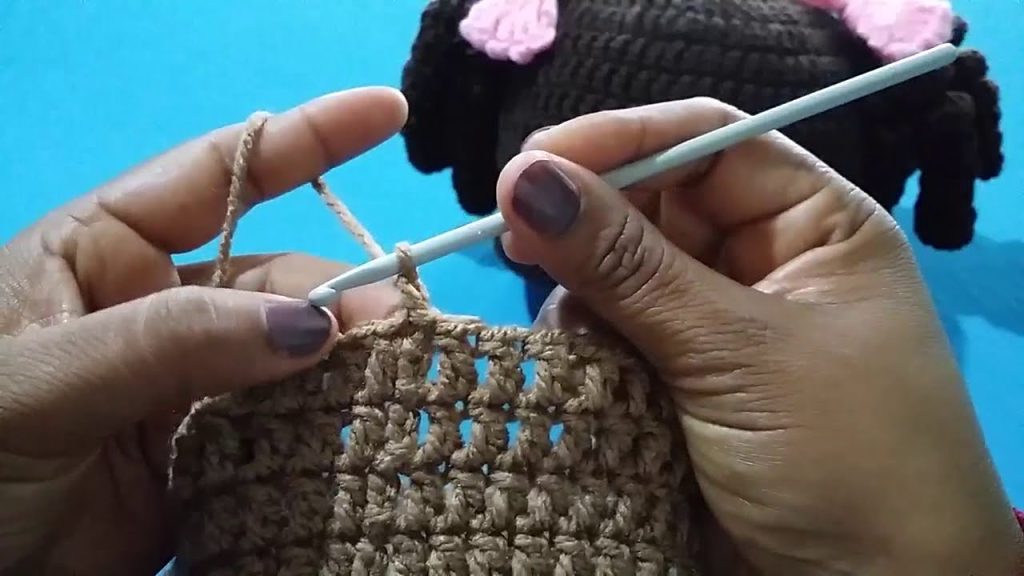
- Round 14–17: Switch to hdc in back loops only (BLO) around each round.
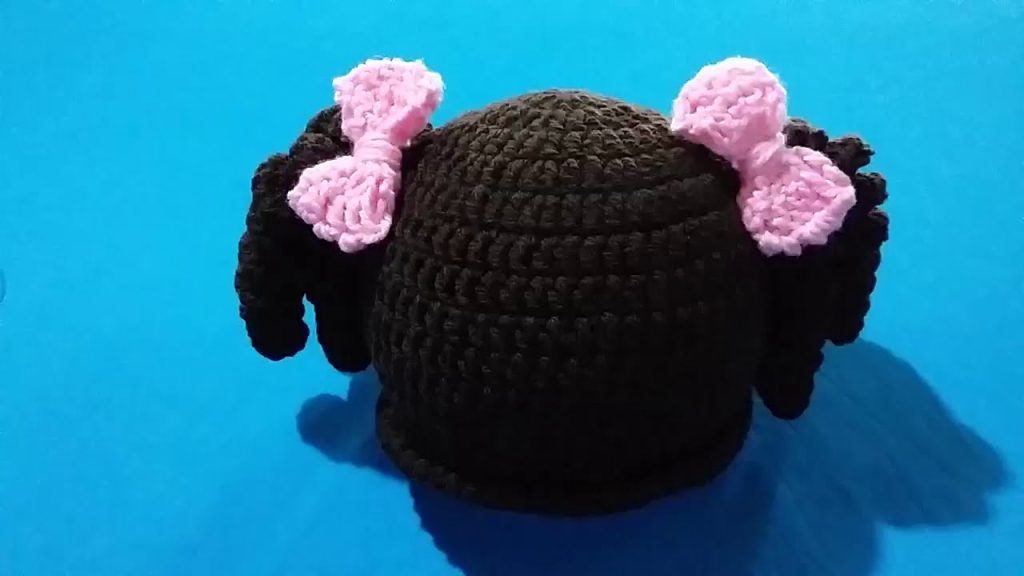
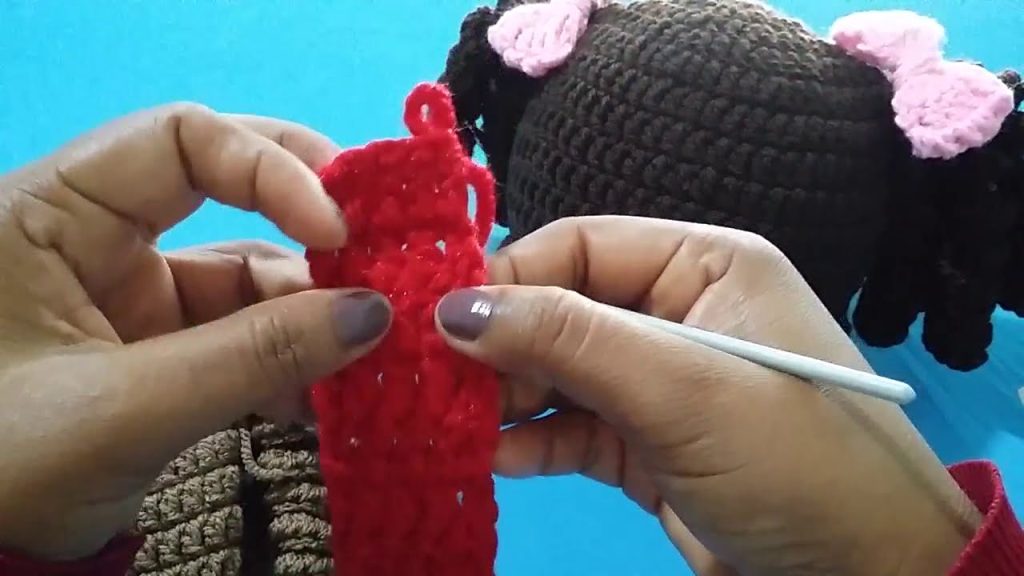
This creates a stretchy, ribbed texture. - Fasten off and weave in ends with tapestry needle.
Step 5: Finishing Touches
- Add a pom-pom on the elastic (optional).
- Try it on! Pull your ponytail or bun through the top opening.
💡 Customization Ideas
- Color changes: Alternate yarn colors every few rounds for stripes.
- Stitch patterns: Try front post/back post double crochets for texture.
- Brim styles: Use a folded ribbed band for extra warmth.
- Add a bow or buttons for decoration.
🧣 Tips for Beginners
- Keep your tension even — not too tight around the ponytail opening.
- If the hat feels too snug, add extra rounds or increase hook size.
- For children’s sizes, reduce stitch counts (e.g., start with 28–32 sts).
Would you like me to include a written pattern (row-by-row instructions) formatted like a printable crochet pattern (with gauge, sizing notes, etc.)? I can make it look like a professional pattern PDF.
Watch tutorial: