by
by Sure! Here’s a detailed step-by-step guide on how to make an easy crochet bag for beginners. This tutorial is simple, stylish, and perfect for anyone new to crochet. 🧶👜
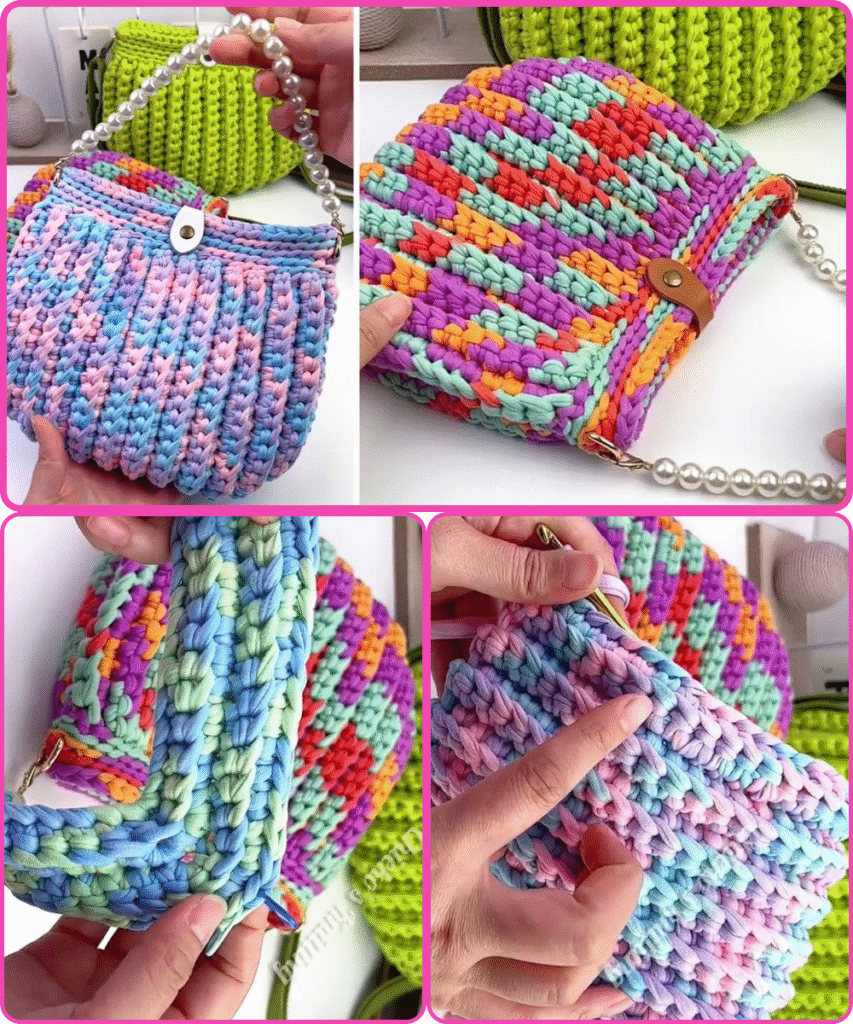
🧵 How to Make Easy Crochet Bag for Beginners 🤗
Amazing Crochet Bag Idea!
🌟 What You’ll Learn:
- How to crochet a basic bag from start to finish
- How to make sturdy handles
- Tips to make your bag look neat and professional
🧰 Materials Needed:
- Worsted weight yarn (cotton yarn is a great choice for bags)
- Crochet hook (Size 4.0mm–5.5mm, depending on your yarn)
- Scissors
- Yarn needle (for weaving in ends)
- Stitch marker (optional)
- Lining fabric (optional for durability)
- Magnetic snap or button (optional for closure)
🔰 Basic Stitches to Know:
If you’re a beginner, here are the essential stitches used in this project:
- Chain (ch)
- Single Crochet (sc)
- Slip Stitch (sl st)
🪡 Step-by-Step Instructions
🥇 Step 1: Make the Base of the Bag
- Foundation Chain
Chain 30 (or more, depending on how wide you want the bag). - Round 1
- Single crochet into the 2nd chain from the hook and each chain across.
- When you reach the end, make 3 single crochets in the last stitch to turn the corner.
- Continue single crocheting along the bottom of the chain.
- Add 2 more single crochets in the final stitch to complete the round.
- Slip stitch to the first sc to close the round.
- Round 2-8 (or desired height)
- Work in continuous rounds of single crochet.
- Place a stitch marker at the beginning of each round to keep track.
- Increase at the corners if needed to keep the base flat.
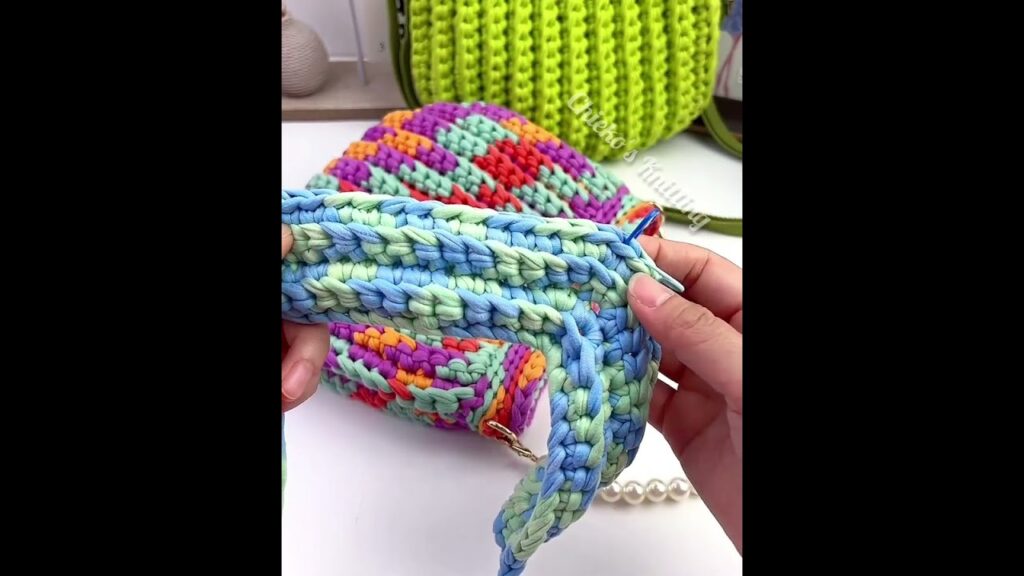
🥈 Step 2: Build the Body of the Bag
- Round 9 and onward
- Continue crocheting single crochet stitches around.
- Don’t increase stitches now—this builds the sides of the bag.
- Crochet until the bag is the height you want (around 20–25 rows is a nice medium size).
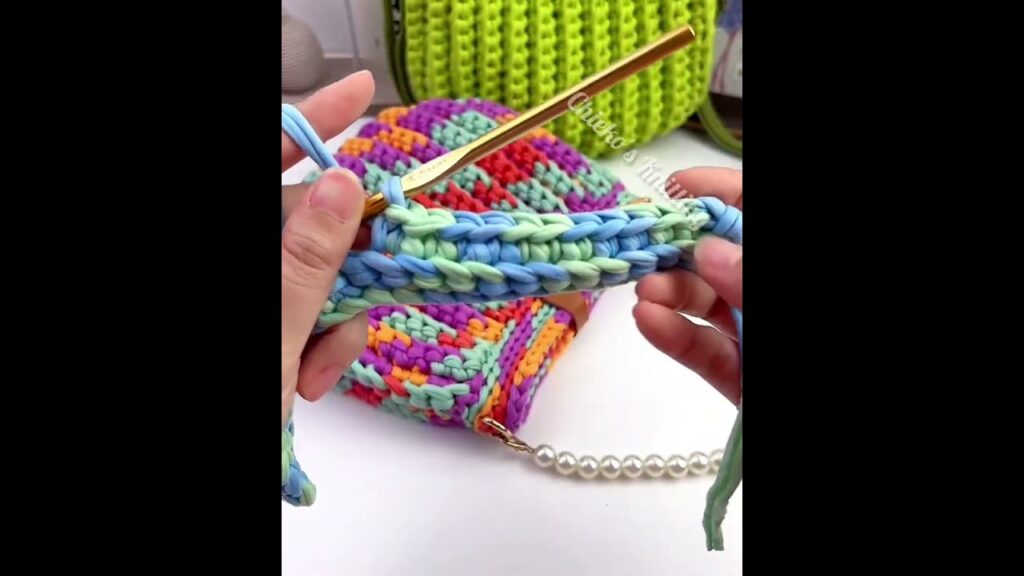
🥉 Step 3: Make the Handles
Option 1: Built-in Handles
- When your bag is the right height:
- Single crochet around until you’re at the side of the bag.
- Chain 20–30 (this will be your handle), skip the same number of stitches, and sc into the next stitch.
- Repeat on the other side.
- On the next round, single crochet into each stitch and across each chain to reinforce the handles.
Option 2: Separate Handles
- Chain 60–80 (for shoulder length).
- Work 2–3 rows of single crochet across the chain.
- Sew the ends securely to the inside of the bag.
🧶 Step 4: Finishing Touches
- Weave in all loose yarn ends with a yarn needle.
- Block your bag to give it a neat shape (optional).
- Add a lining for strength and durability (hand-sew or machine-sew inside the bag).
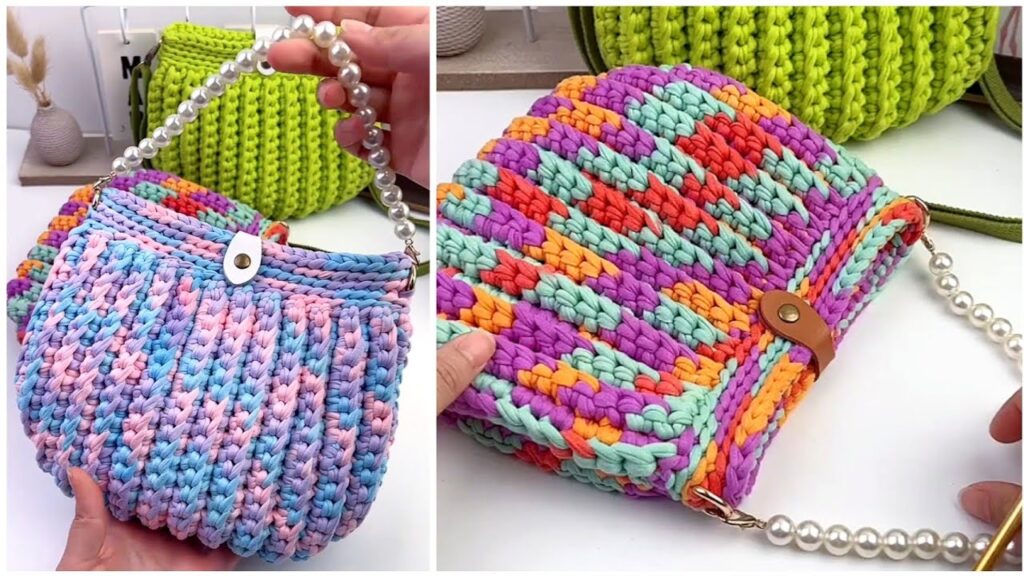
- Attach a button, magnetic snap, or zipper if desired.
✨ Optional Customizations
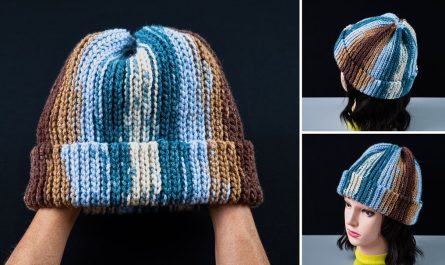
- Use color changes or stripes for a fun look.
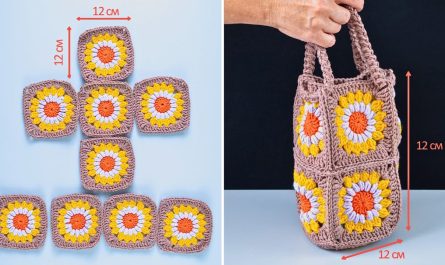
- Try a granny square design for a patchwork-style bag.
- Add tassels, pom-poms, or beads for decoration.
🎉 That’s It! You Made a Crochet Bag!
Perfect for markets, books, or a cute day out. This project is beginner-friendly and can be completed in a few hours. Once you’ve mastered the basics, you can experiment with shapes, textures, and embellishments.
Would you like a video tutorial recommendation, pattern template, or diagrams to go with this? Let me know!
Watch video: